Send Email Efficiently in Job Assistant Using ReadyTeam
This demo showcases how to send an email using Readyteam's integrated tools.
Go to app.readyteam.ai
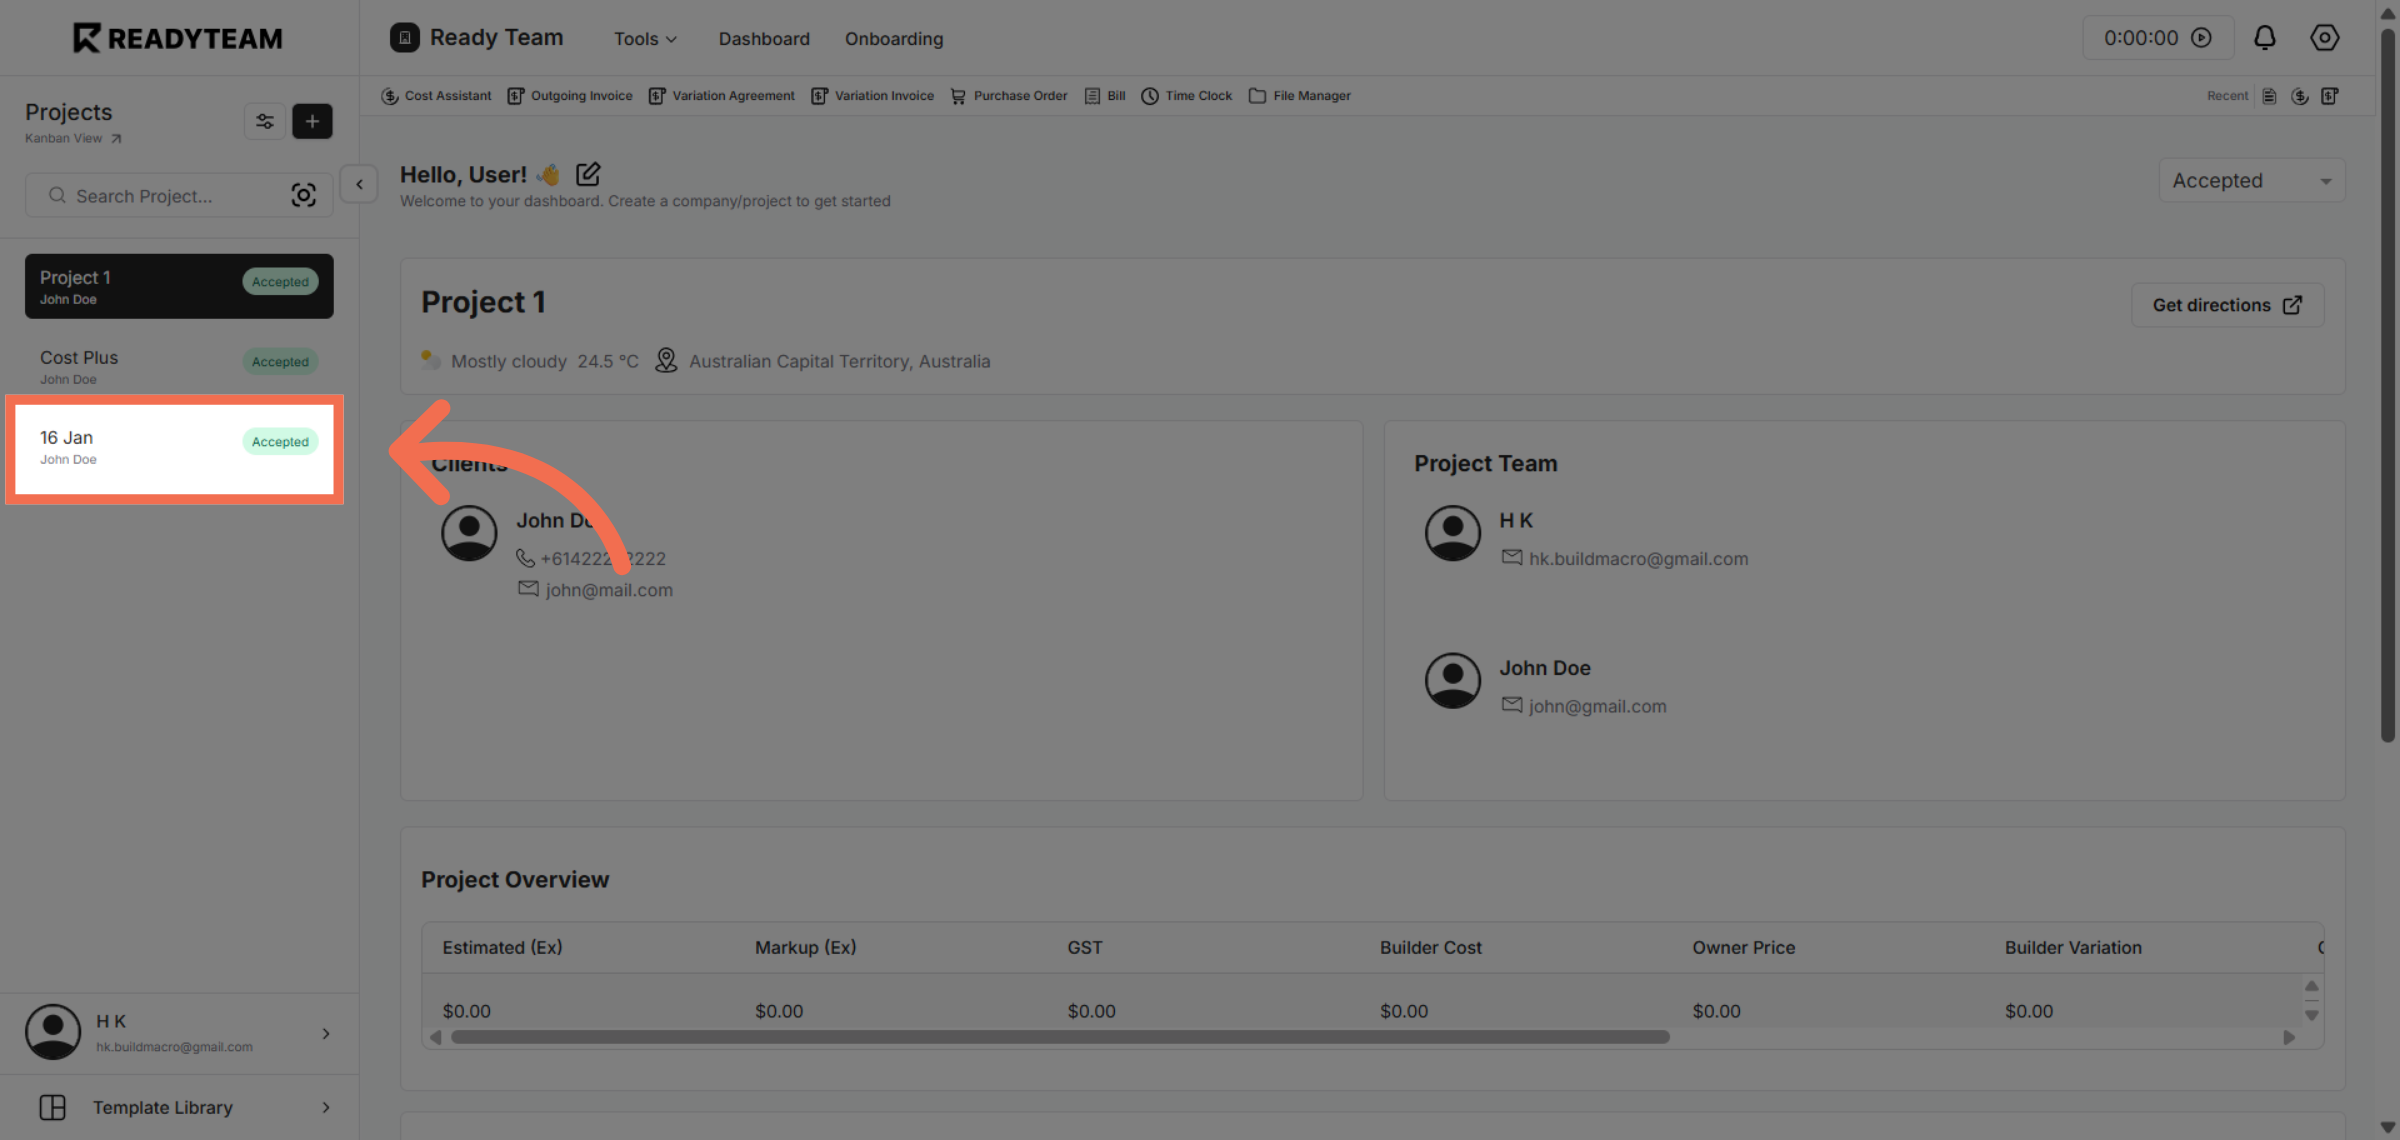
1. Select Project
Select Project to access detailed project information.
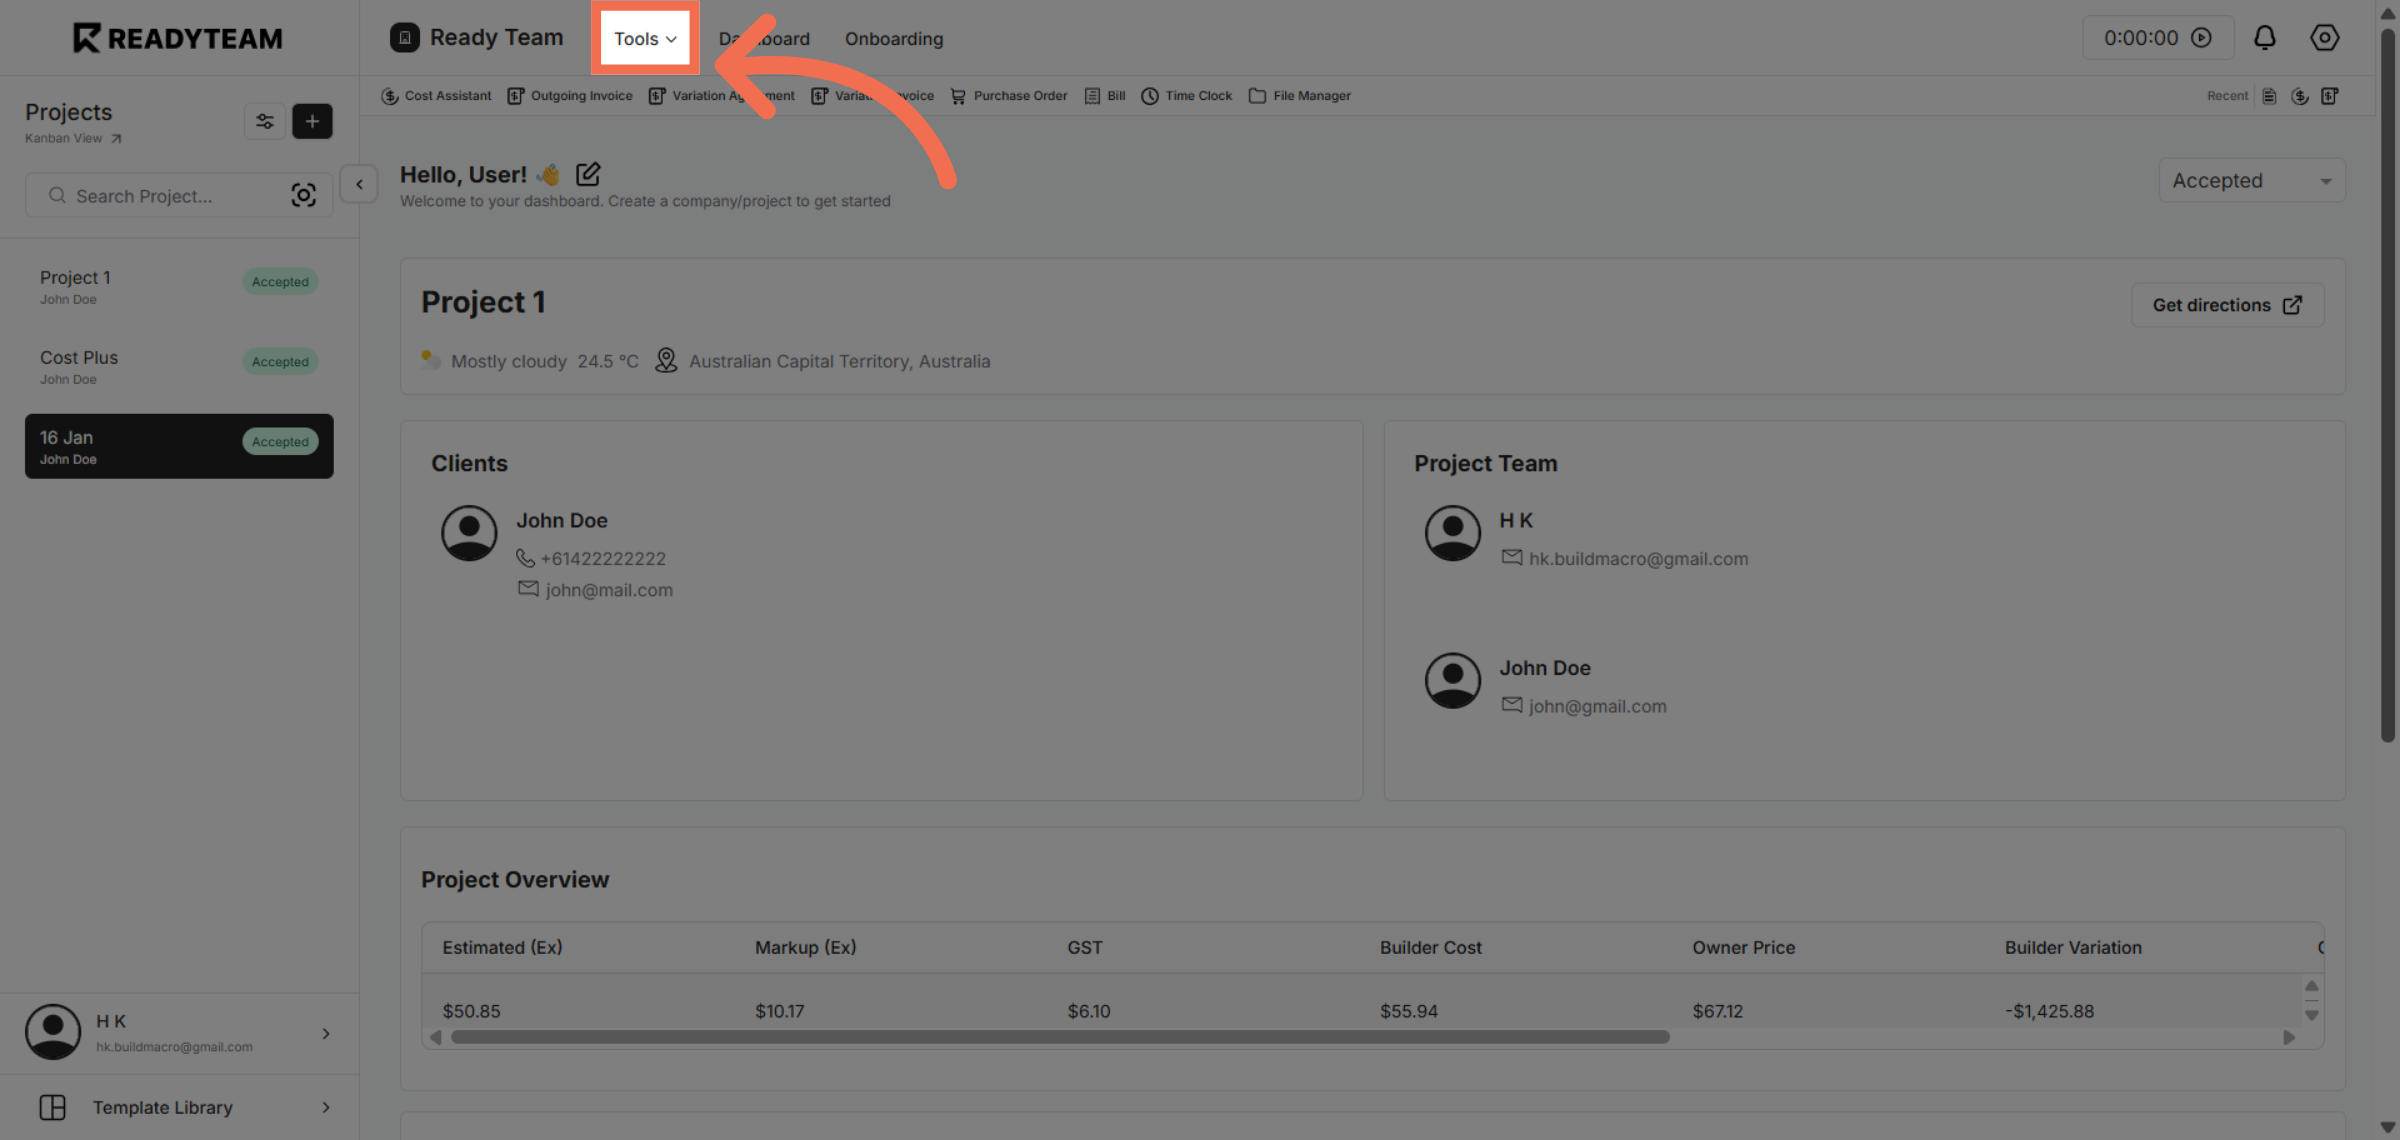
2. Access Tools Menu
Navigate to the Tools menu to find additional functionalities available within Readyteam.
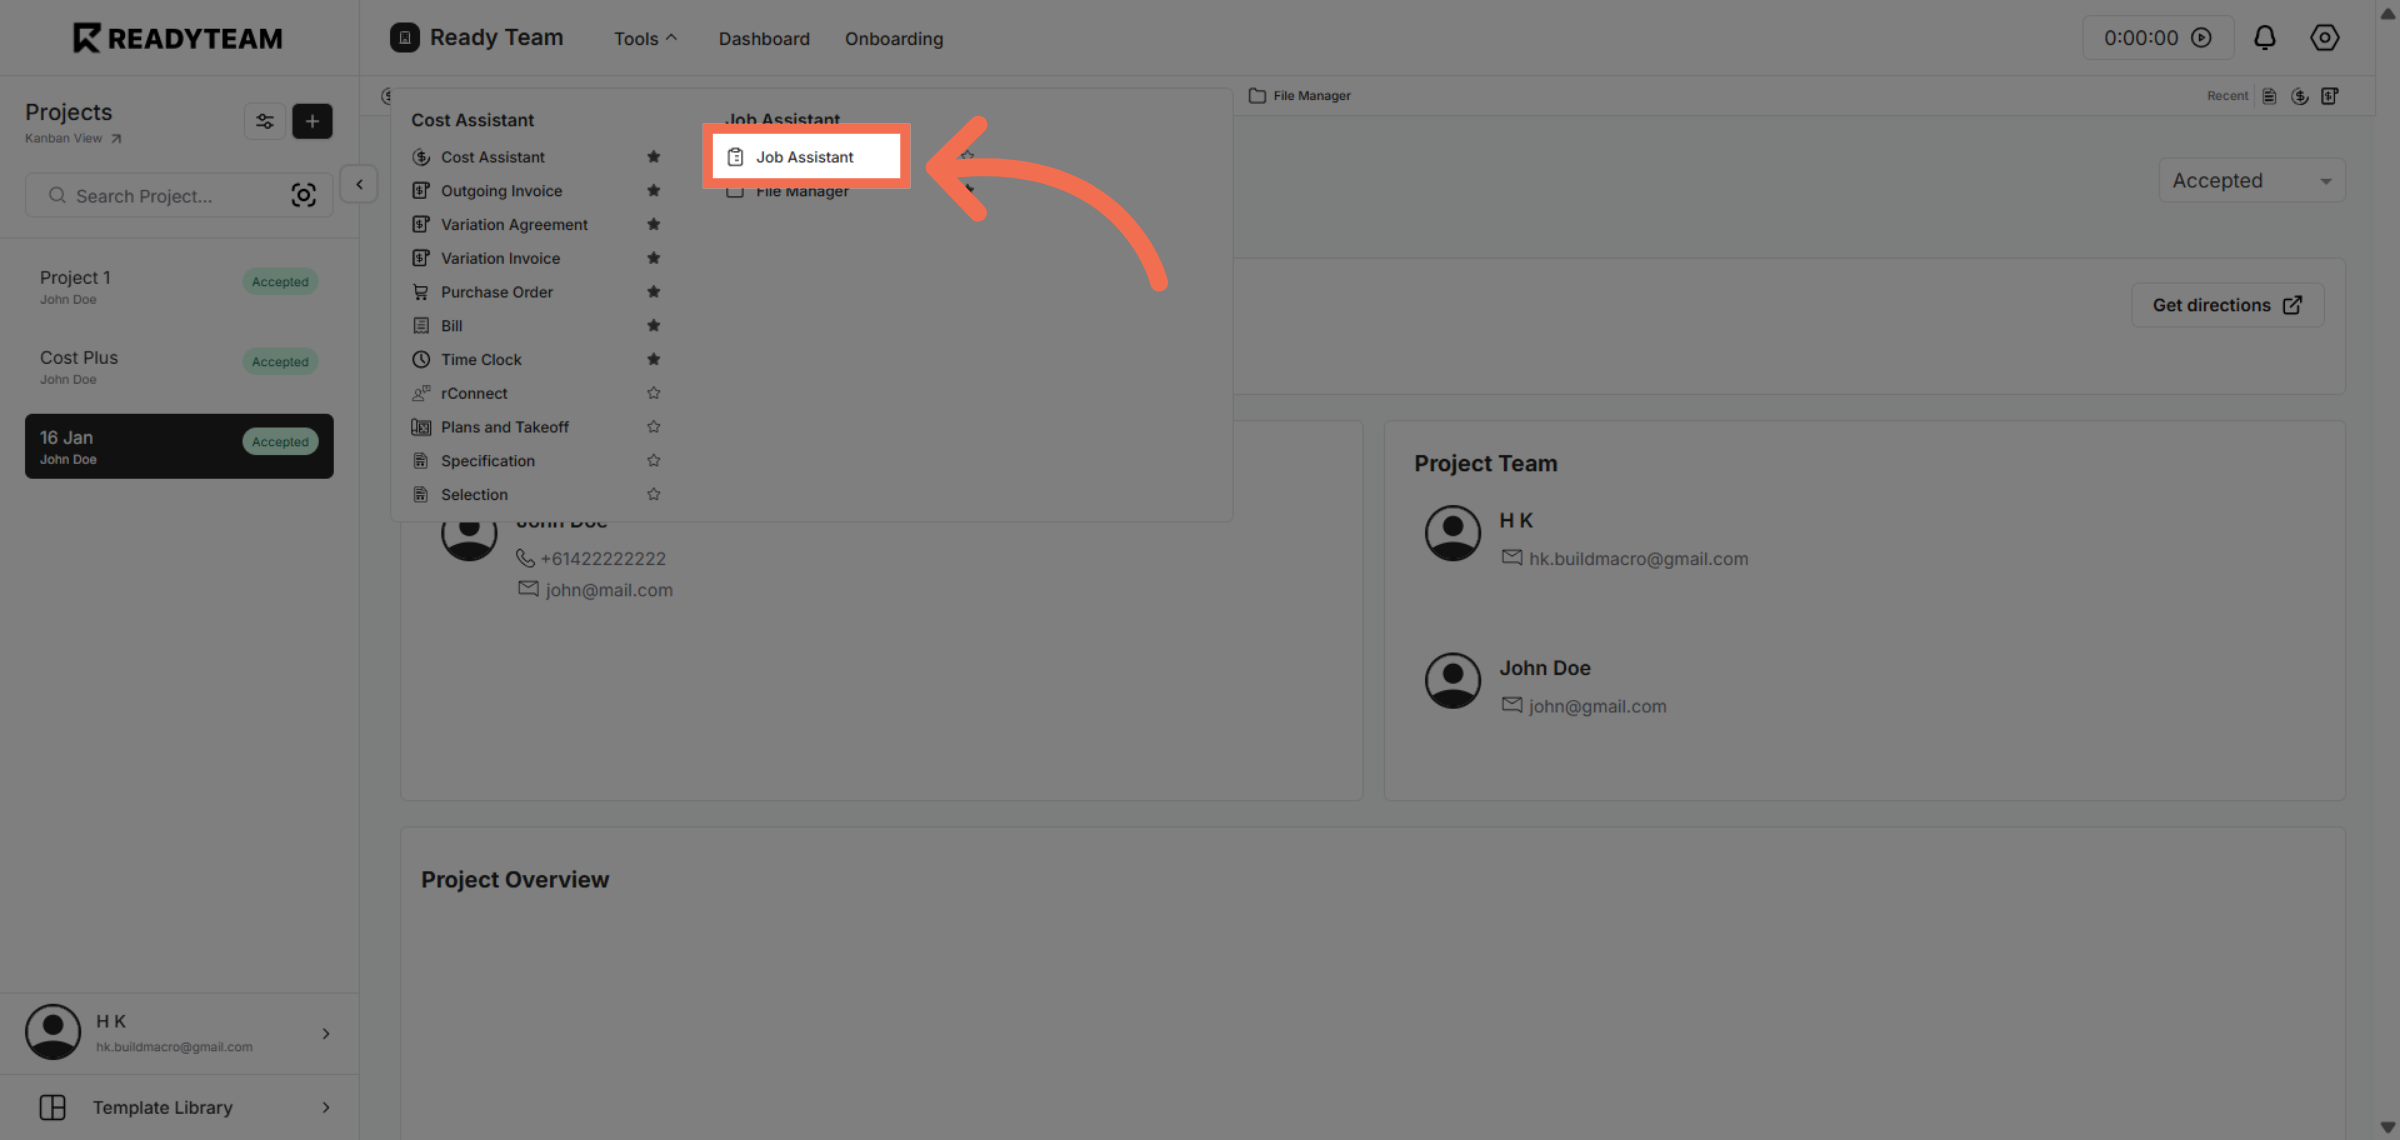
3. Launch Job Assistant
Open the Job Assistant feature to assist with job-related tasks and communications.
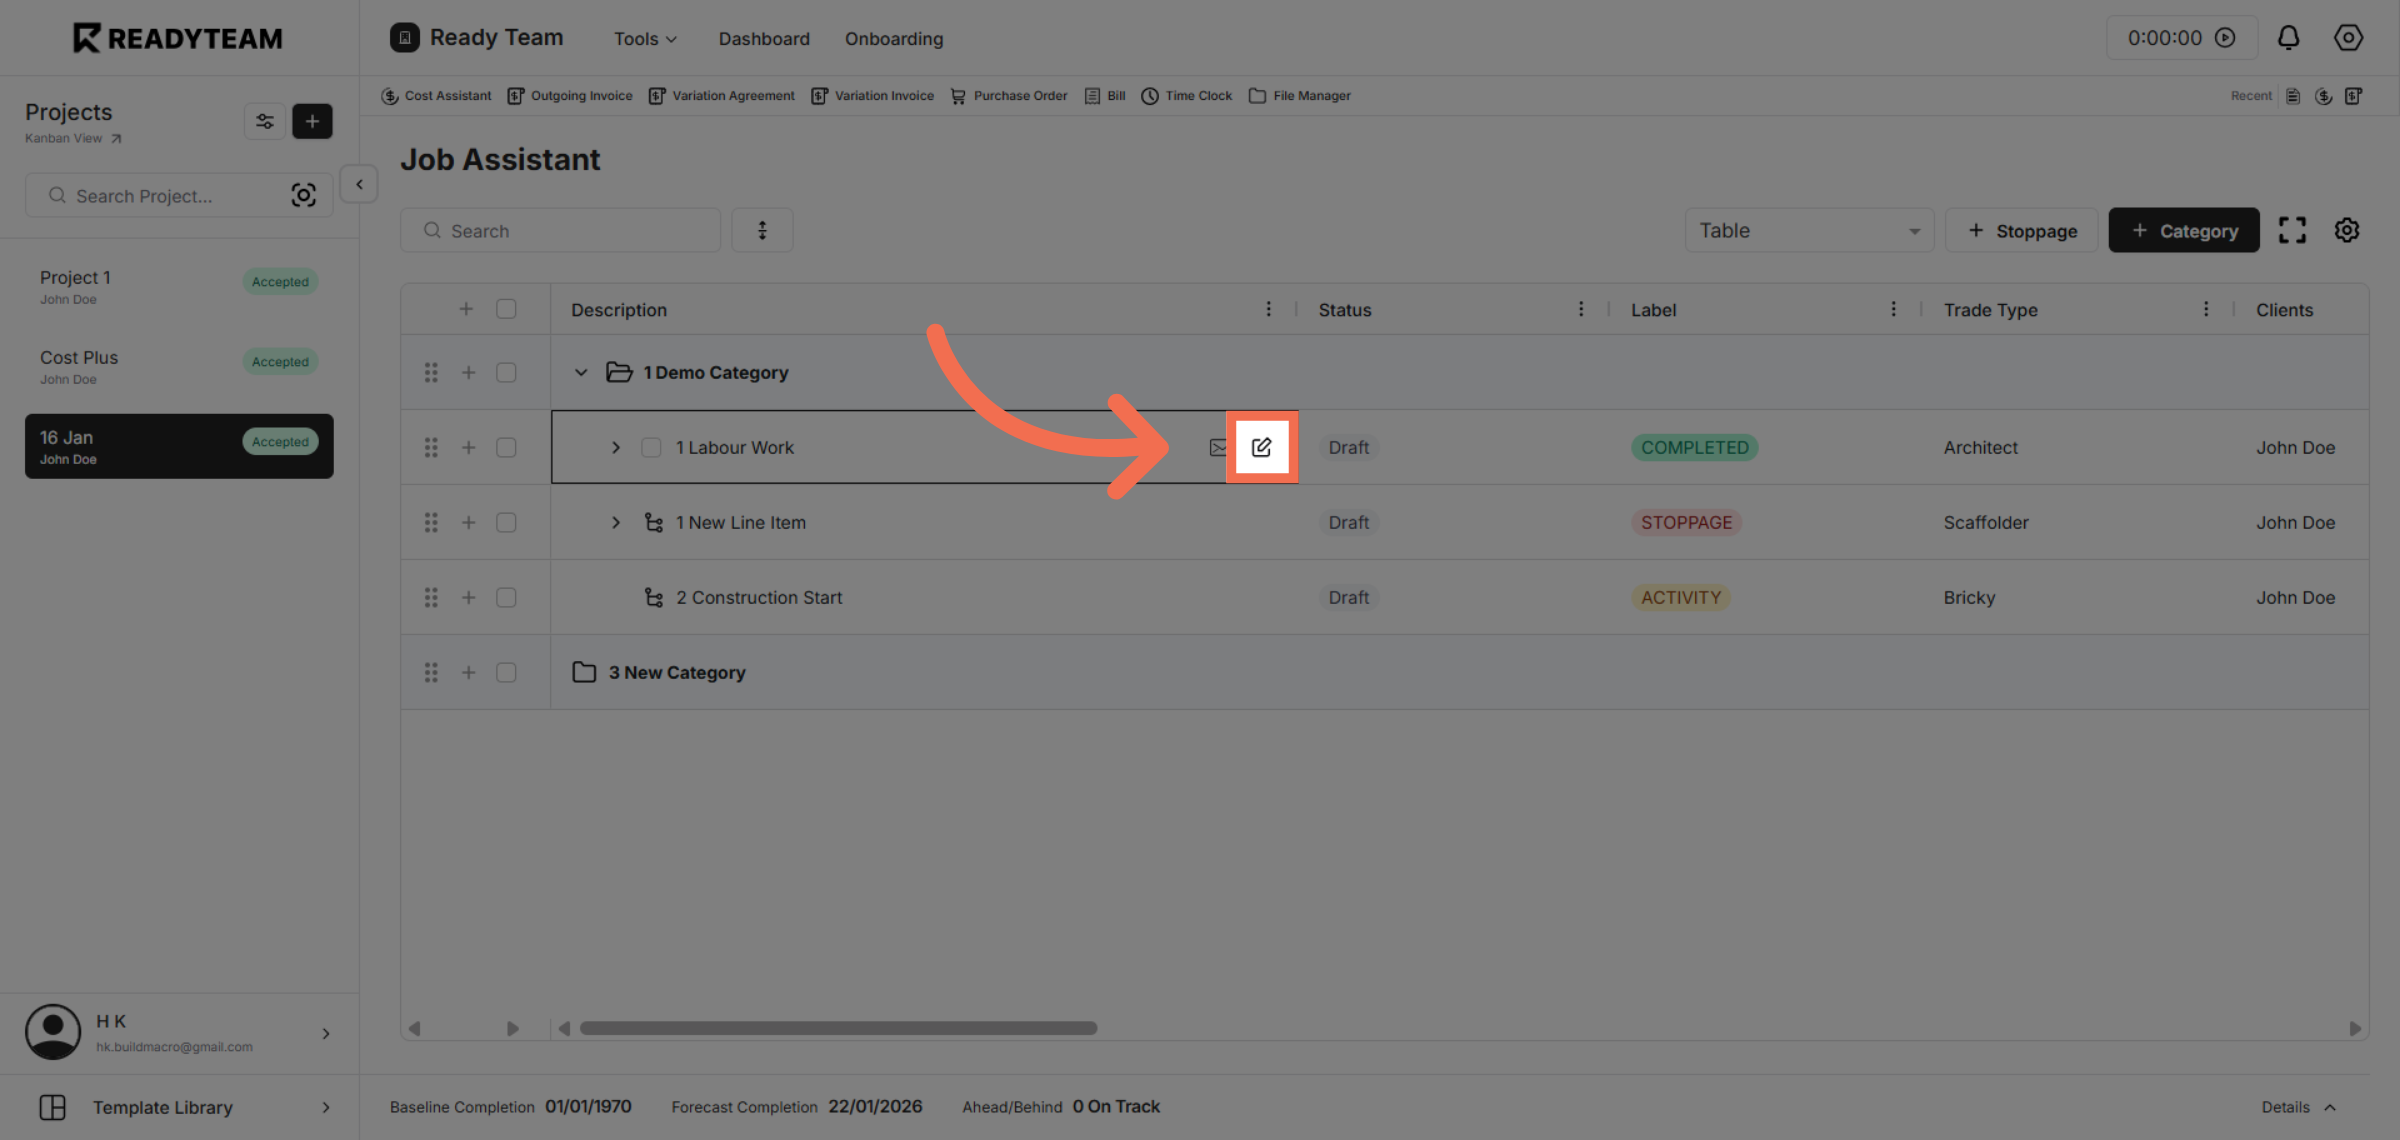
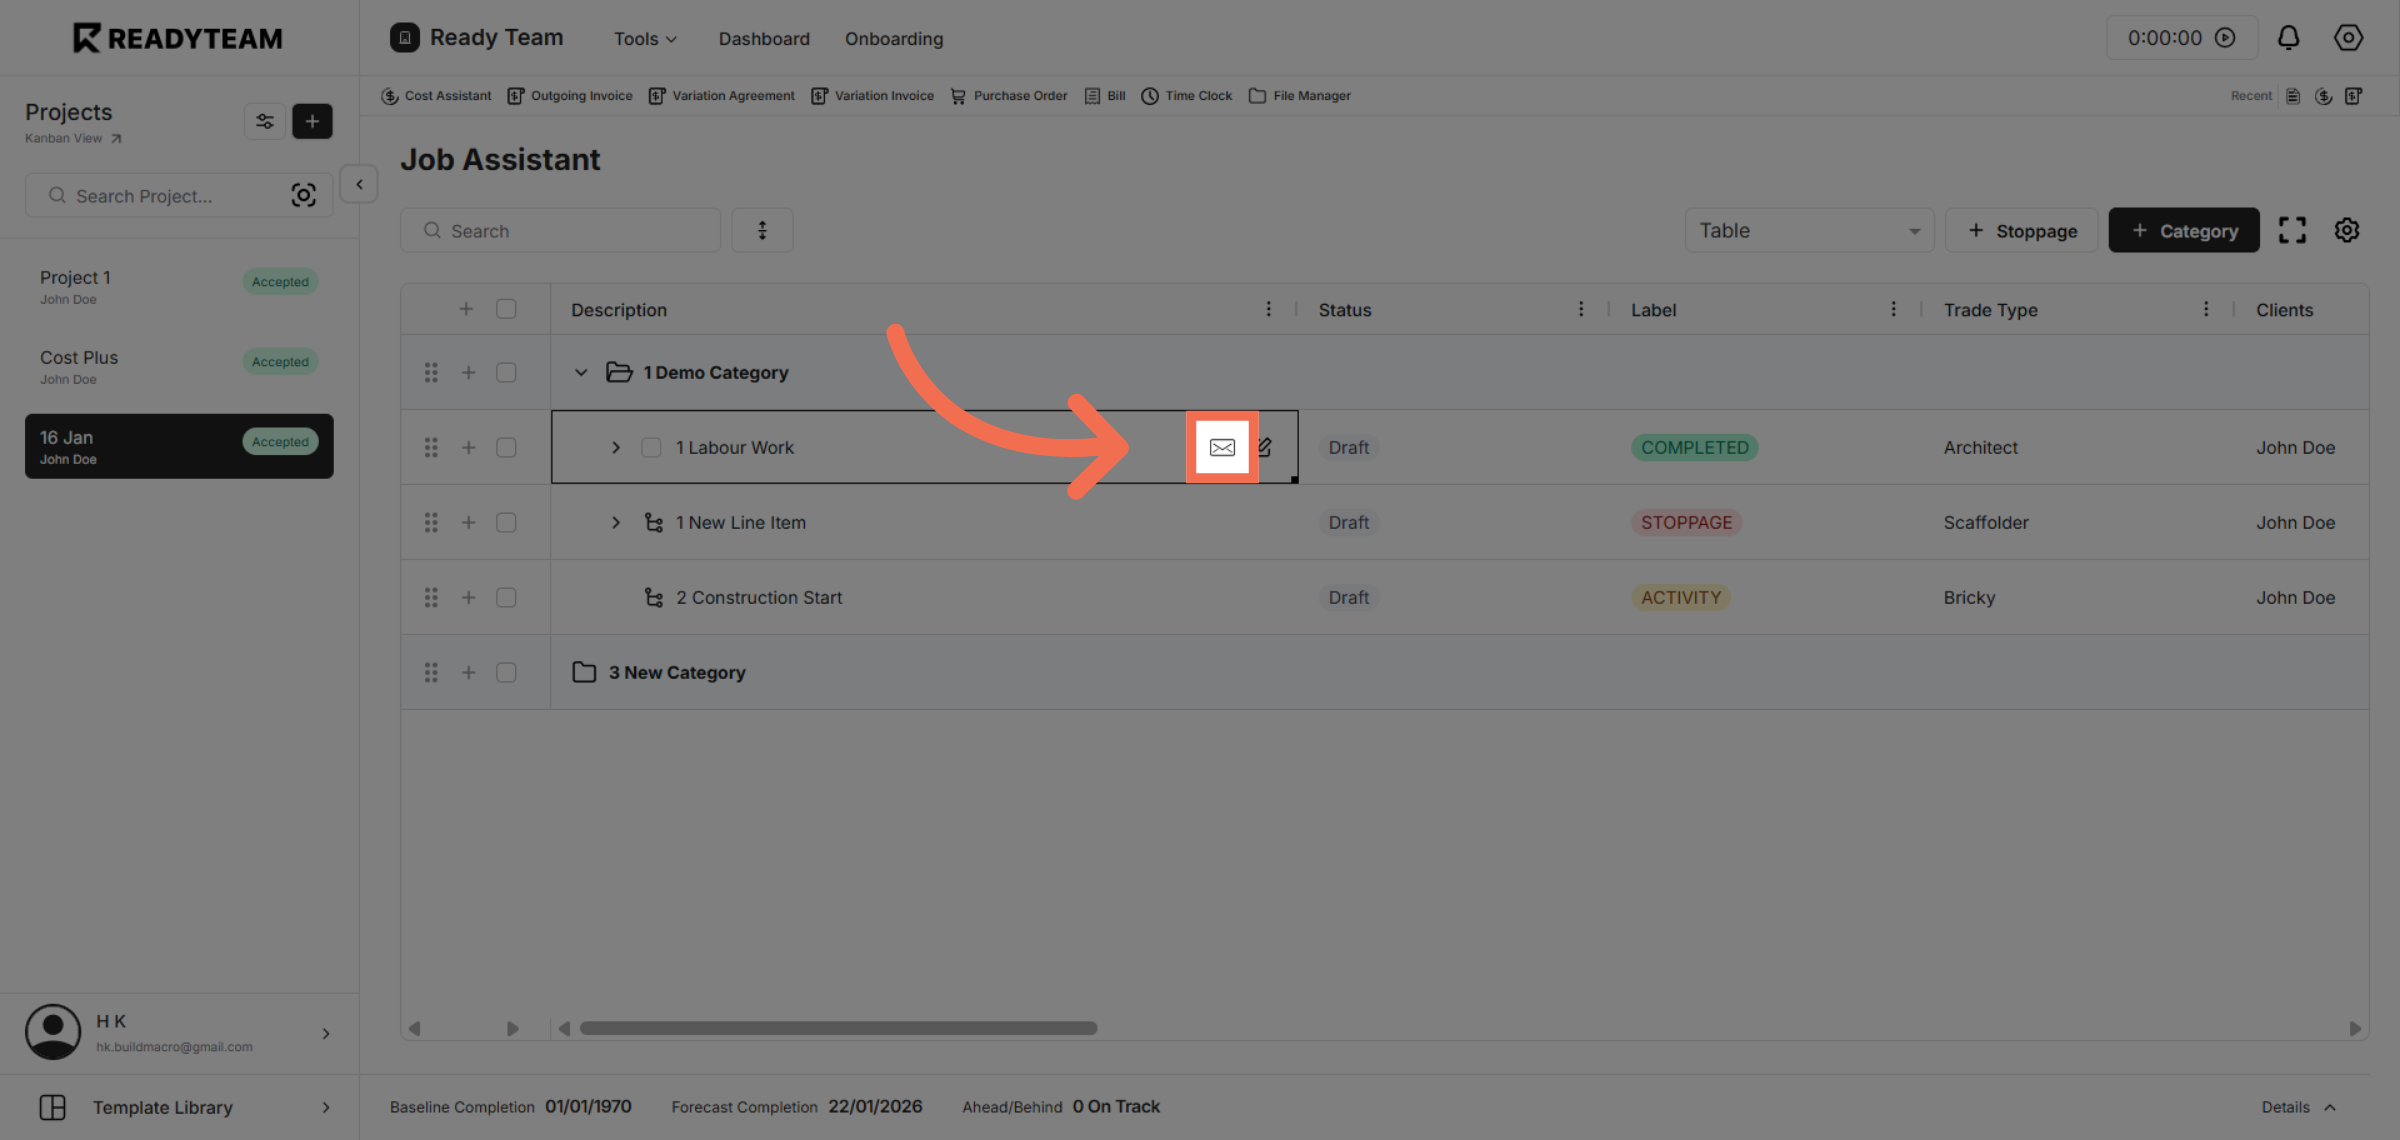
4. Initiate Email Process
Begin the email process by clicking the designated area to compose a new message.
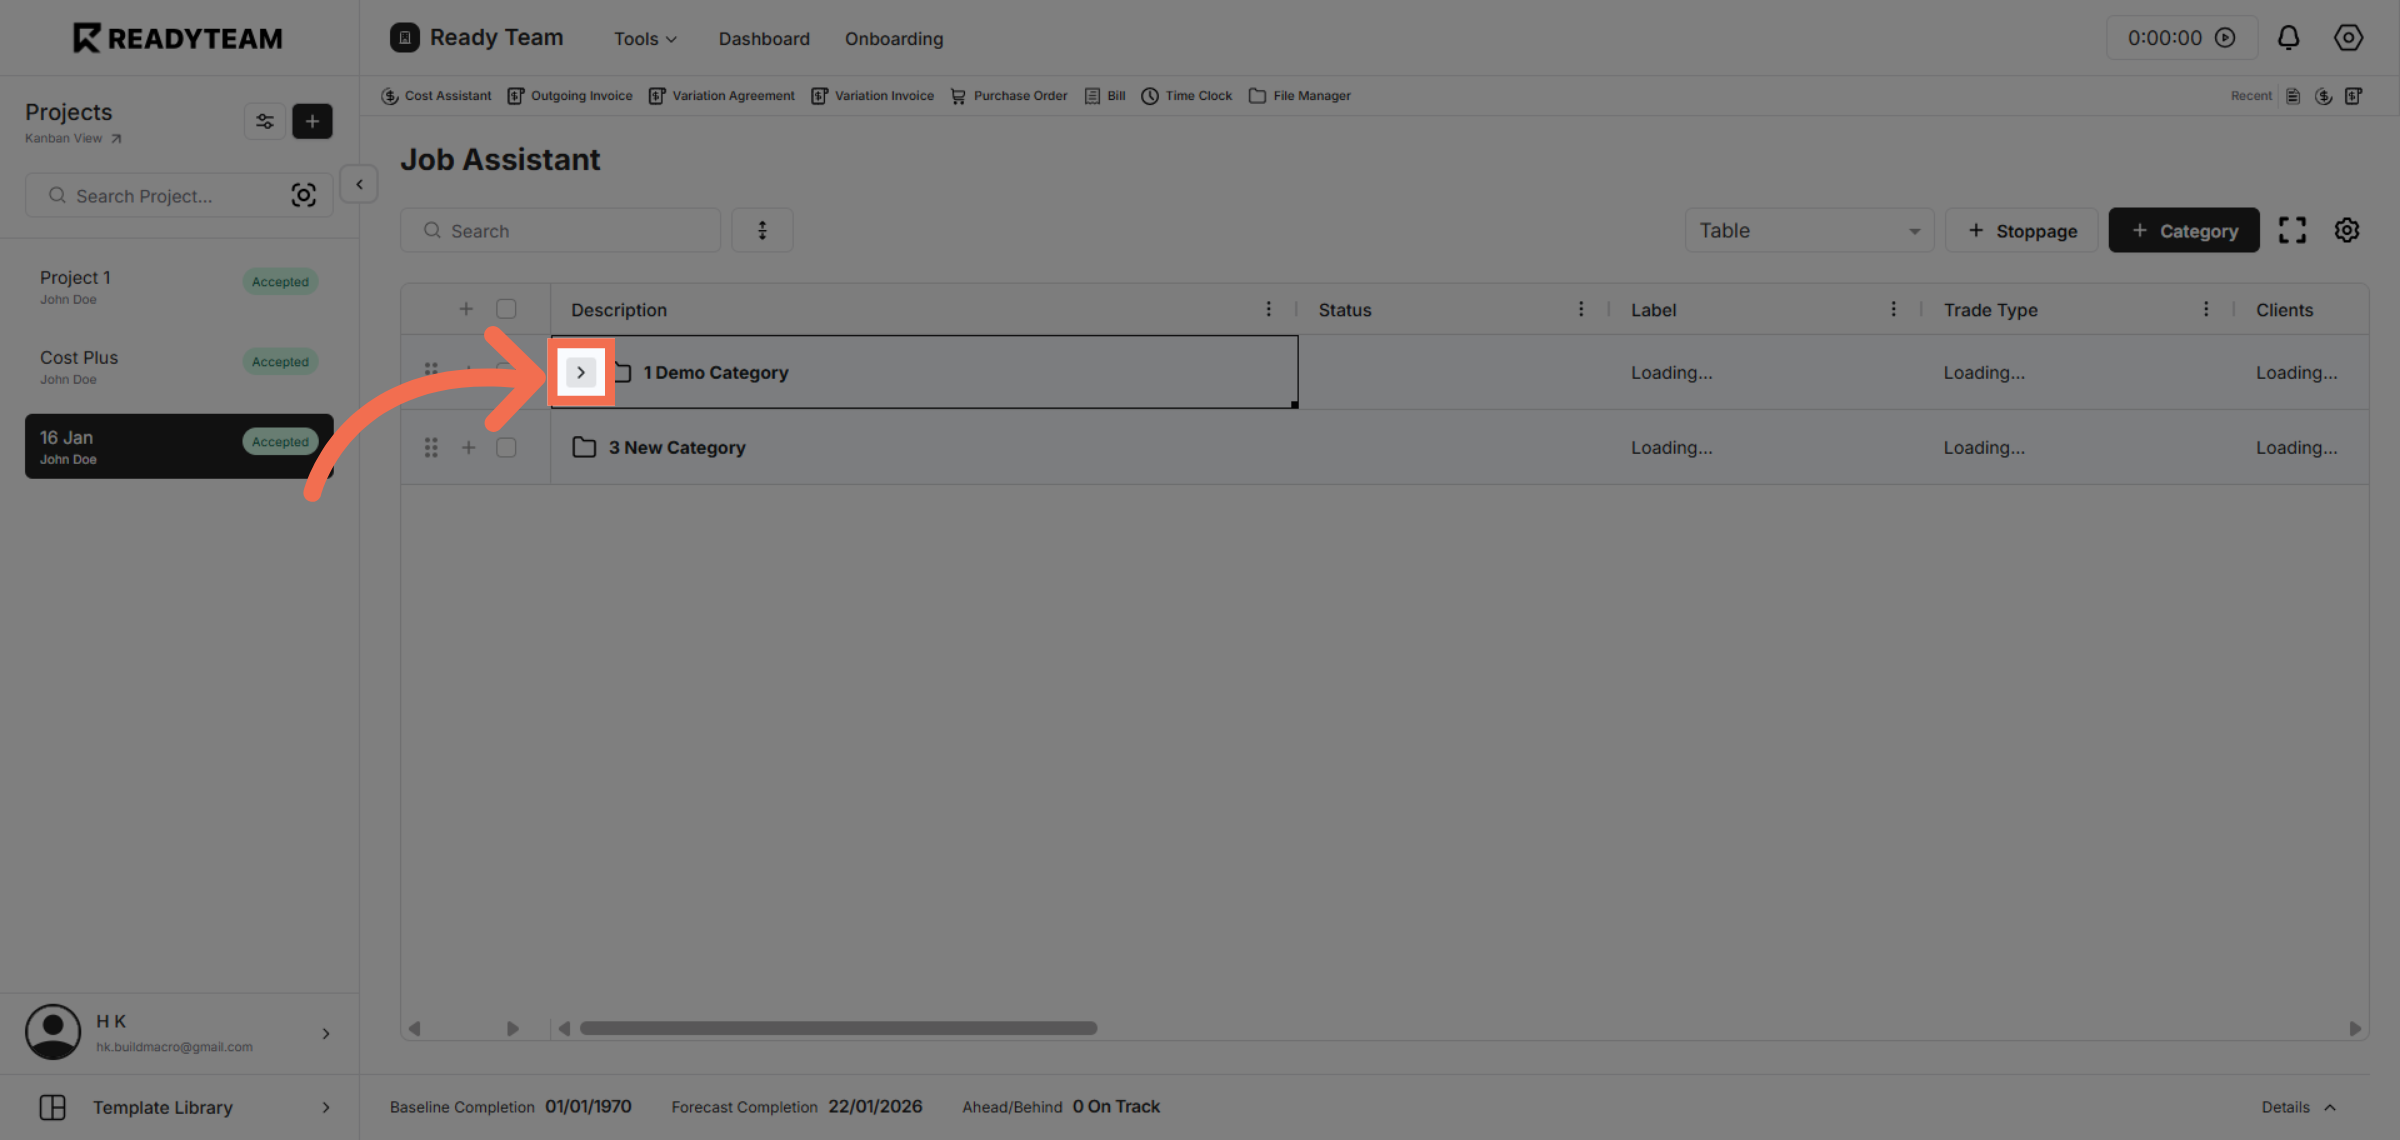
5. Open Edit line item Dialogue
Open edit line item dialogue to add email template.
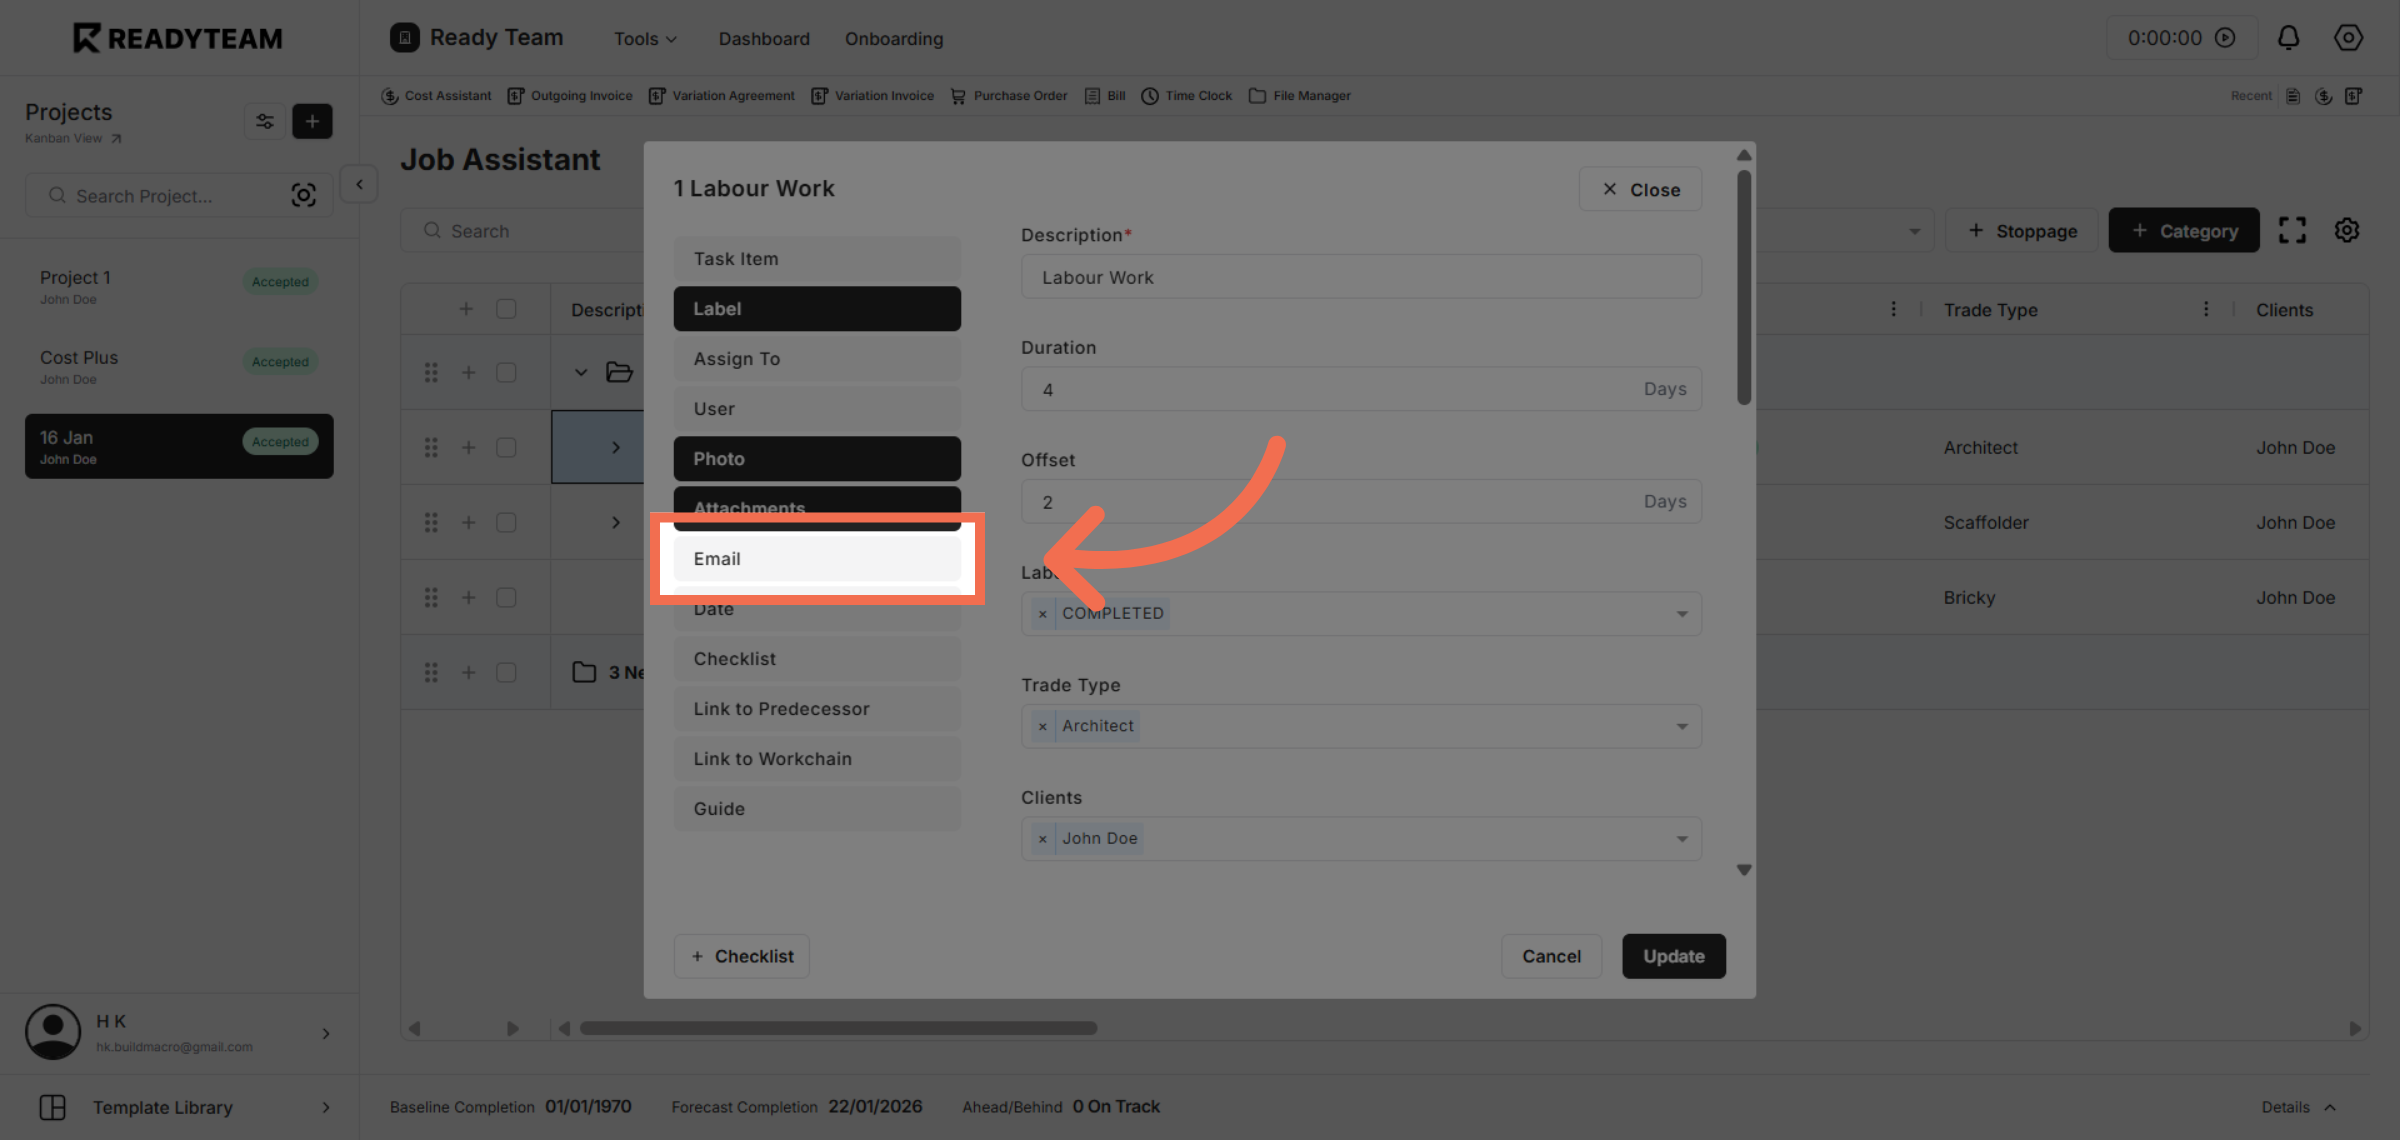
6. Choose Email Option
Select the Email option to specify the type of communication you want to send.
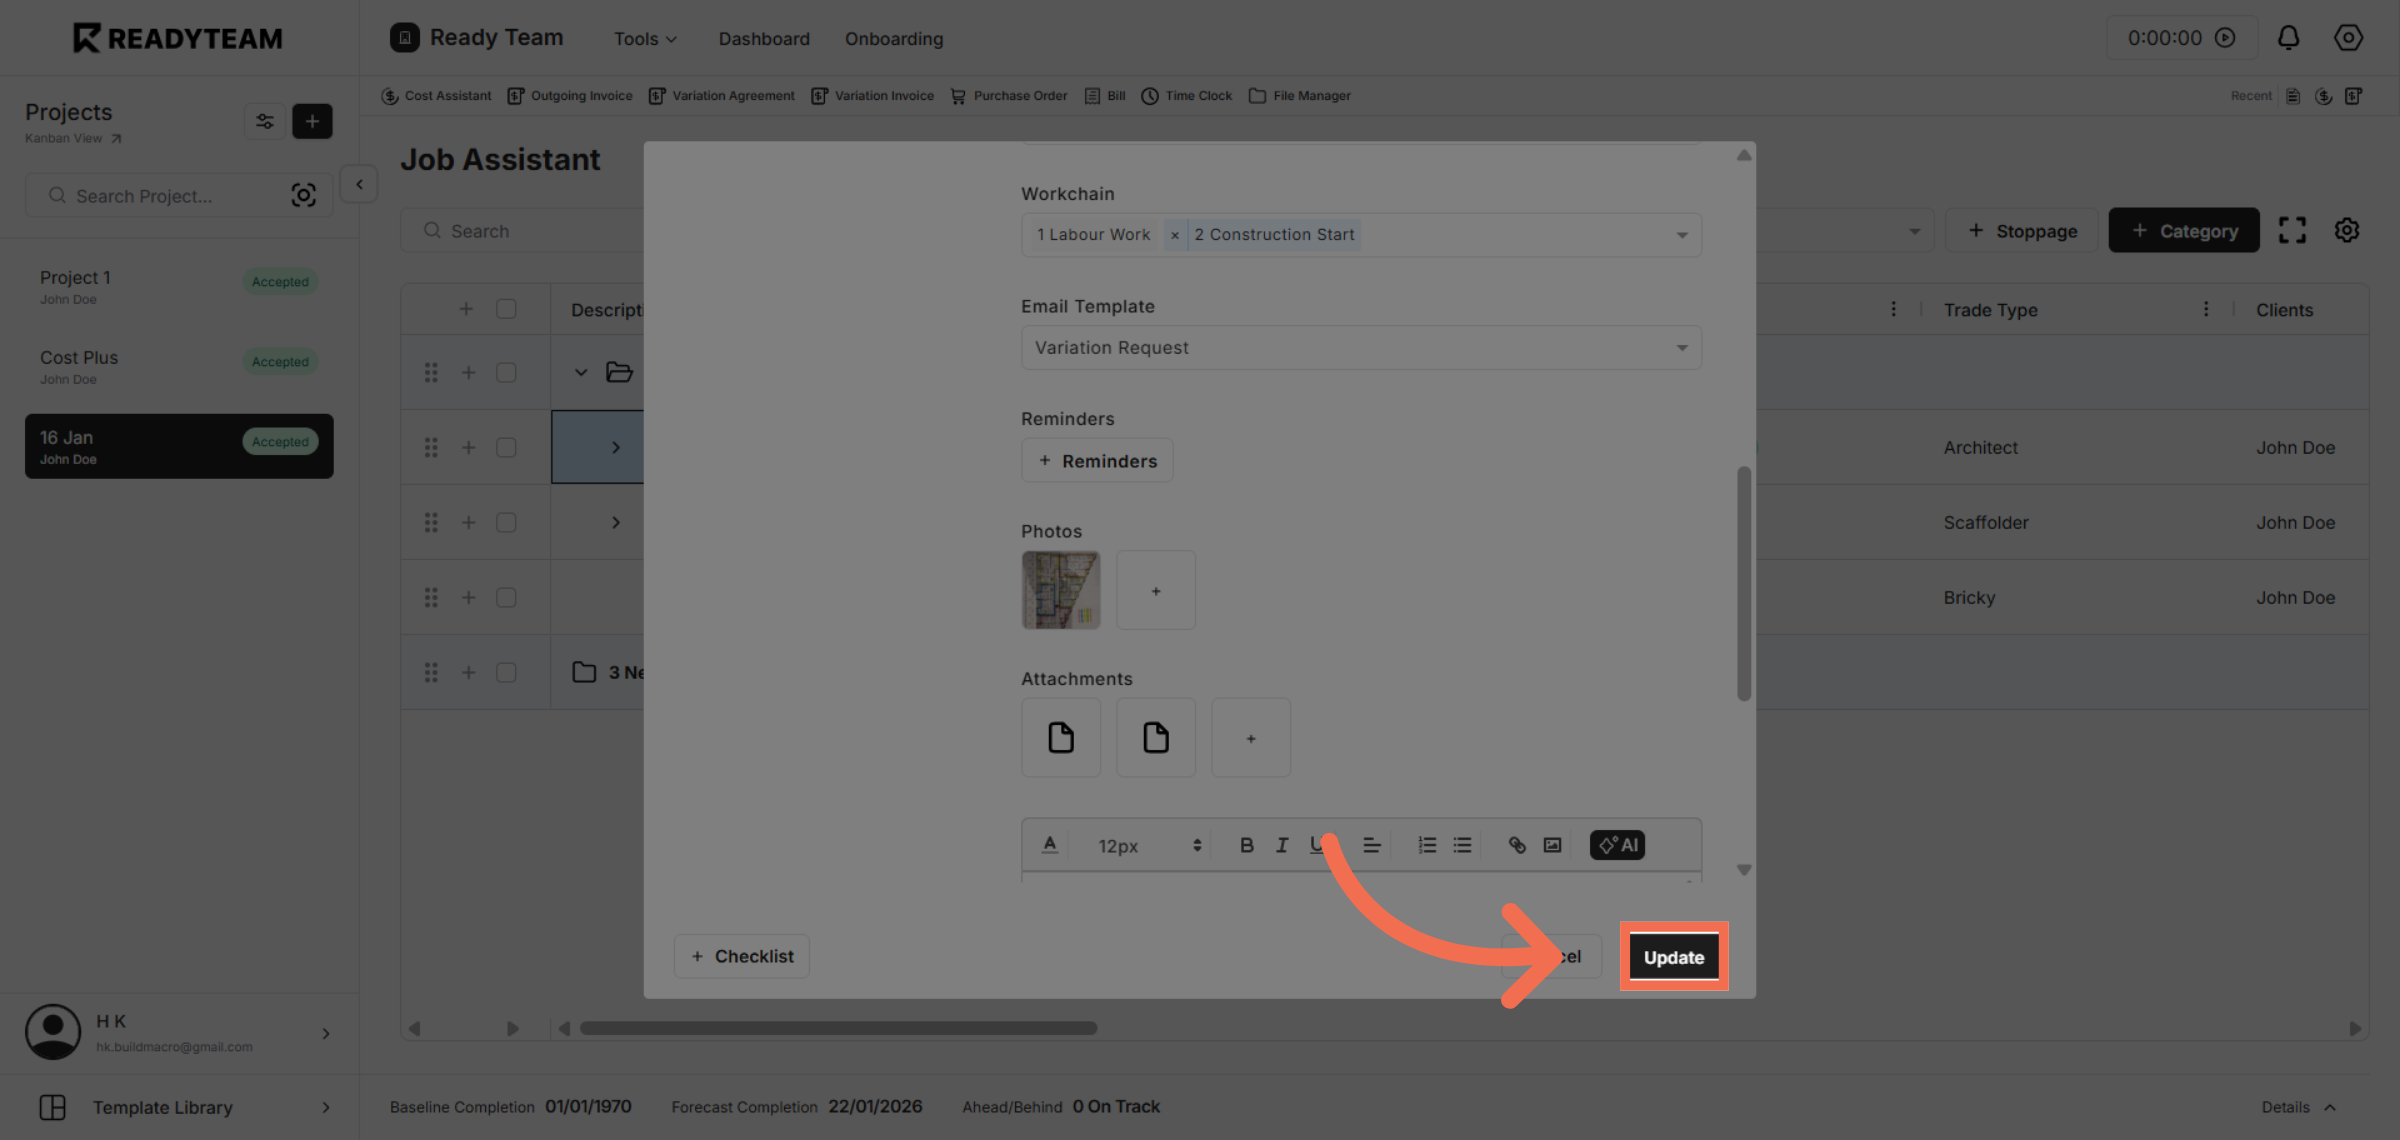
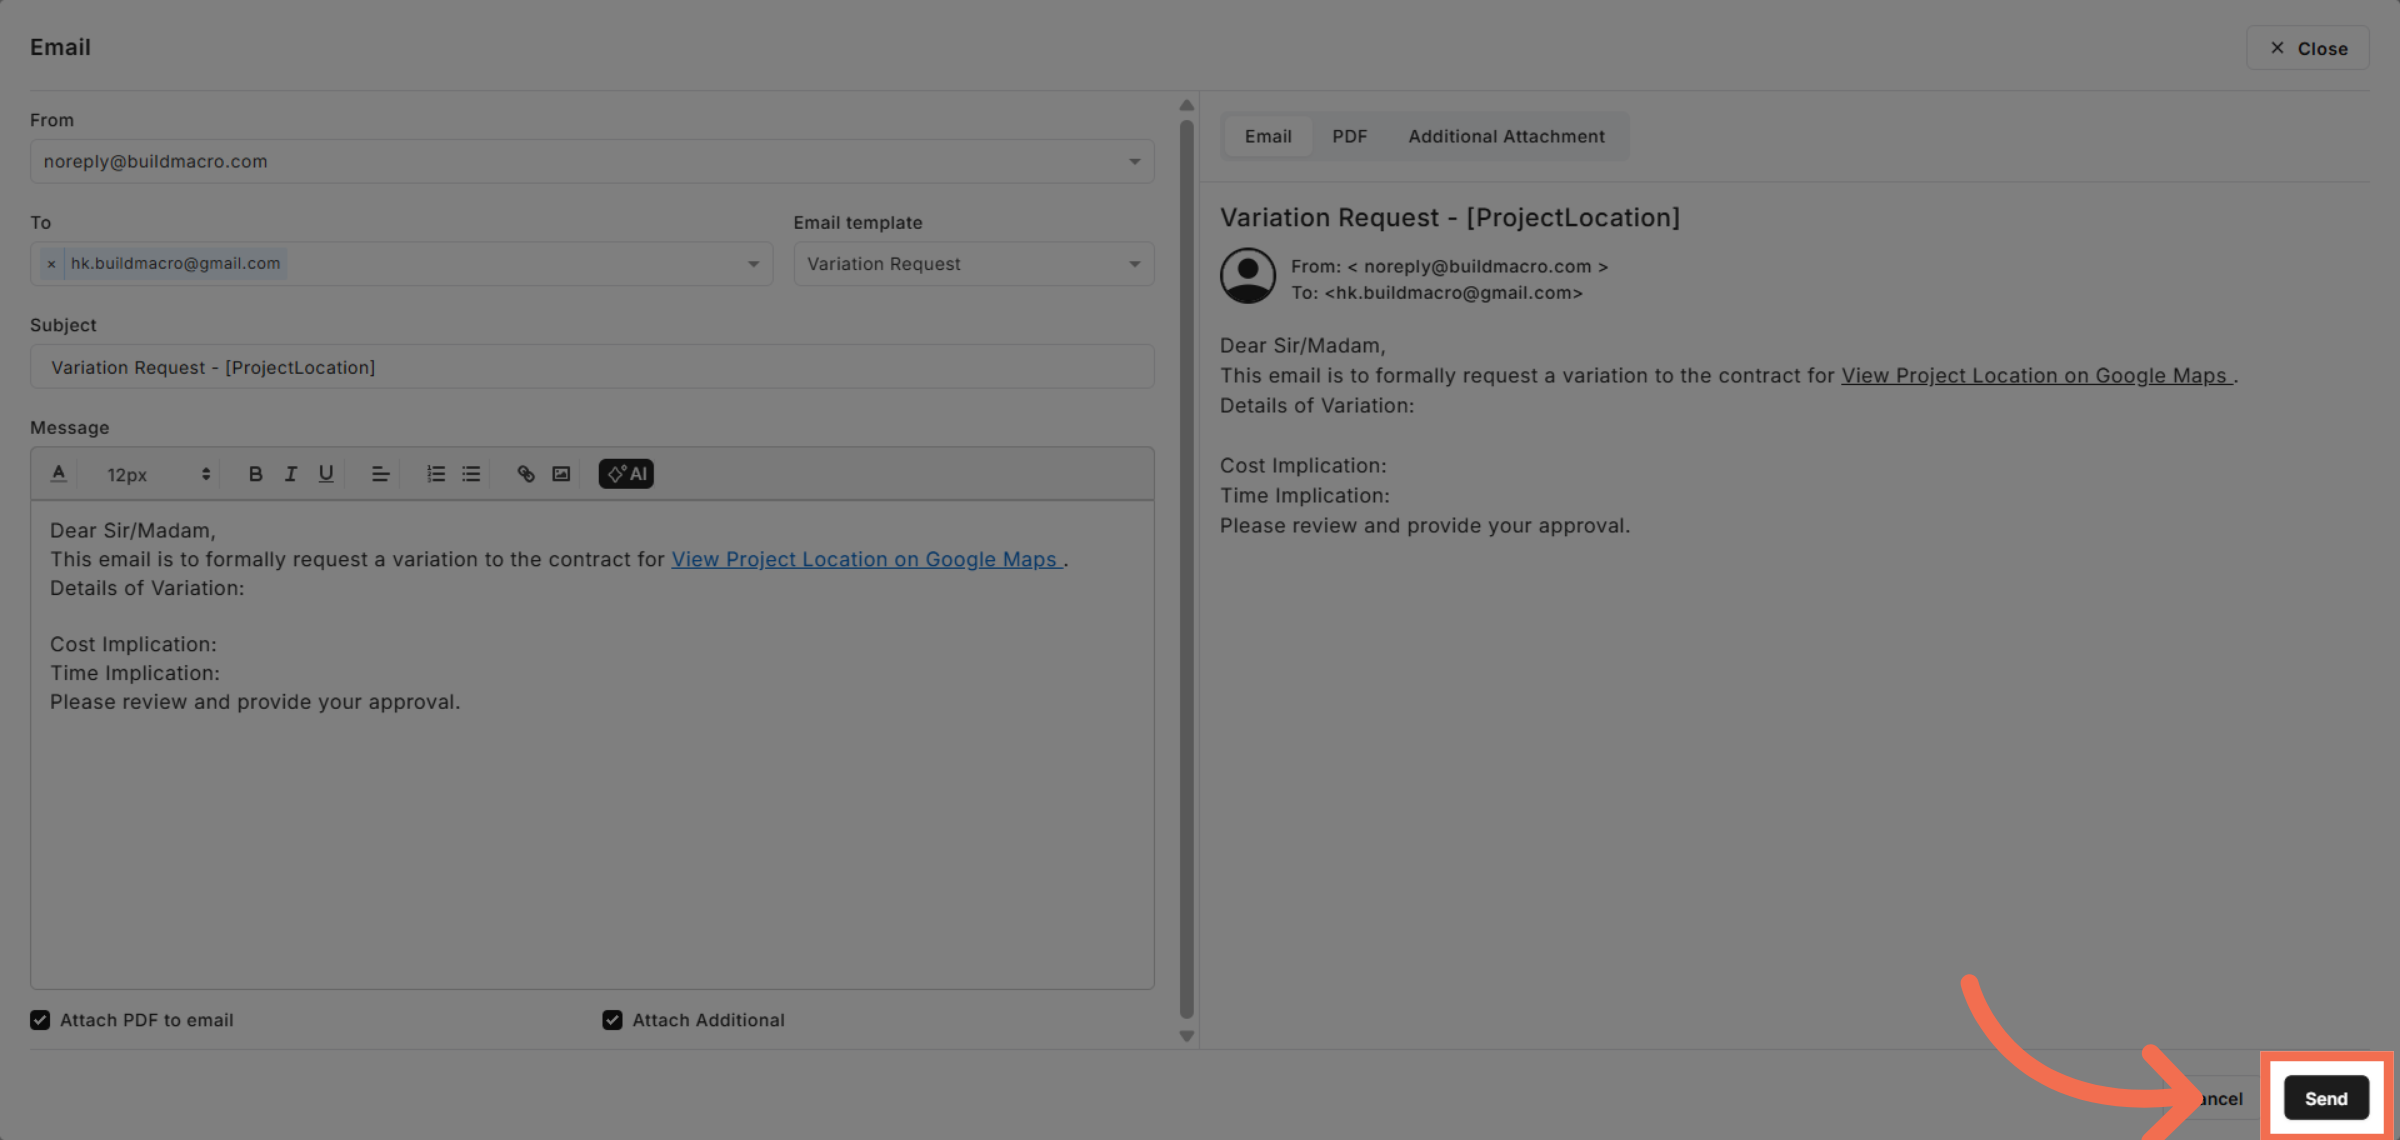
7. Select Email Template
Choose the Variation Request template or category to tailor the email for specific requests.

8. Update Email Content
Click Update to apply changes and refresh the email content before sending.
9. Proceed to Next Step
Click to move forward in the email sending process, preparing for finalization.
10. Enter Email Recipients
Enter Email Recipients to specify who you want to send the mail.

11. Send Email Message
Click Send to deliver the email to the specified recipients and complete the process.
This demo demonstrated how to efficiently send an email using Readyteam by navigating project details, utilizing the Job Assistant, and customizing your message. Start using these features today to enhance your communication workflow.