Add Stoppages Efficiently In Job Assistant

This demo showcases how to add stoppages within Readyteam to manage project delays effectively.
Go to app.readyteam.ai
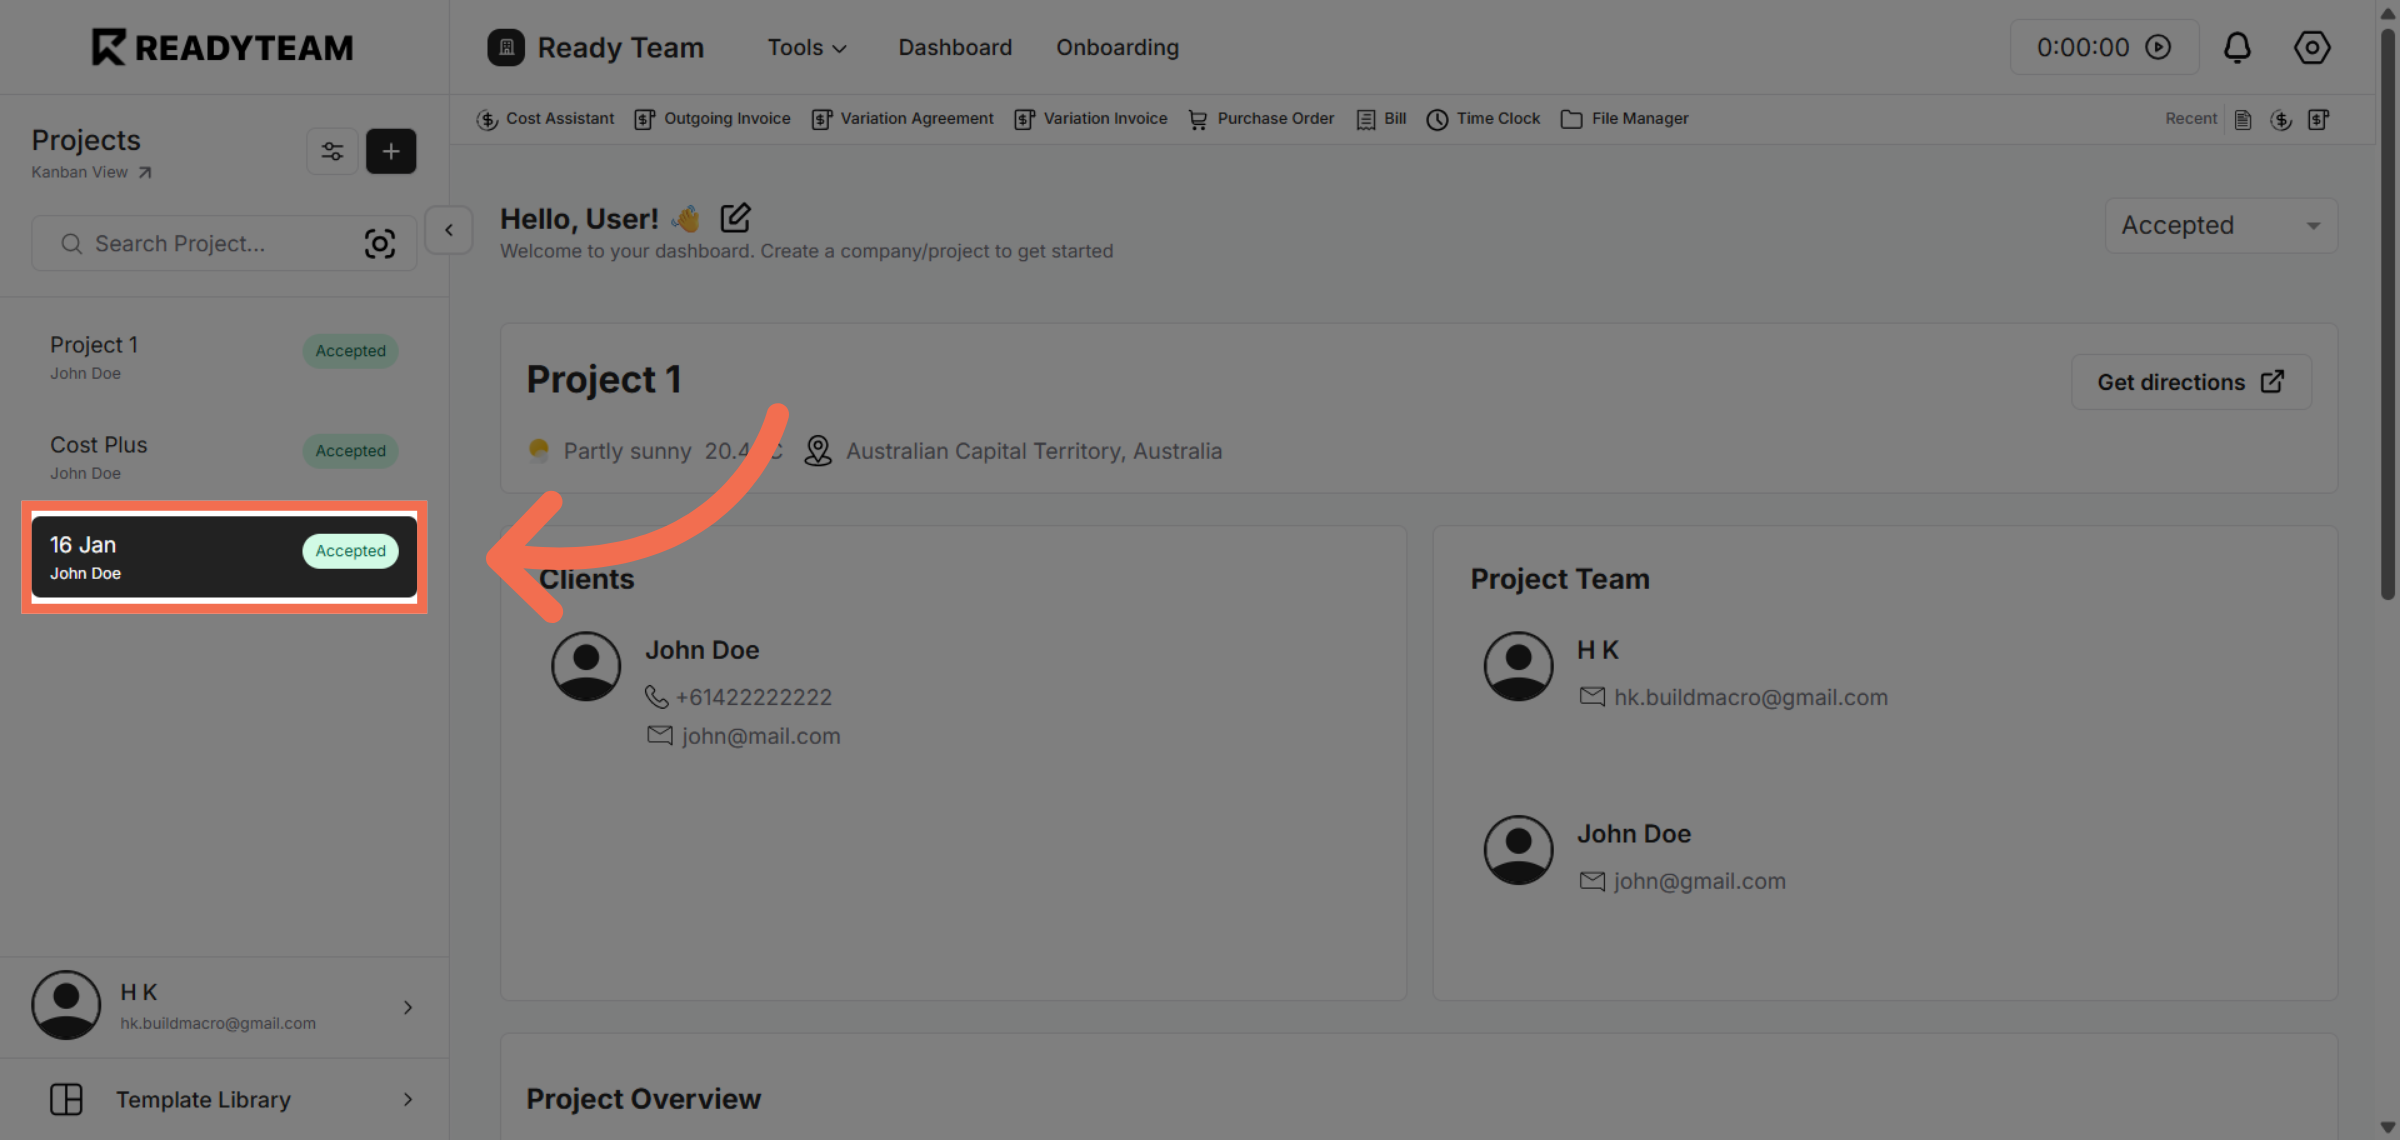
1. Select Specific Project
Click the Specific Project associated with the relevant user to begin managing stoppages.
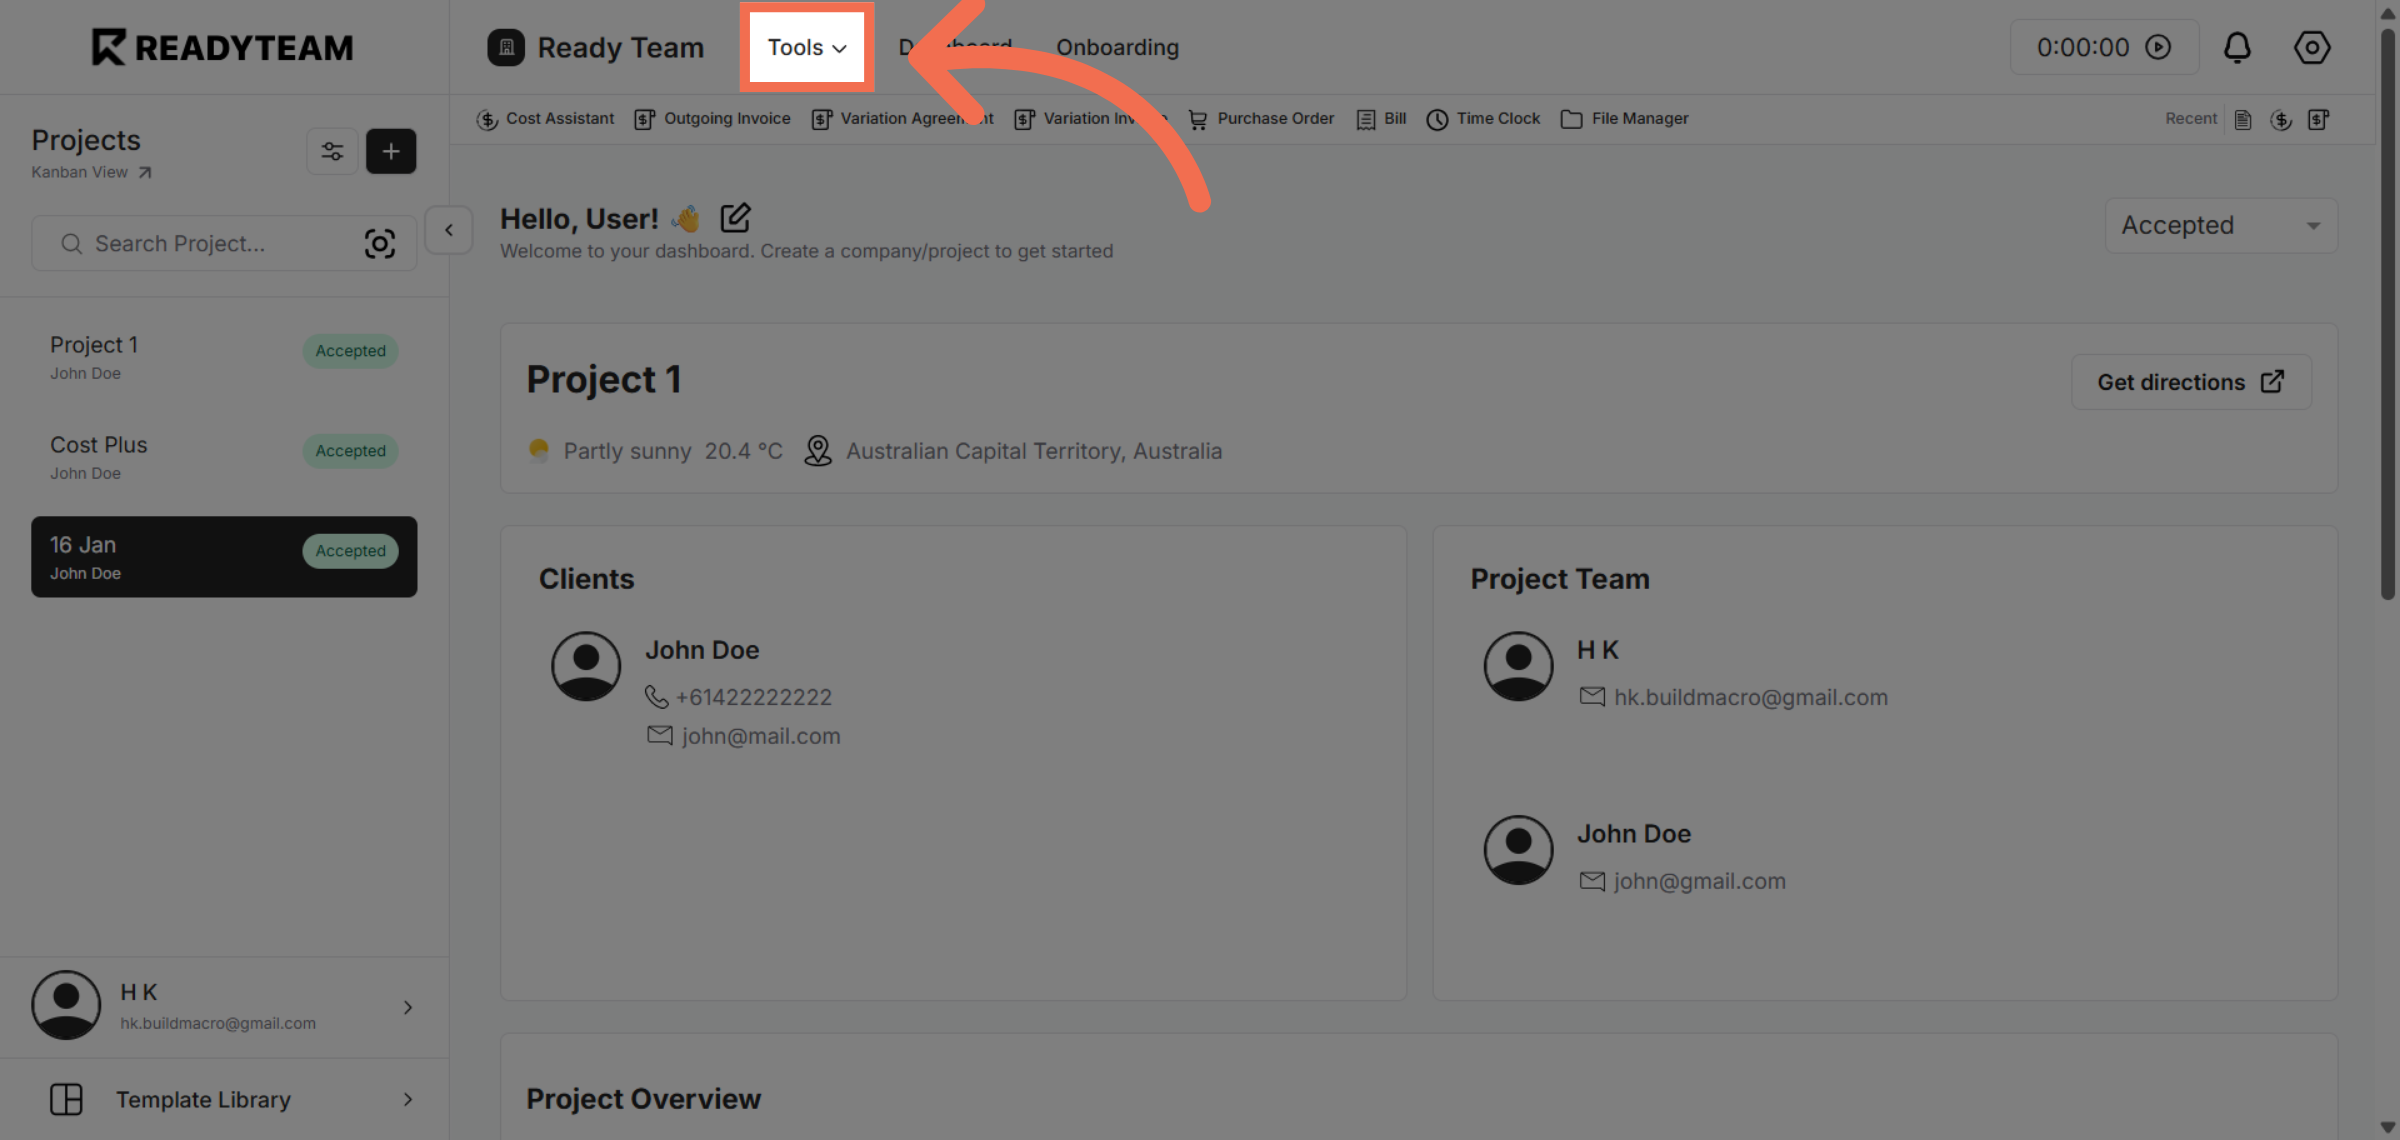
2. Open Tools Menu
Click the Tools menu to access additional job management features.
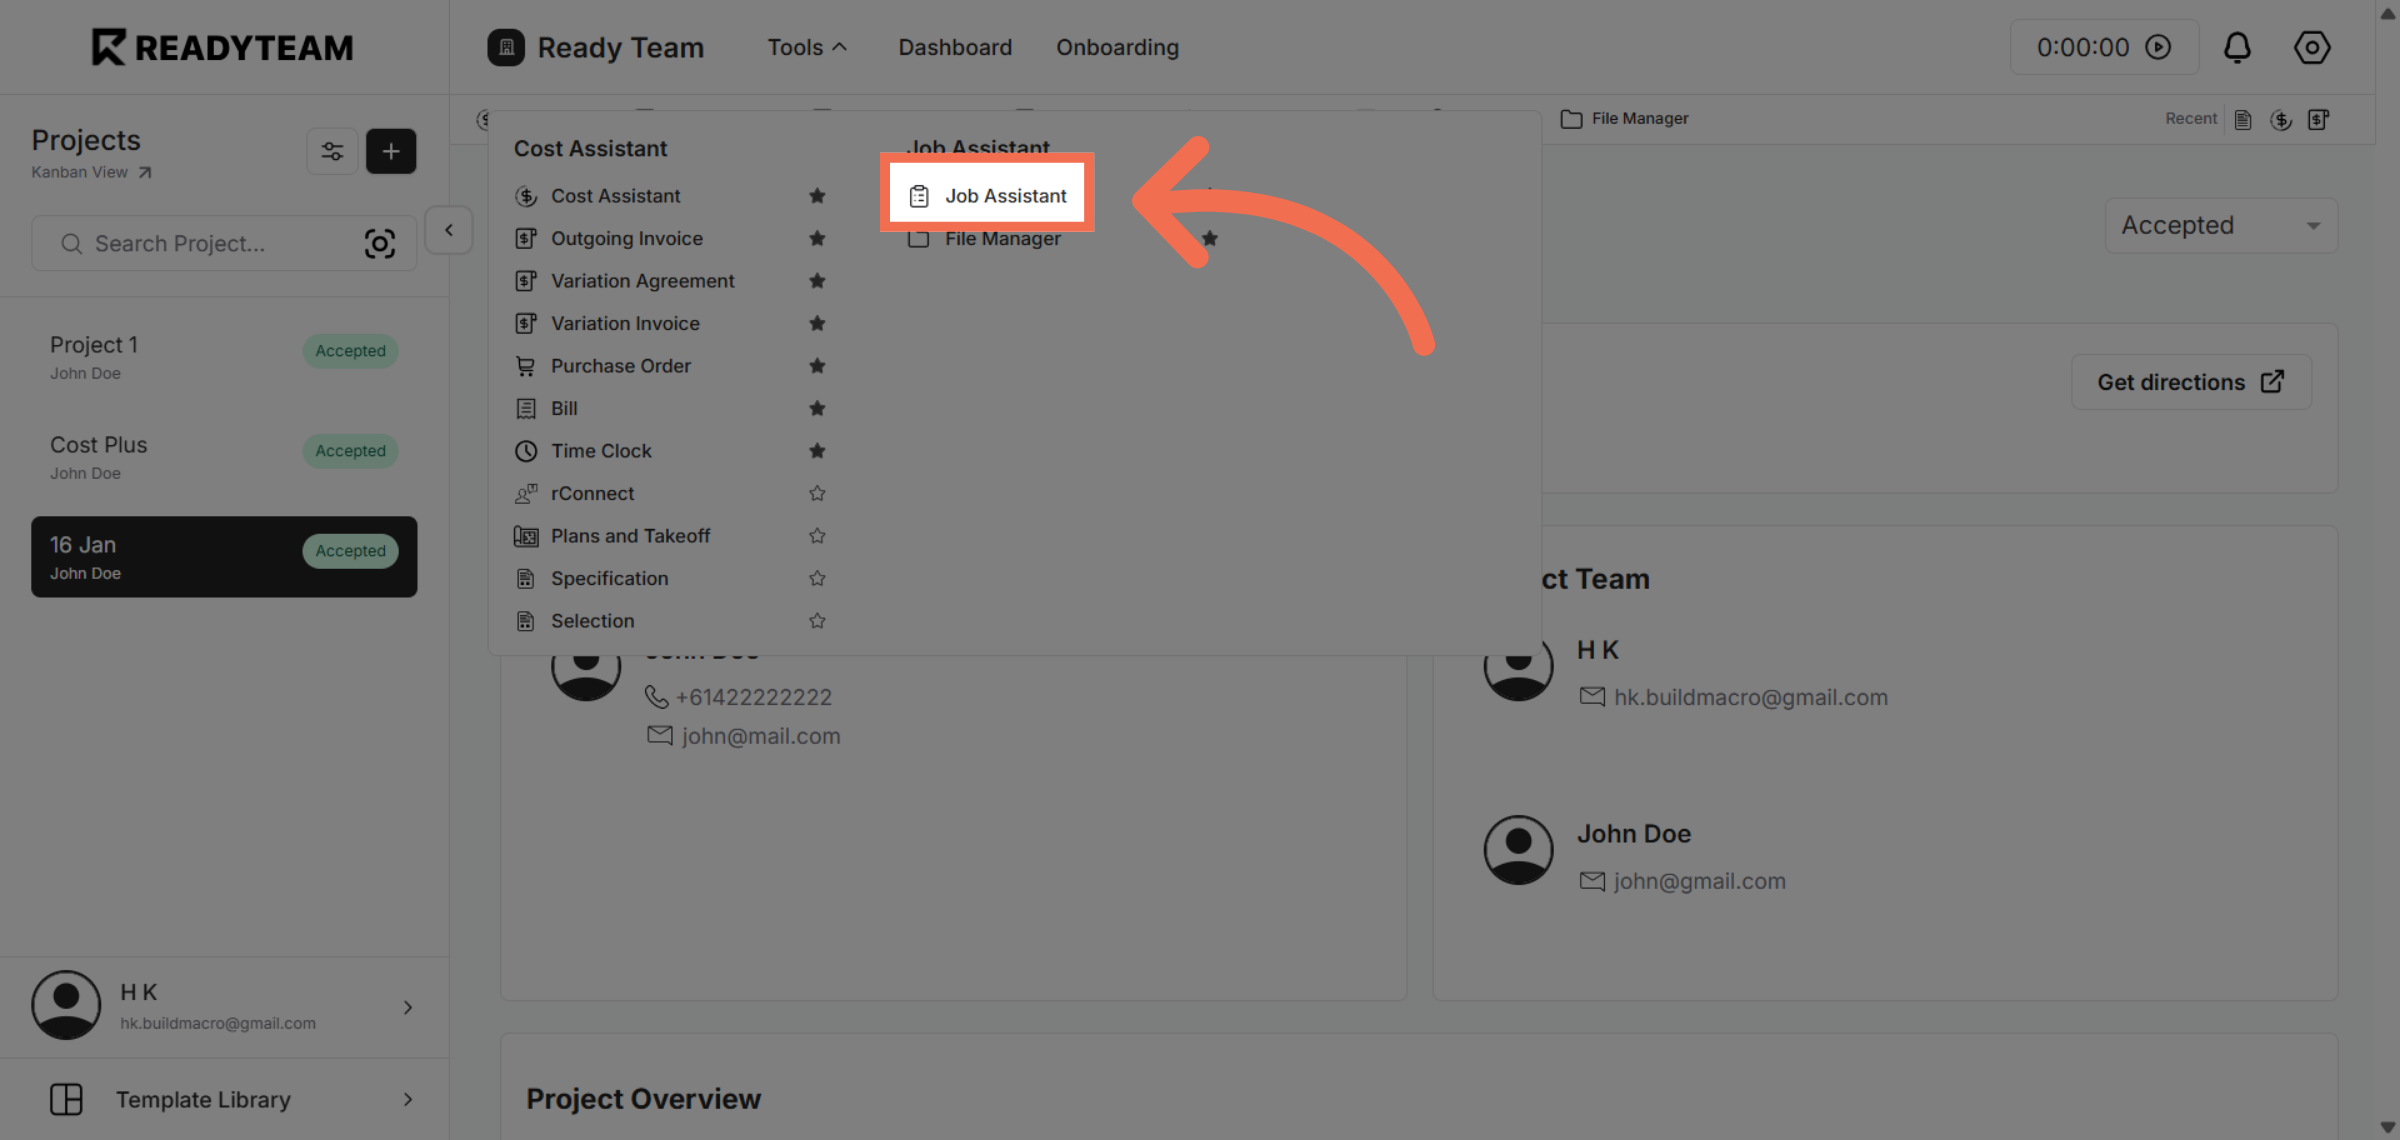
3. Access Job Assistant
Click Job Assistant to open the assistant panel that helps with job-related tasks.
4. Navigate to Stoppage Section
Click Stoppage to view and manage stoppage options for the selected job.
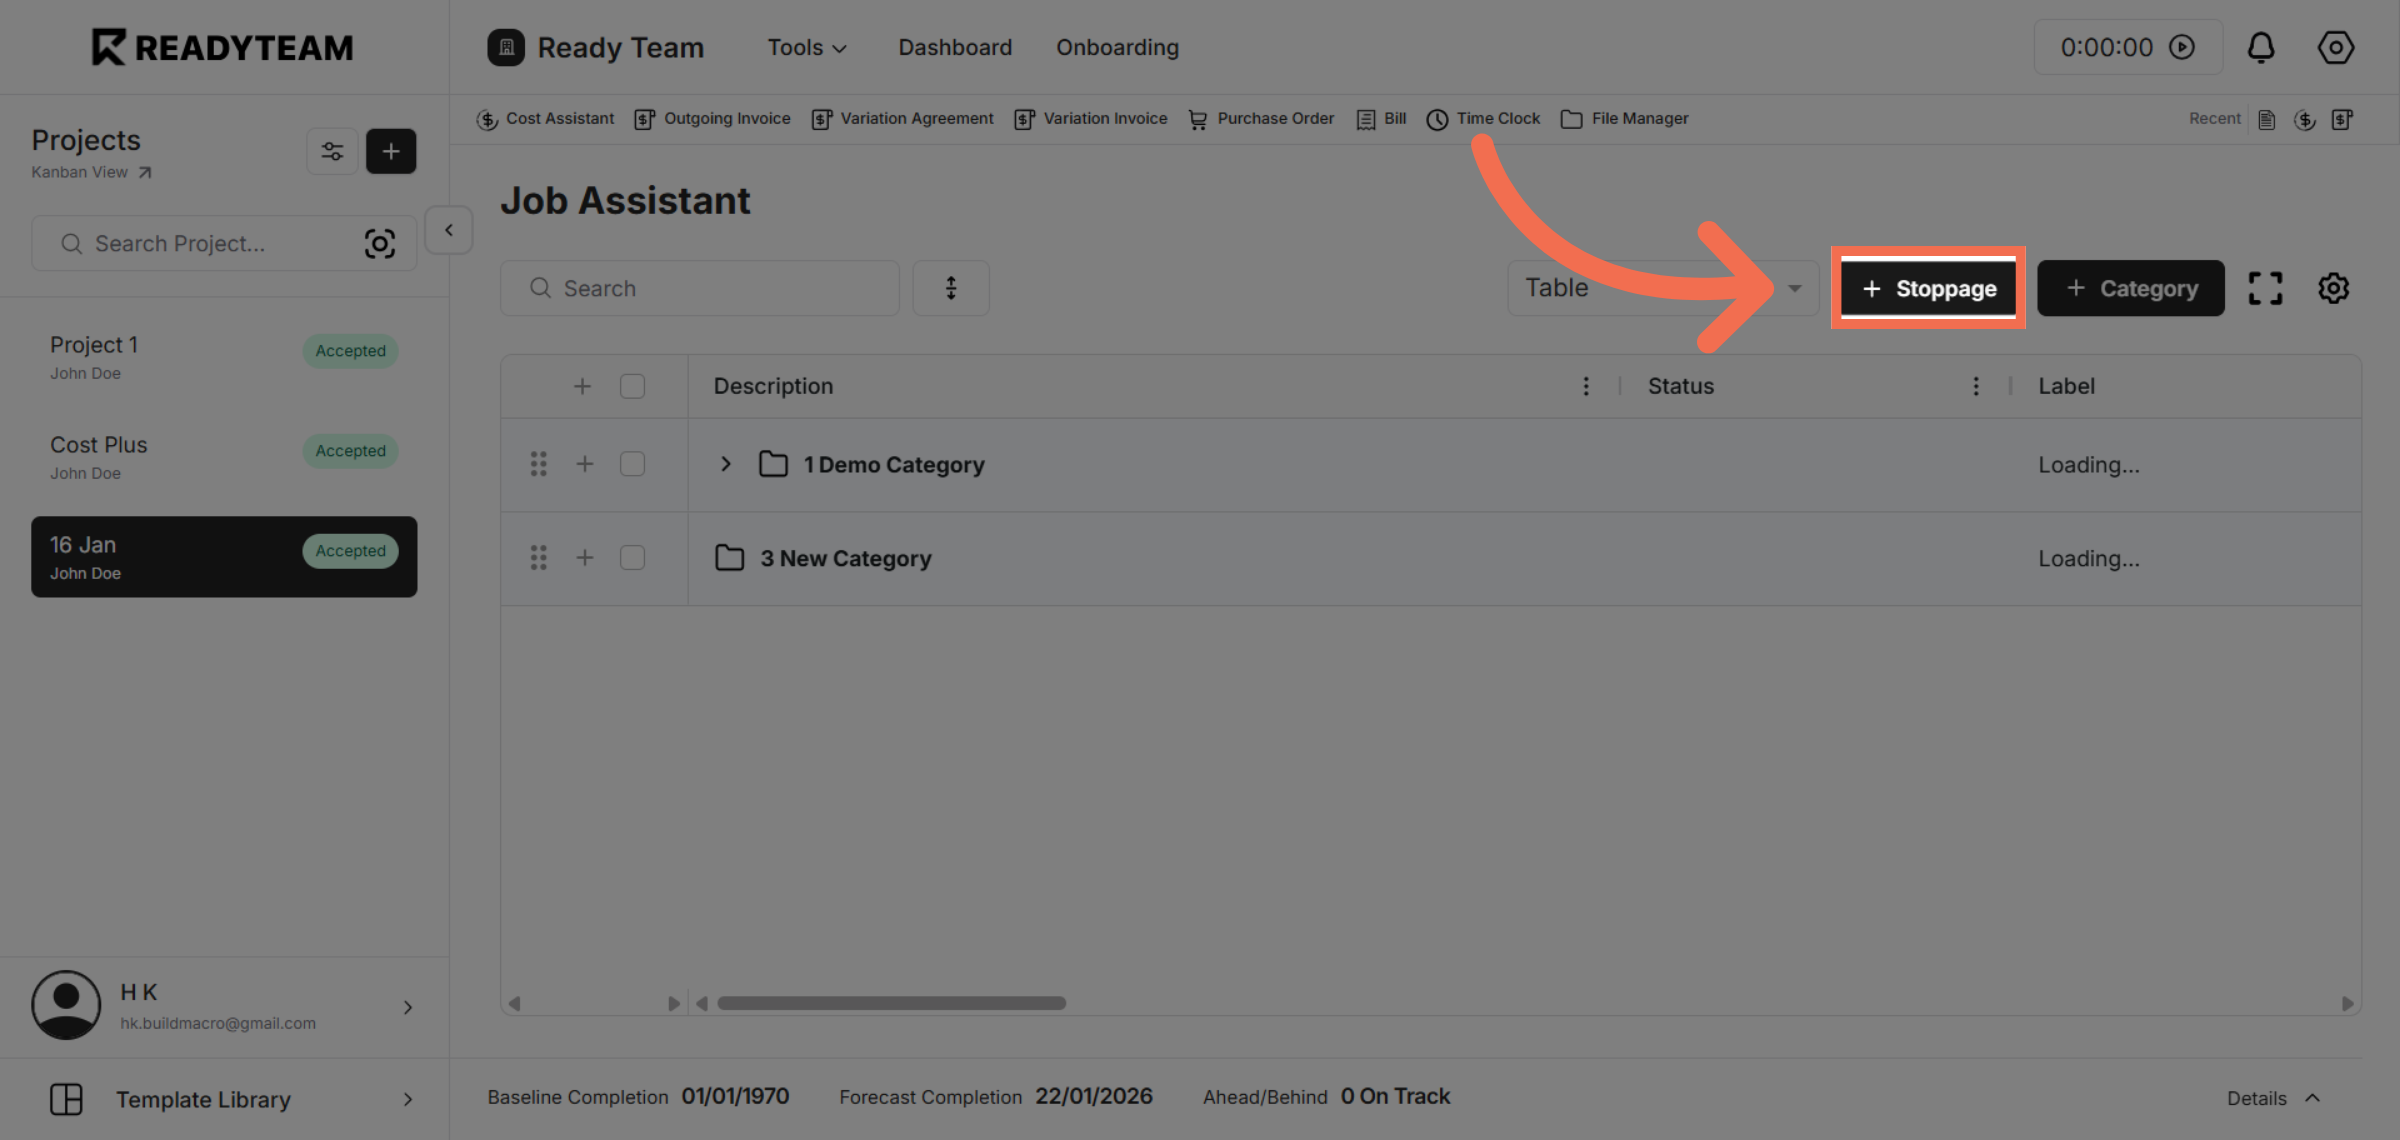
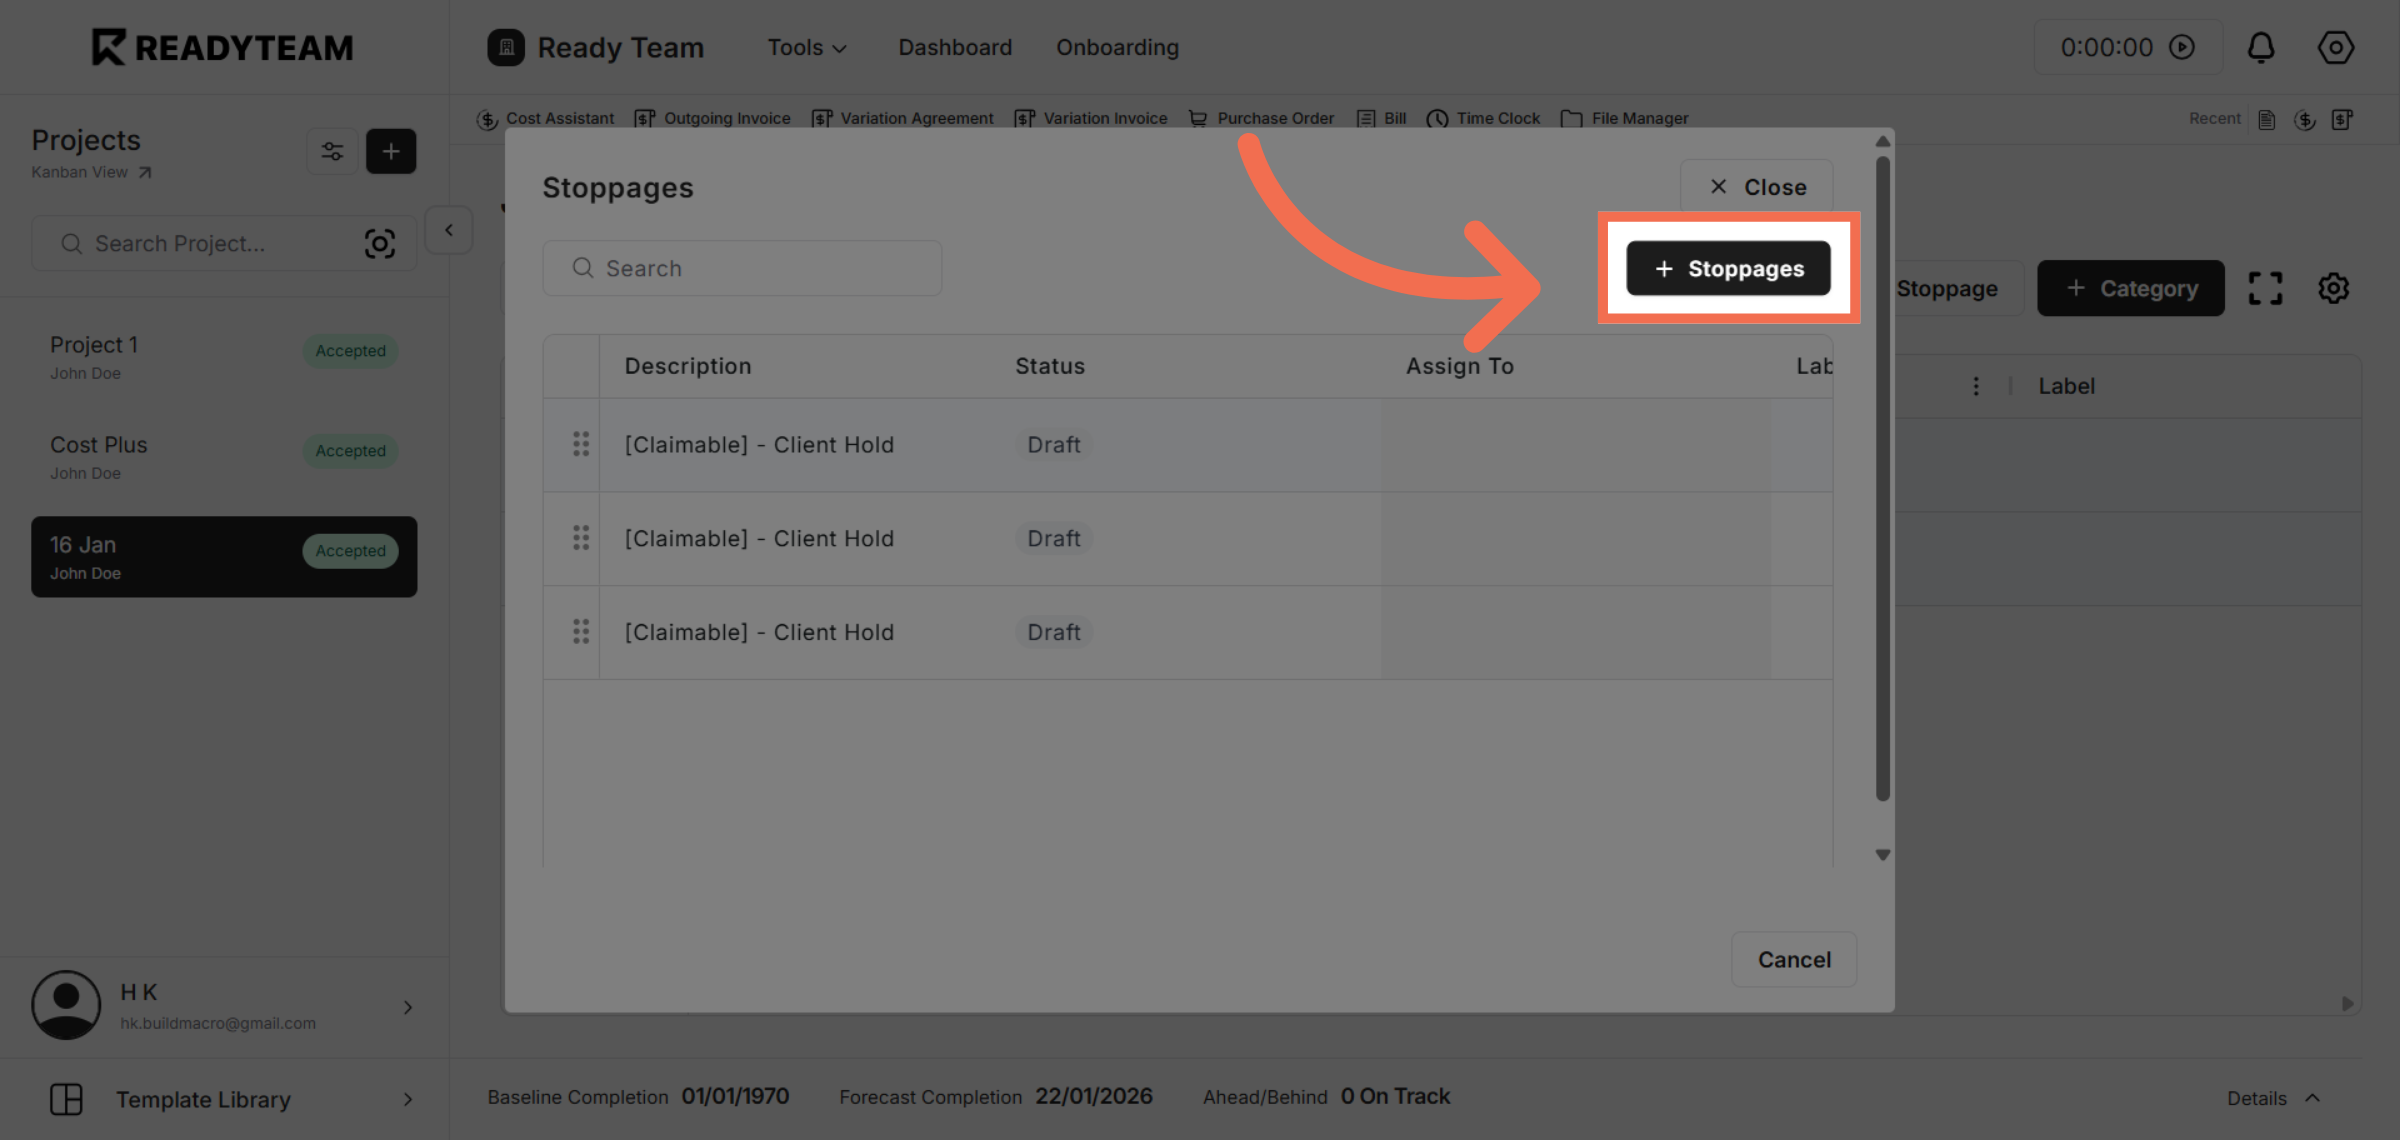
5. Open Stoppages List
Click Stoppages to see the list of current stoppages and options to add new ones.
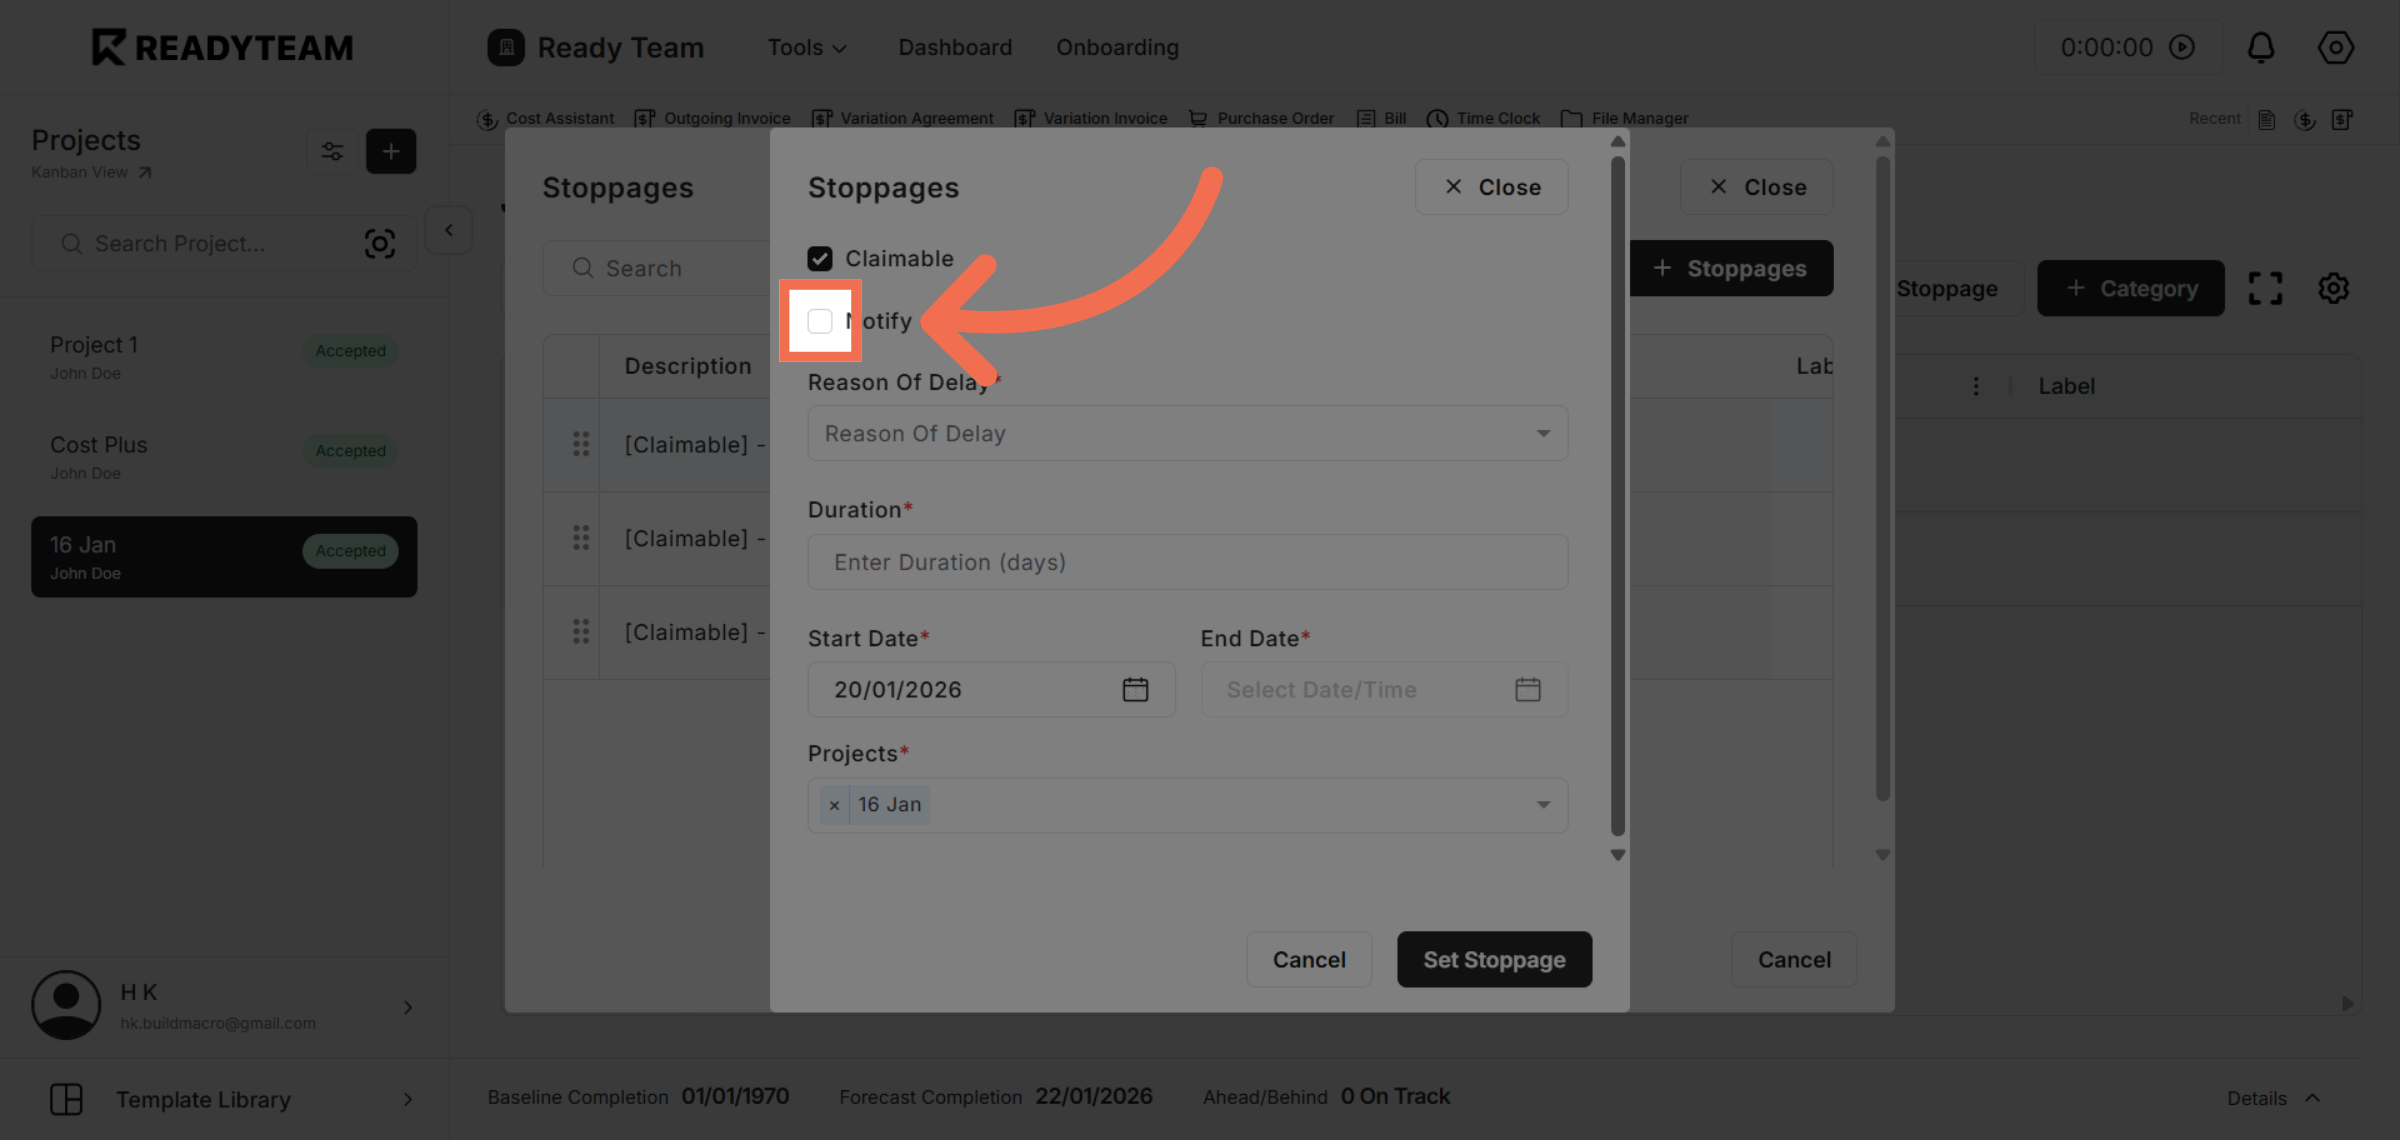
6. Enable Client Notification
Click Notify client to ensure the client is informed about the stoppage.
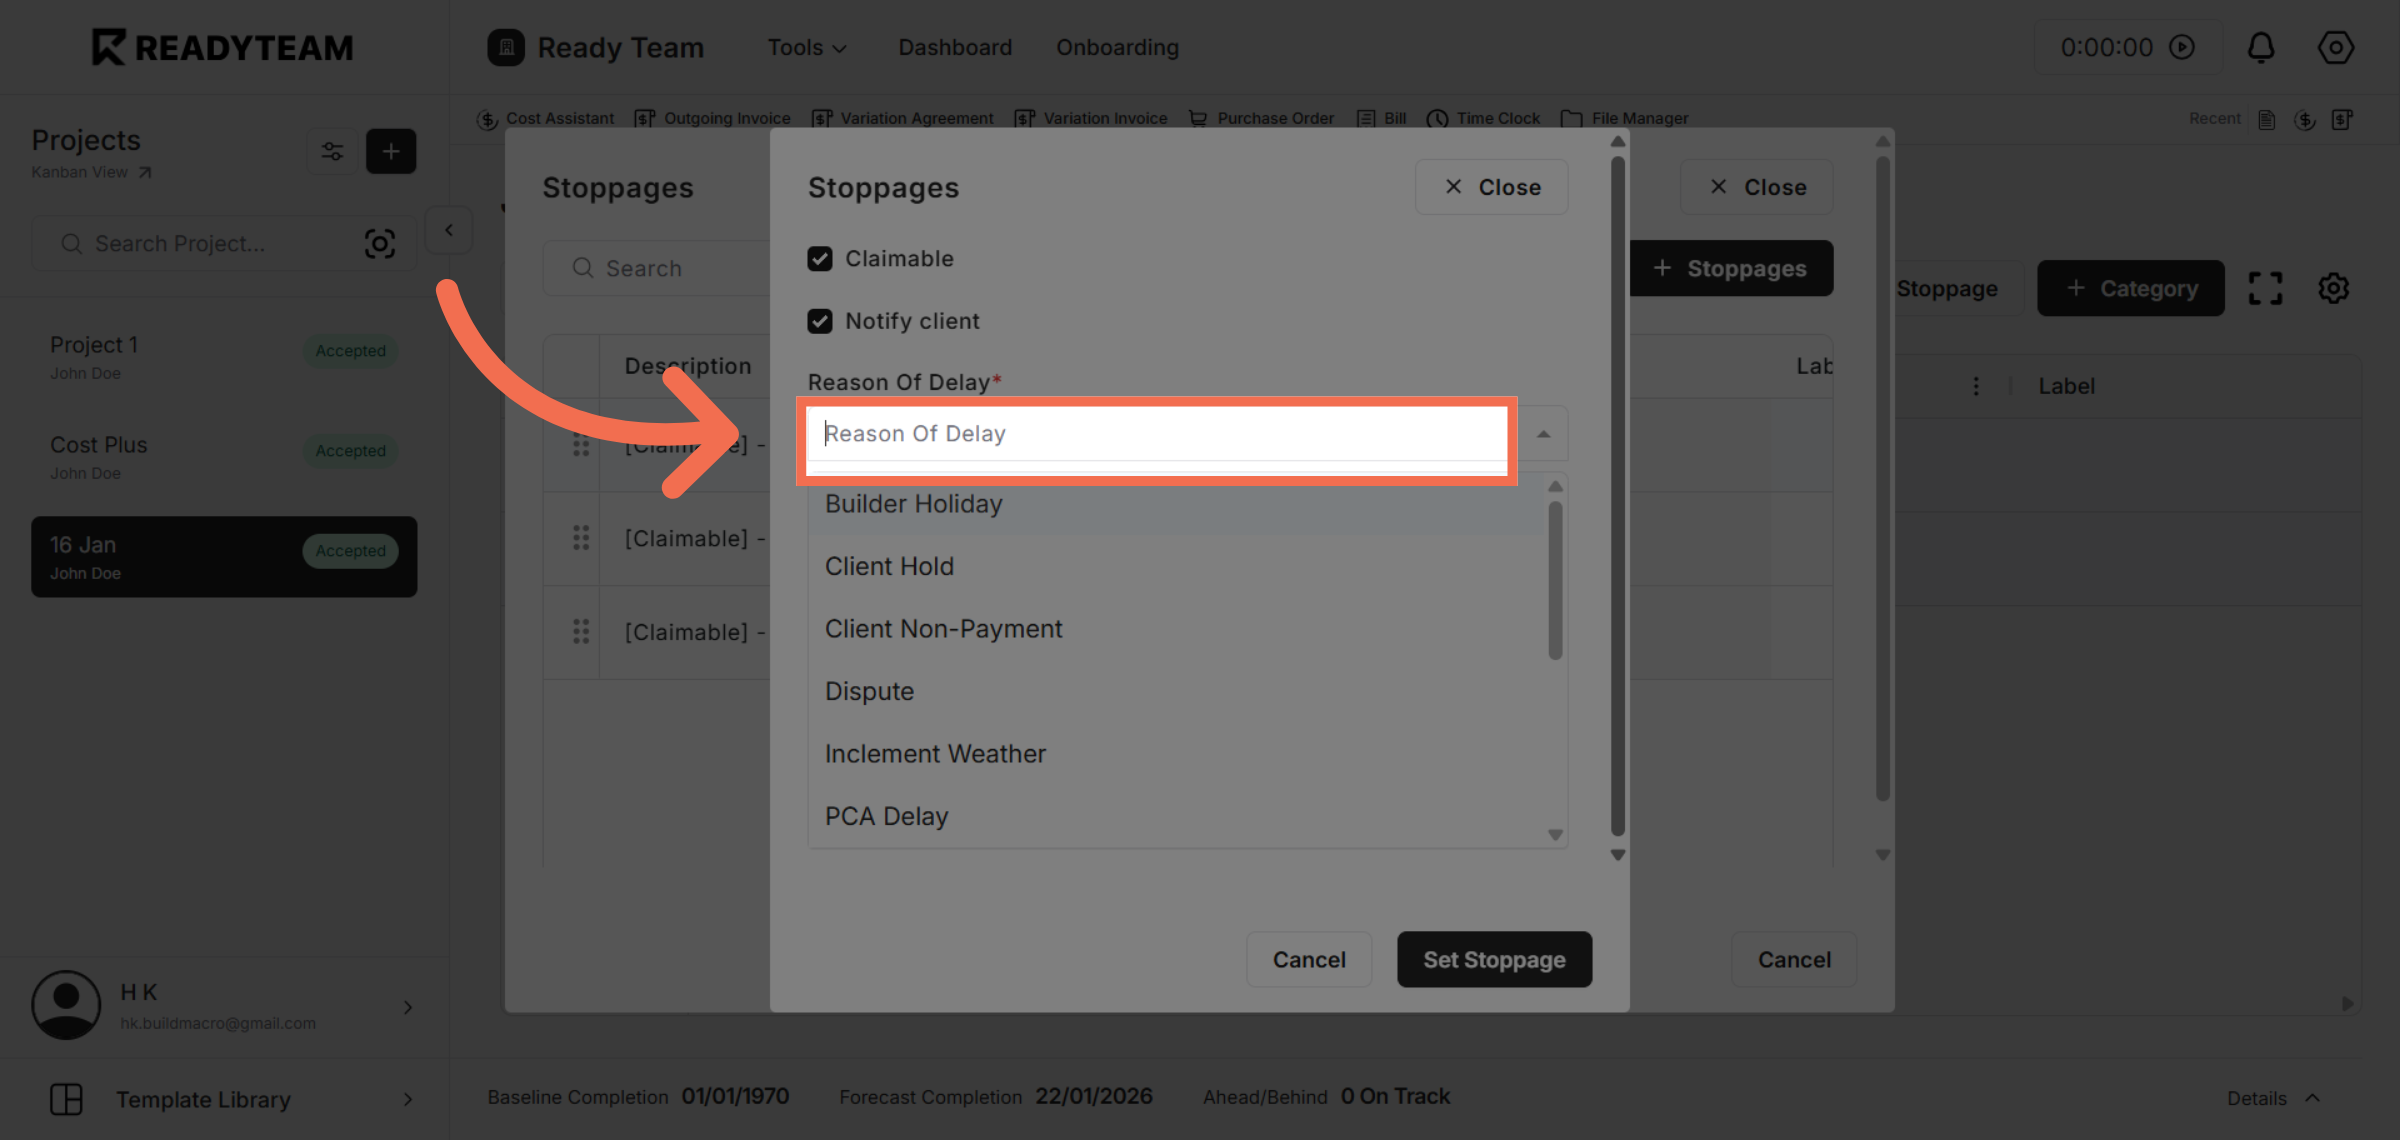
7. Open Reason Of Delay Options
Click here to expand the notification options available for the stoppage.
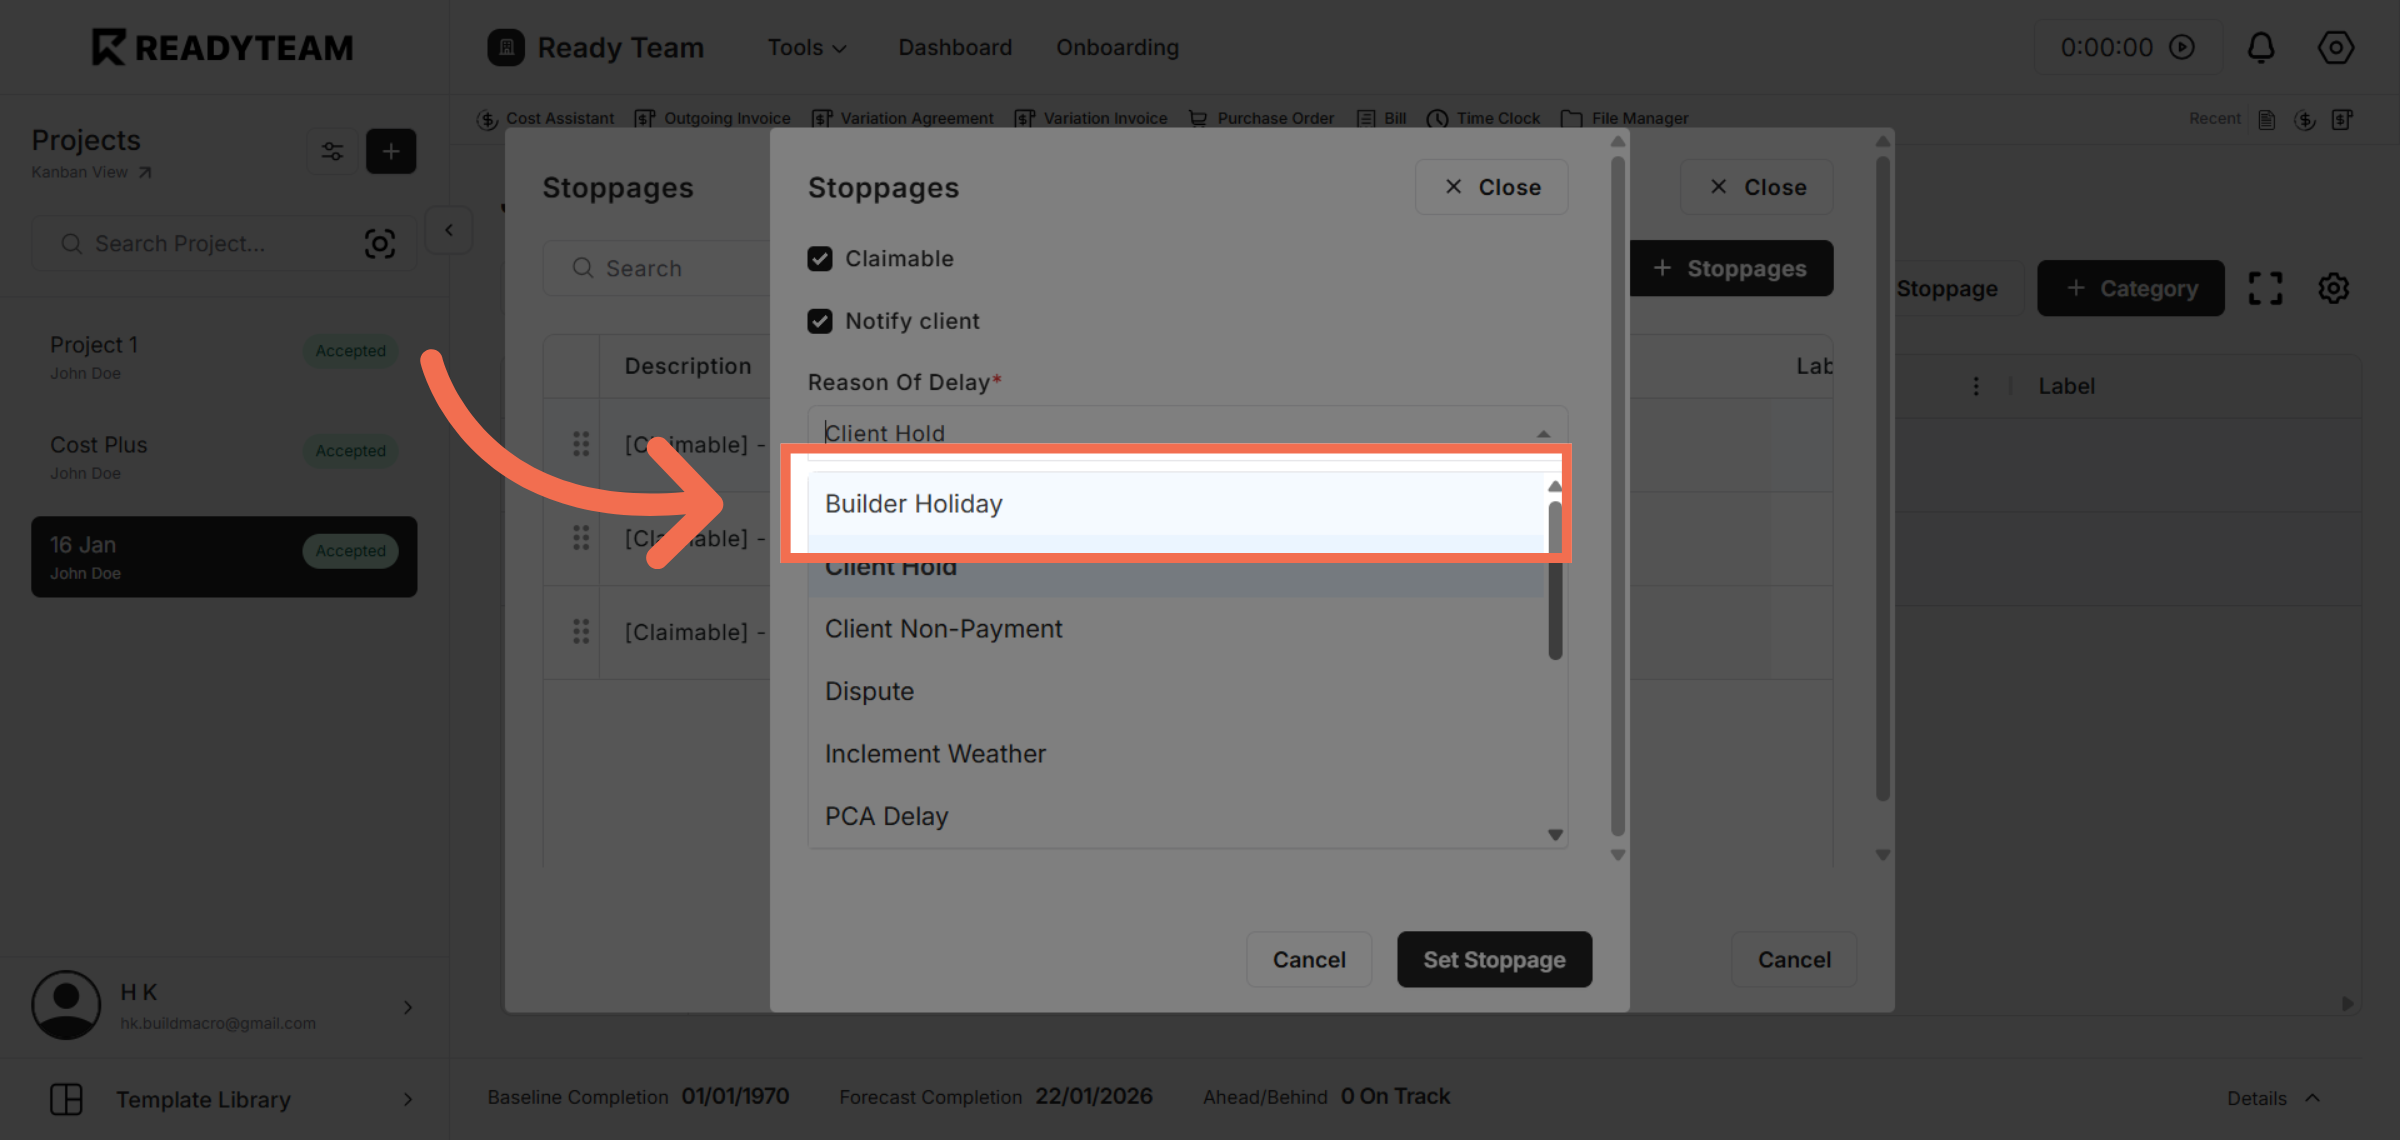
8. Select Reason Of Delay
Click Builder Holiday to indicate the stoppage is caused by a builder's holiday period.
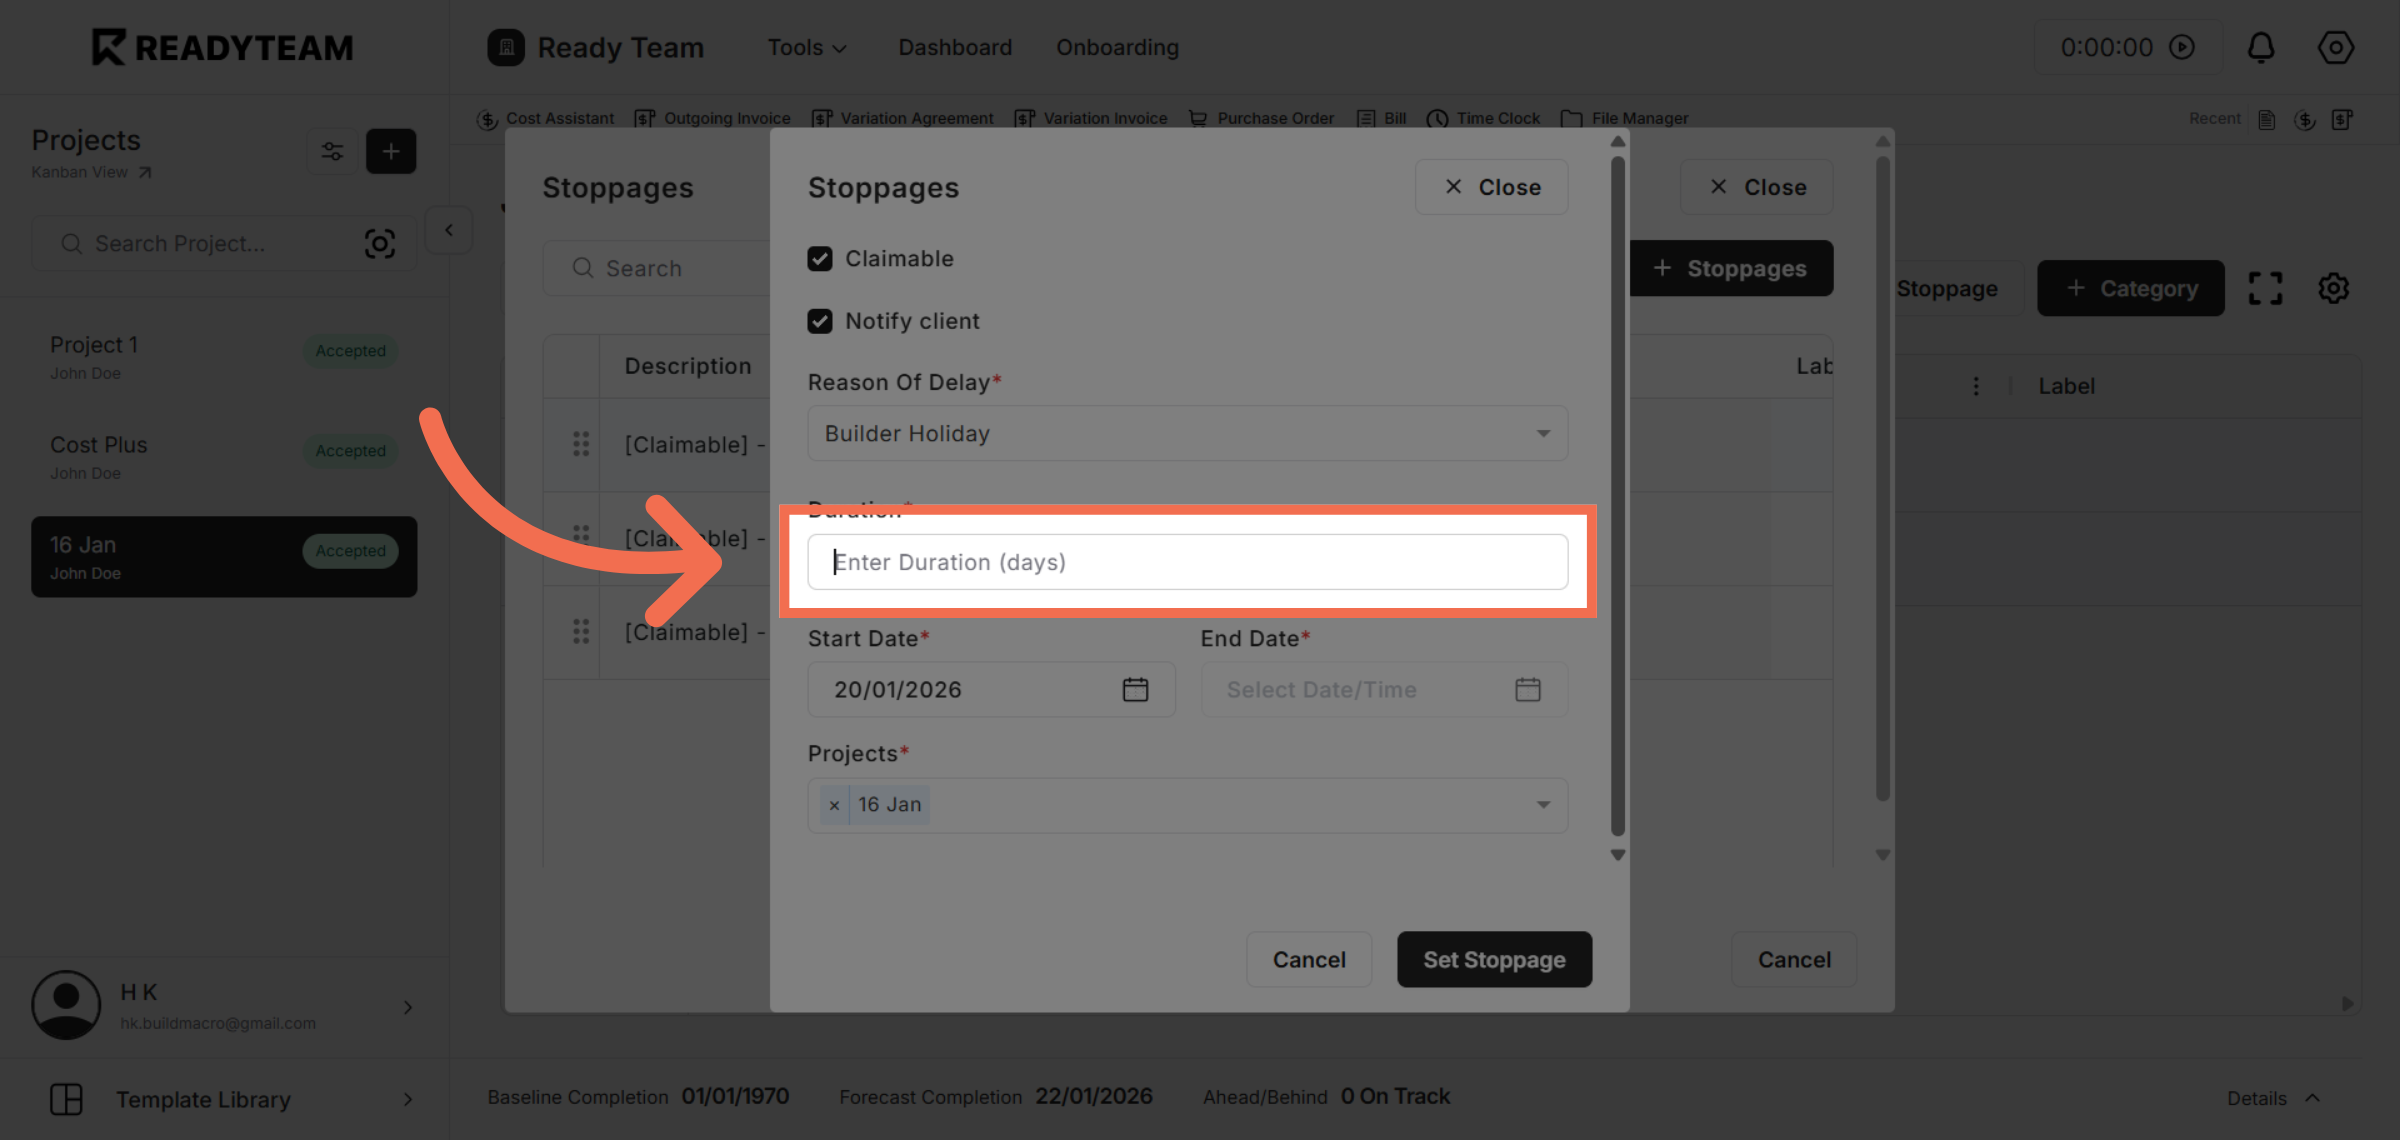
9. Enter Stoppage Duration
Click Enter Duration (days) to specify how long the stoppage will last.
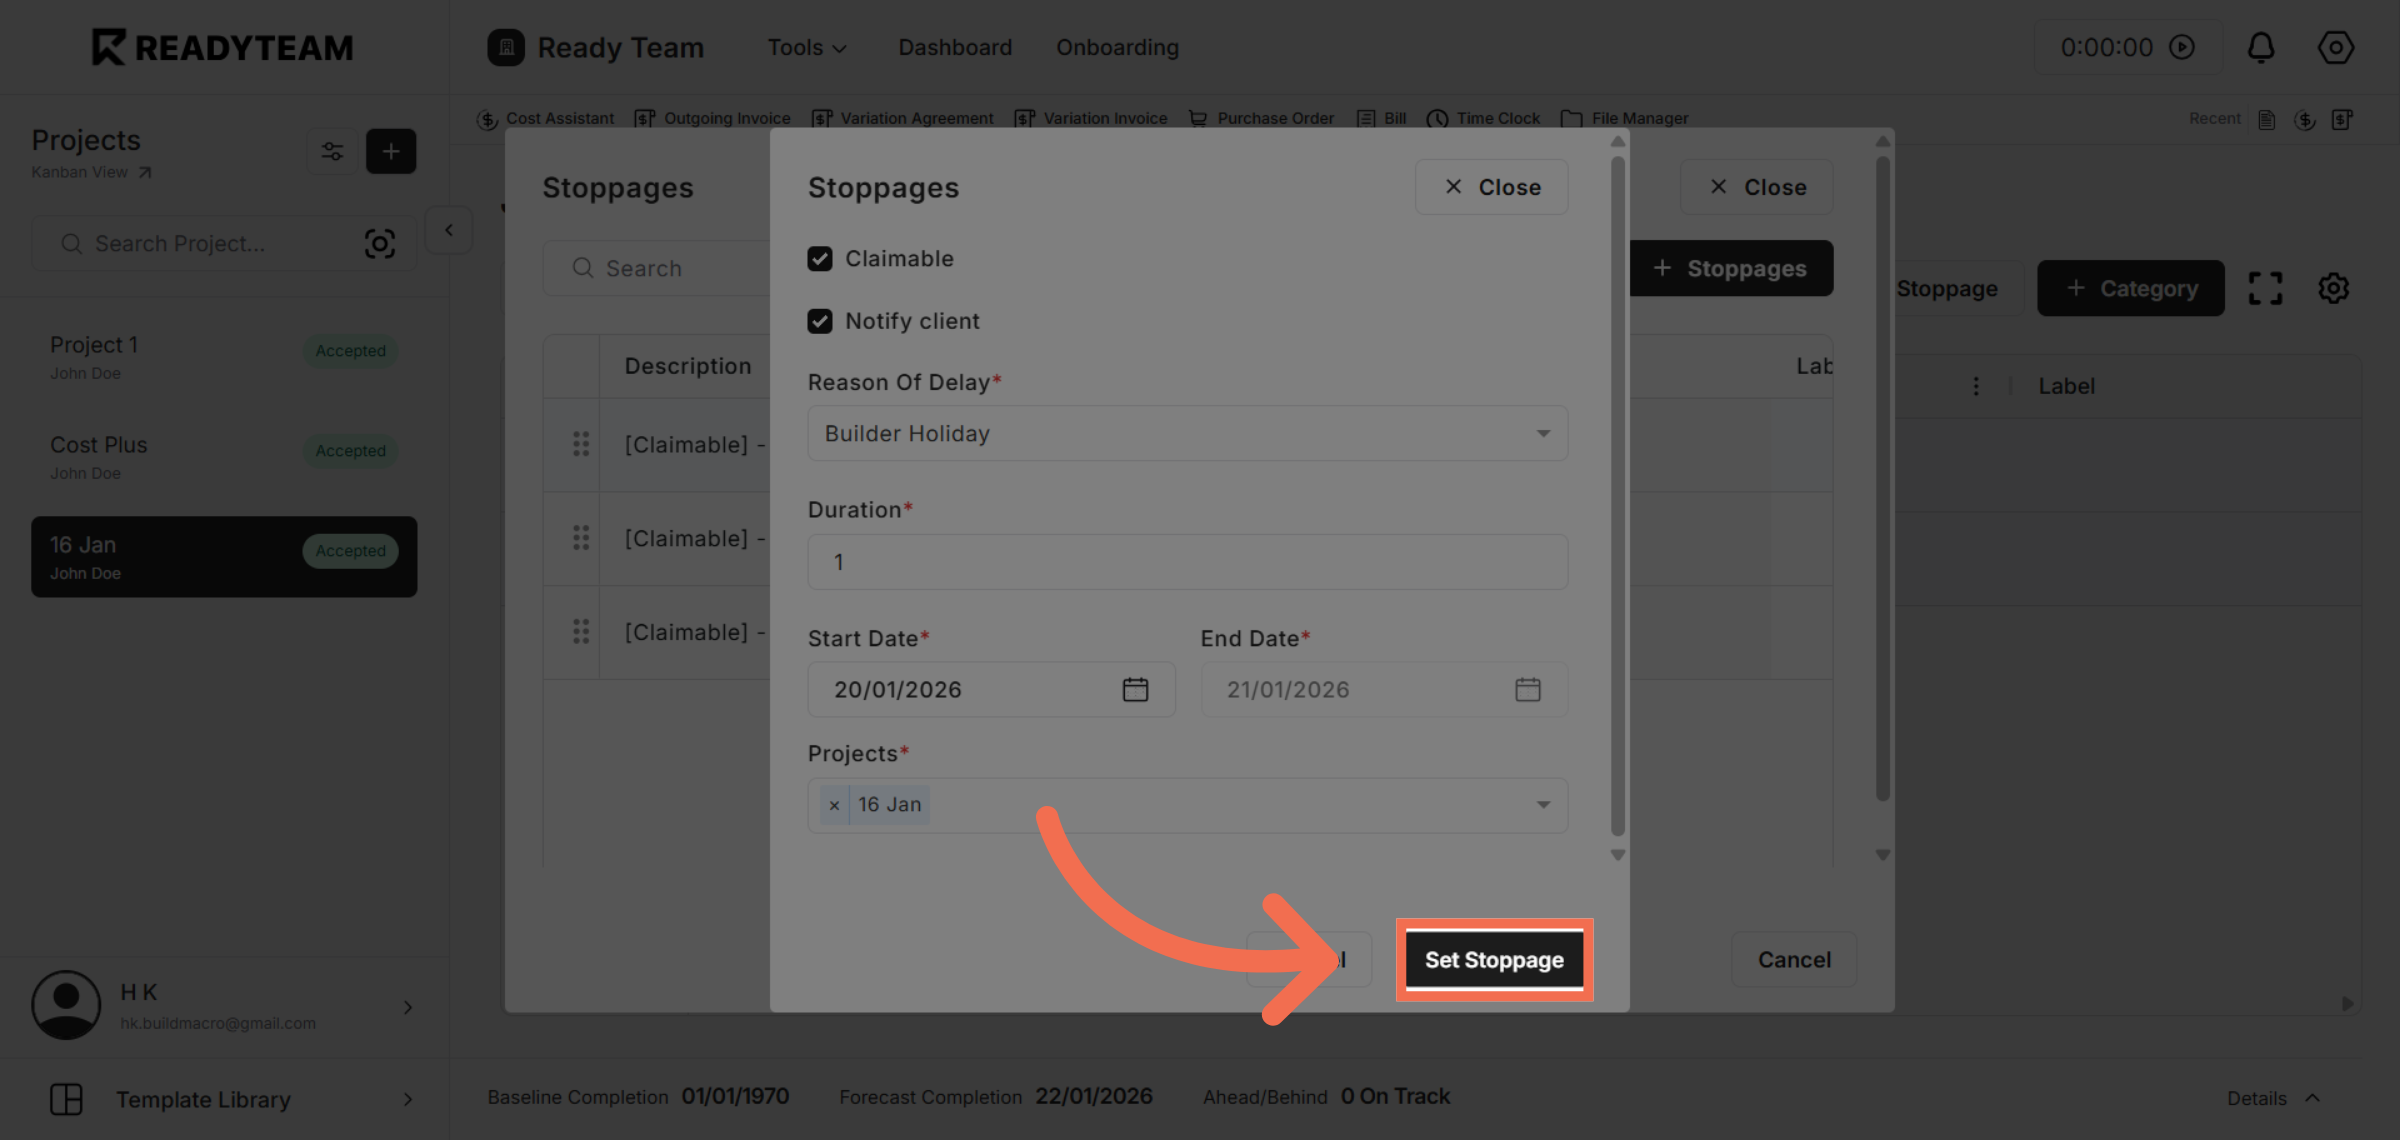
10. Confirm Stoppage Setup
Click Set Stoppage to finalize and apply the stoppage to the job timeline.
This demo demonstrated how to add and manage stoppages in Readyteam, including notifying clients and setting durations. Start using these features today to keep your projects transparent and on schedule.