Add Labels Efficiently In Job Assistant Using ReadyTeam

This demo showcases how to add labels within the Readyteam application to organize job-related information effectively.
Go to app.readyteam.ai
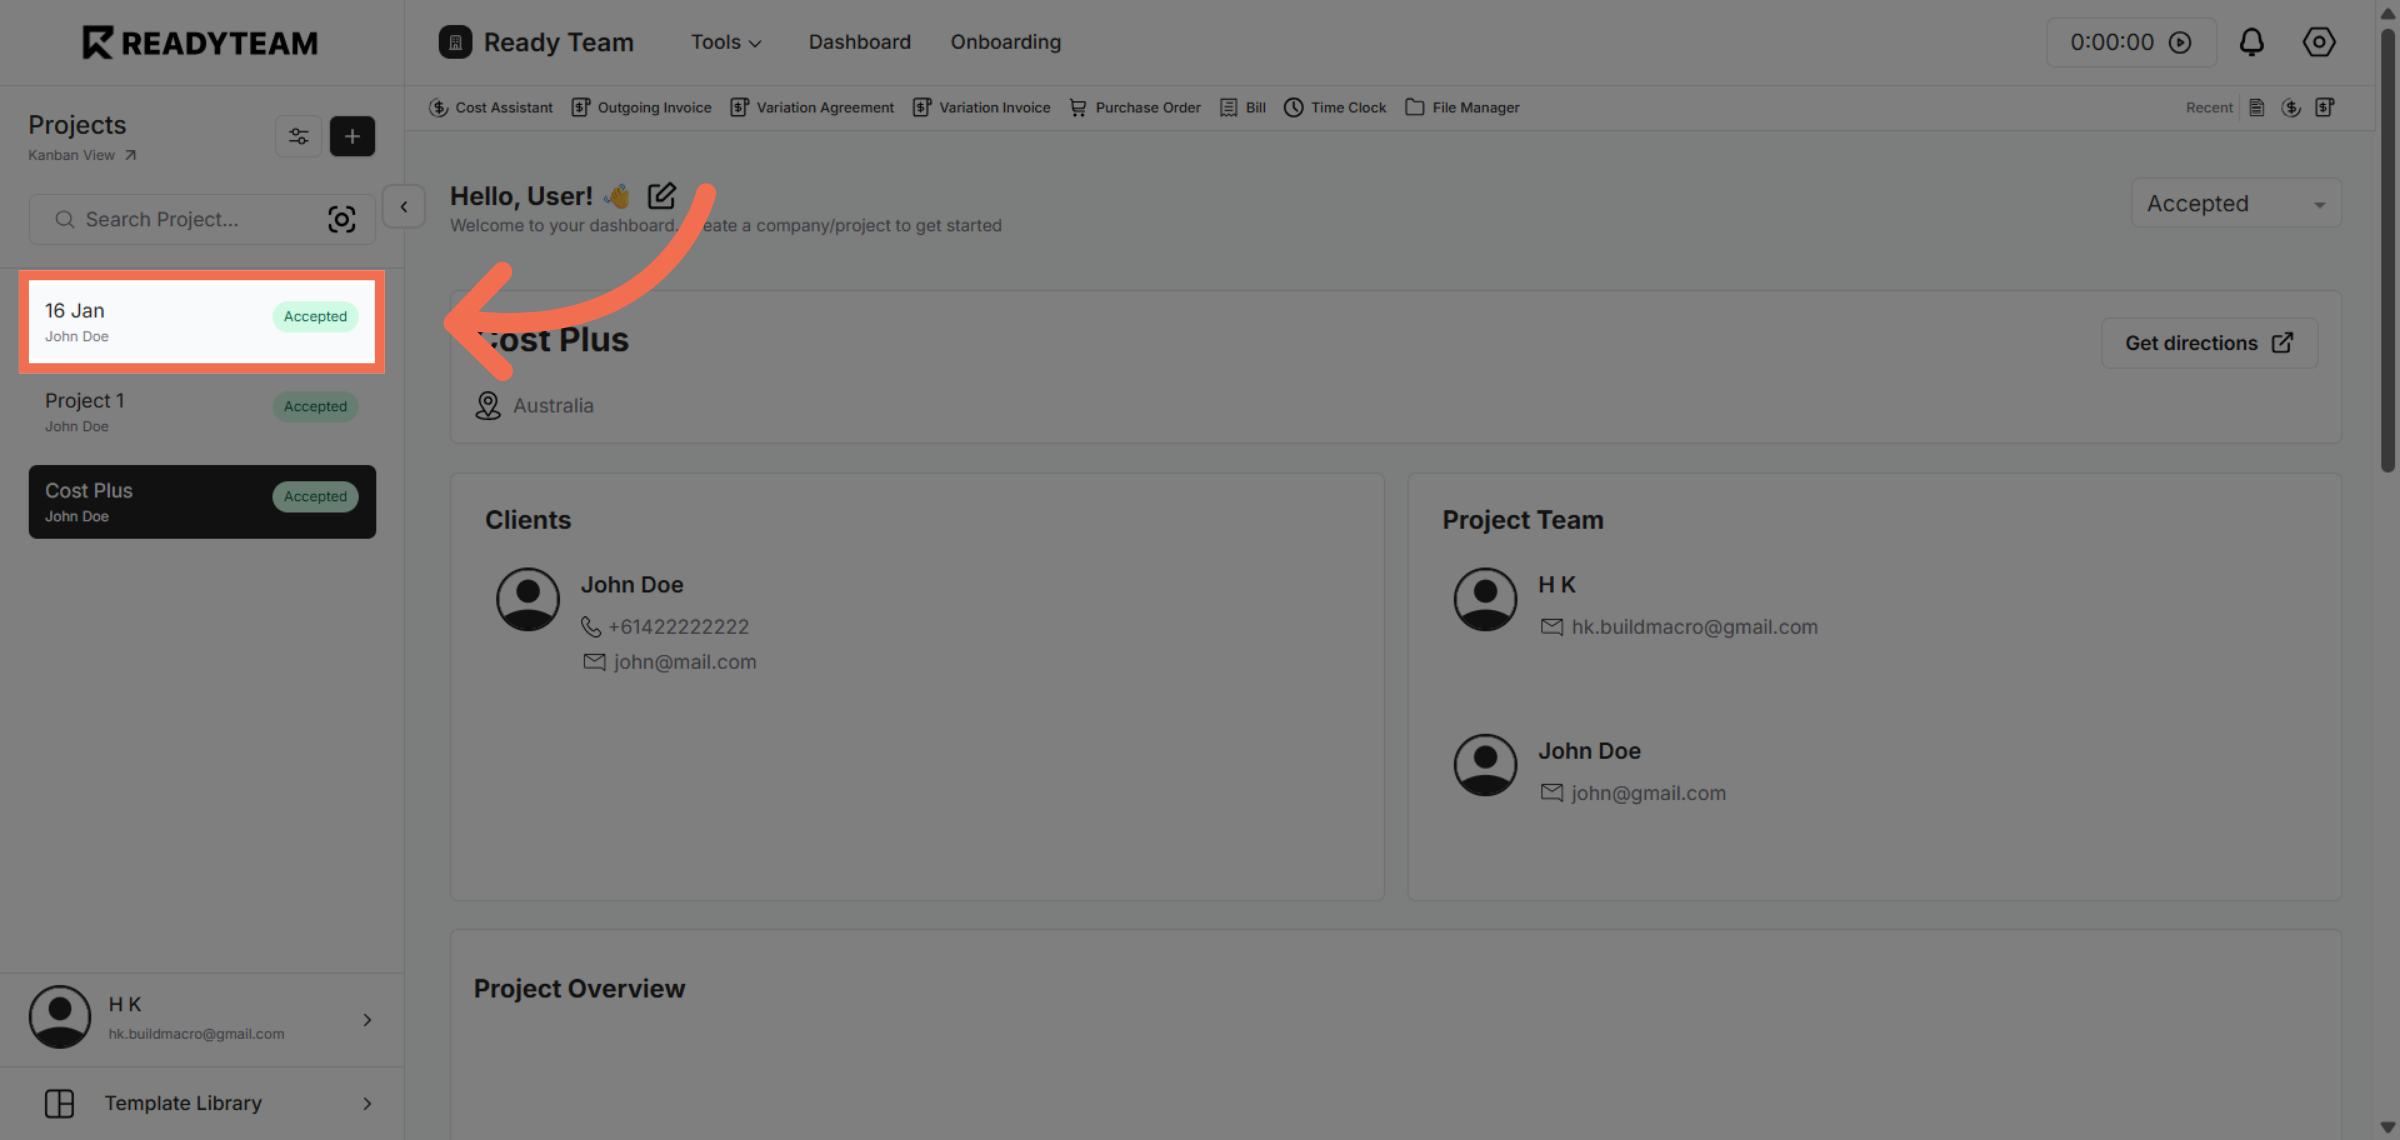
1. Select Project
Click the Specific Project to begin the labeling process.
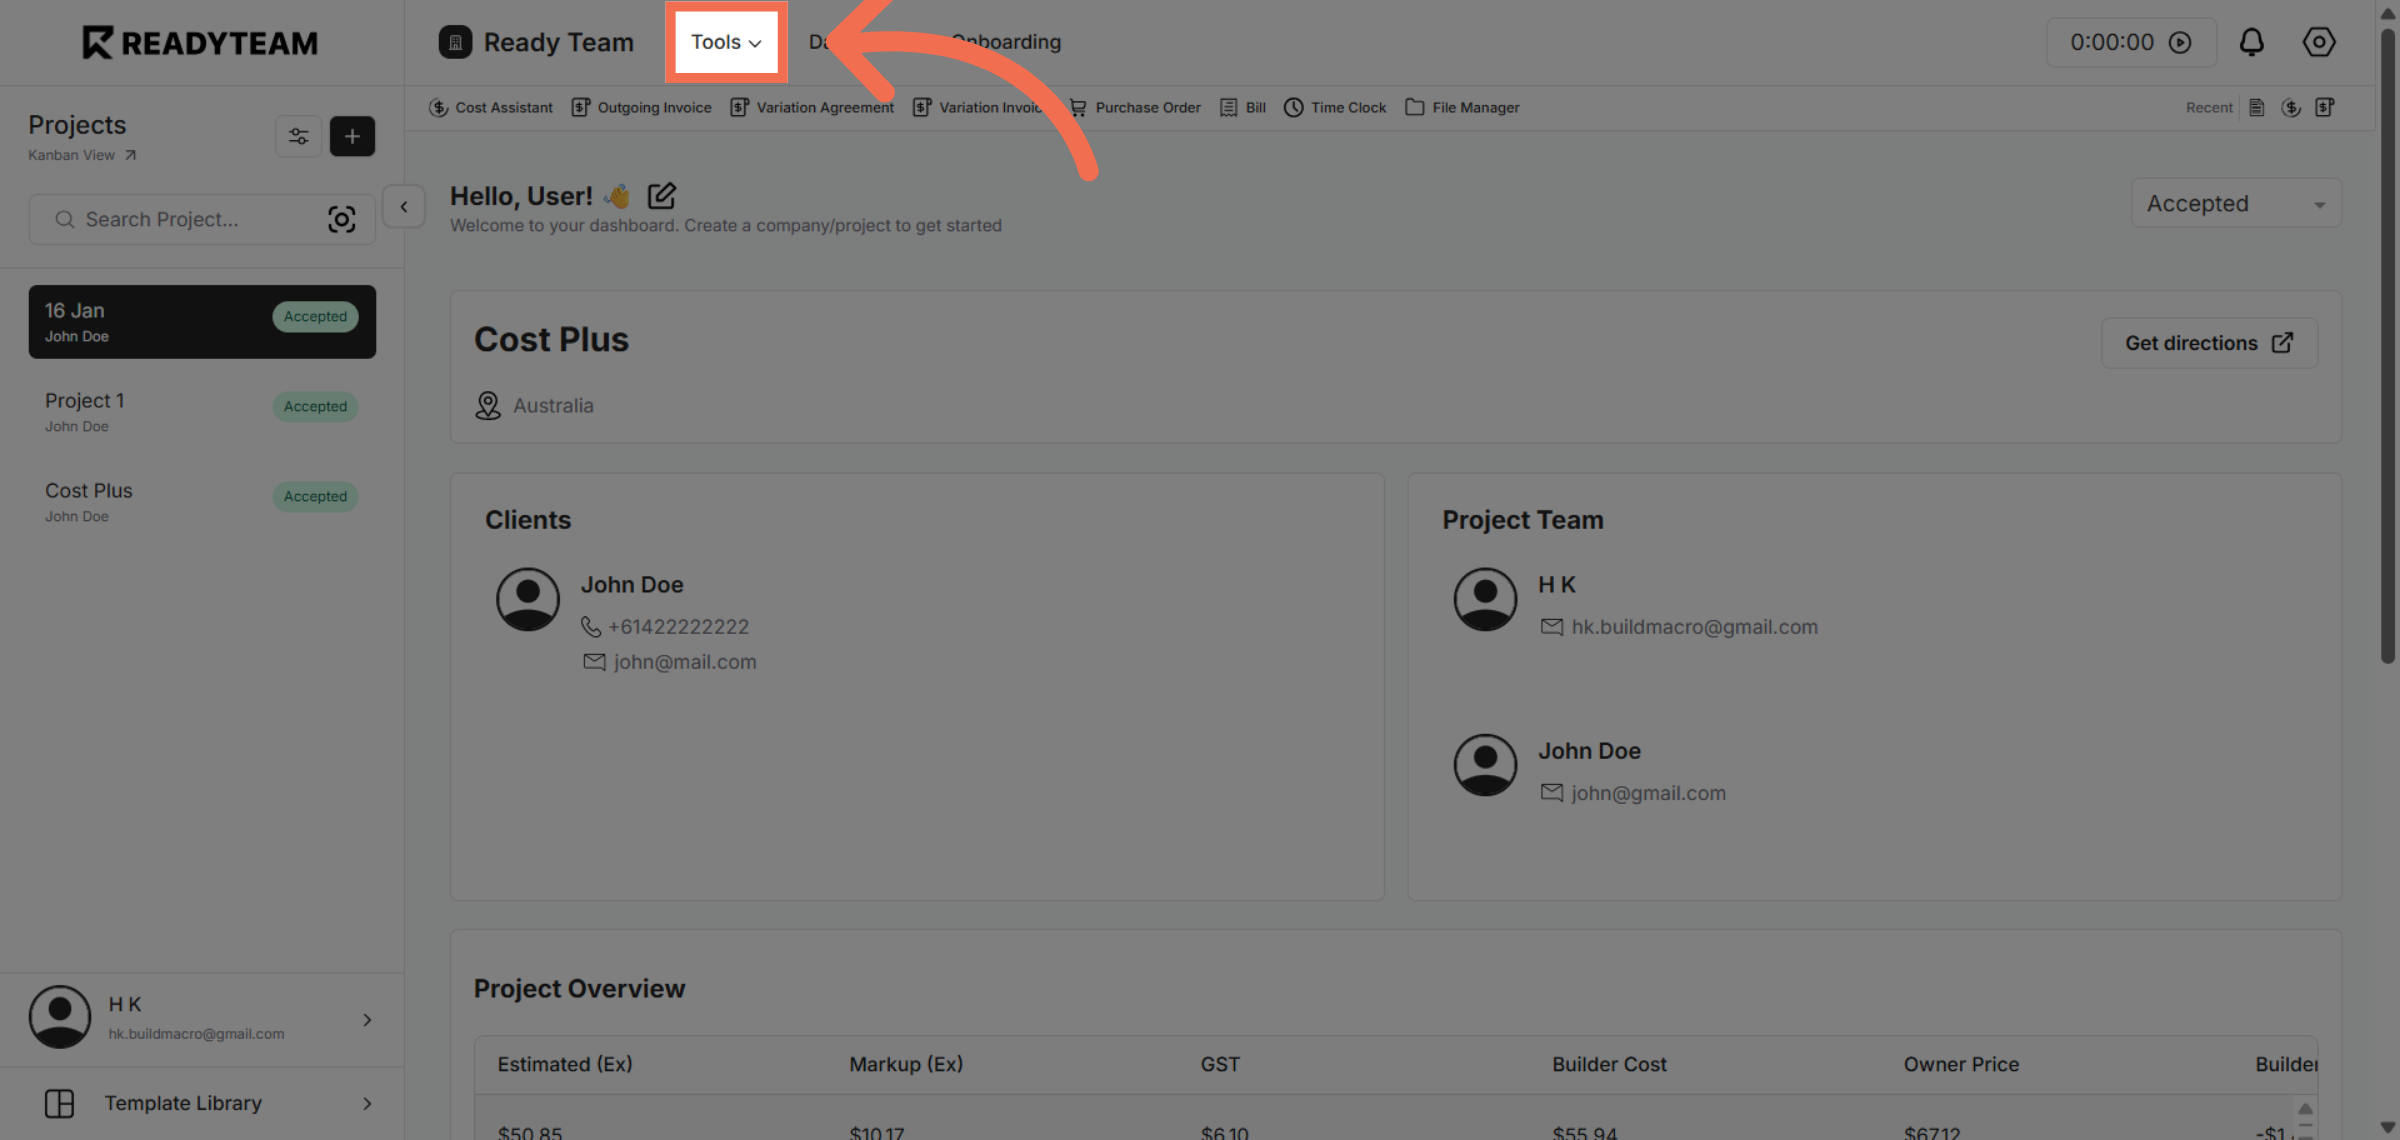
2. Open Tools Menu
Click the Tools menu to access additional features that support job management and labeling.
3. Access Job Assistant
Click Job Assistant to open the tool designed to help manage job details and apply labels efficiently.

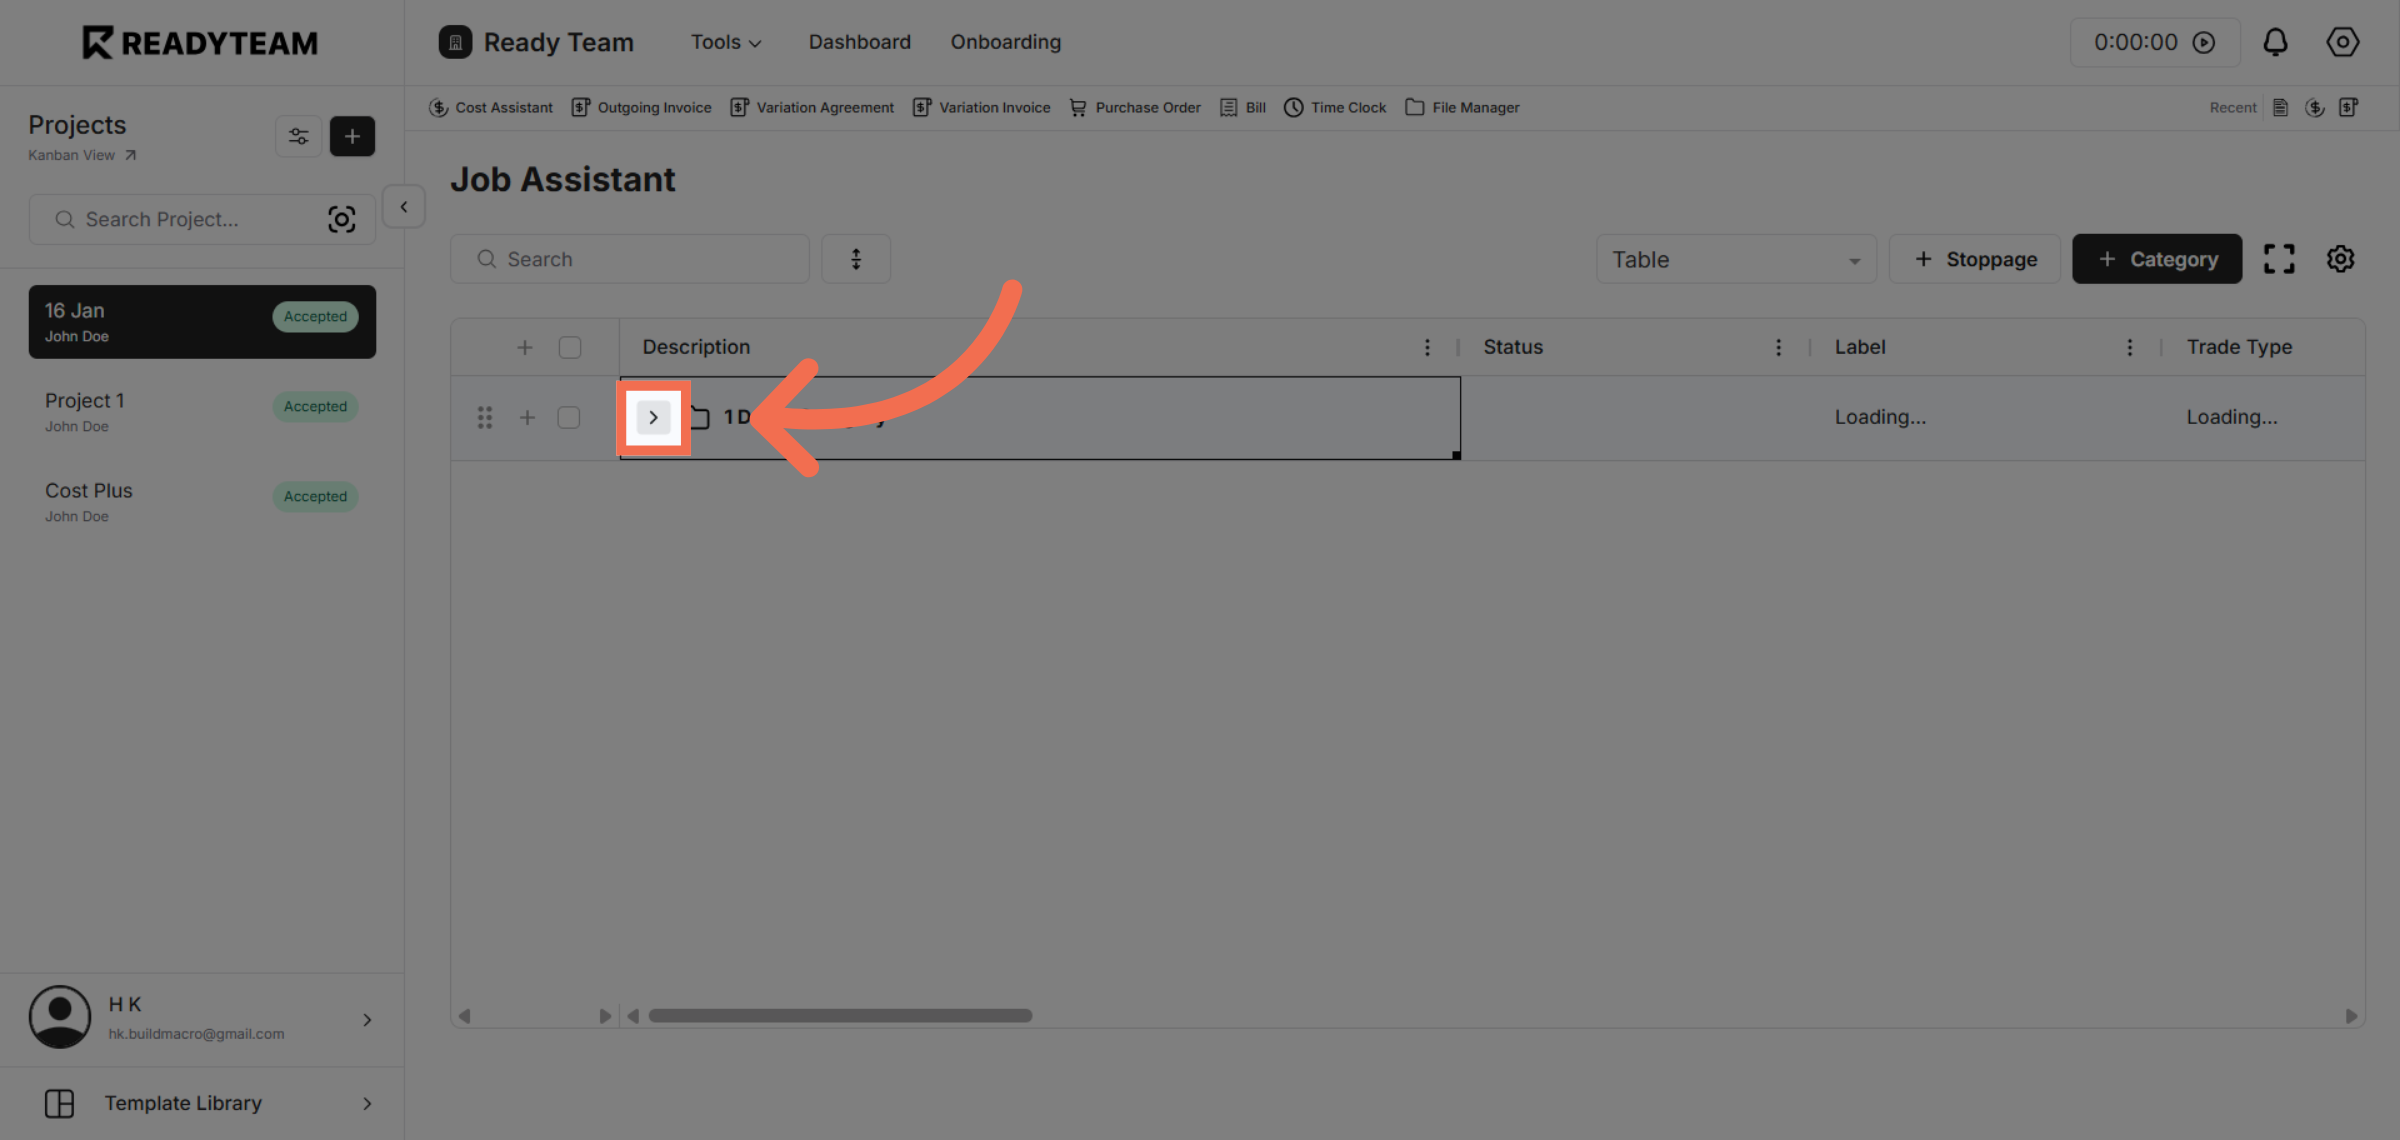
4. Toggle Job Assistance Category
Click the designated area to start adding labels to the selected job entry.
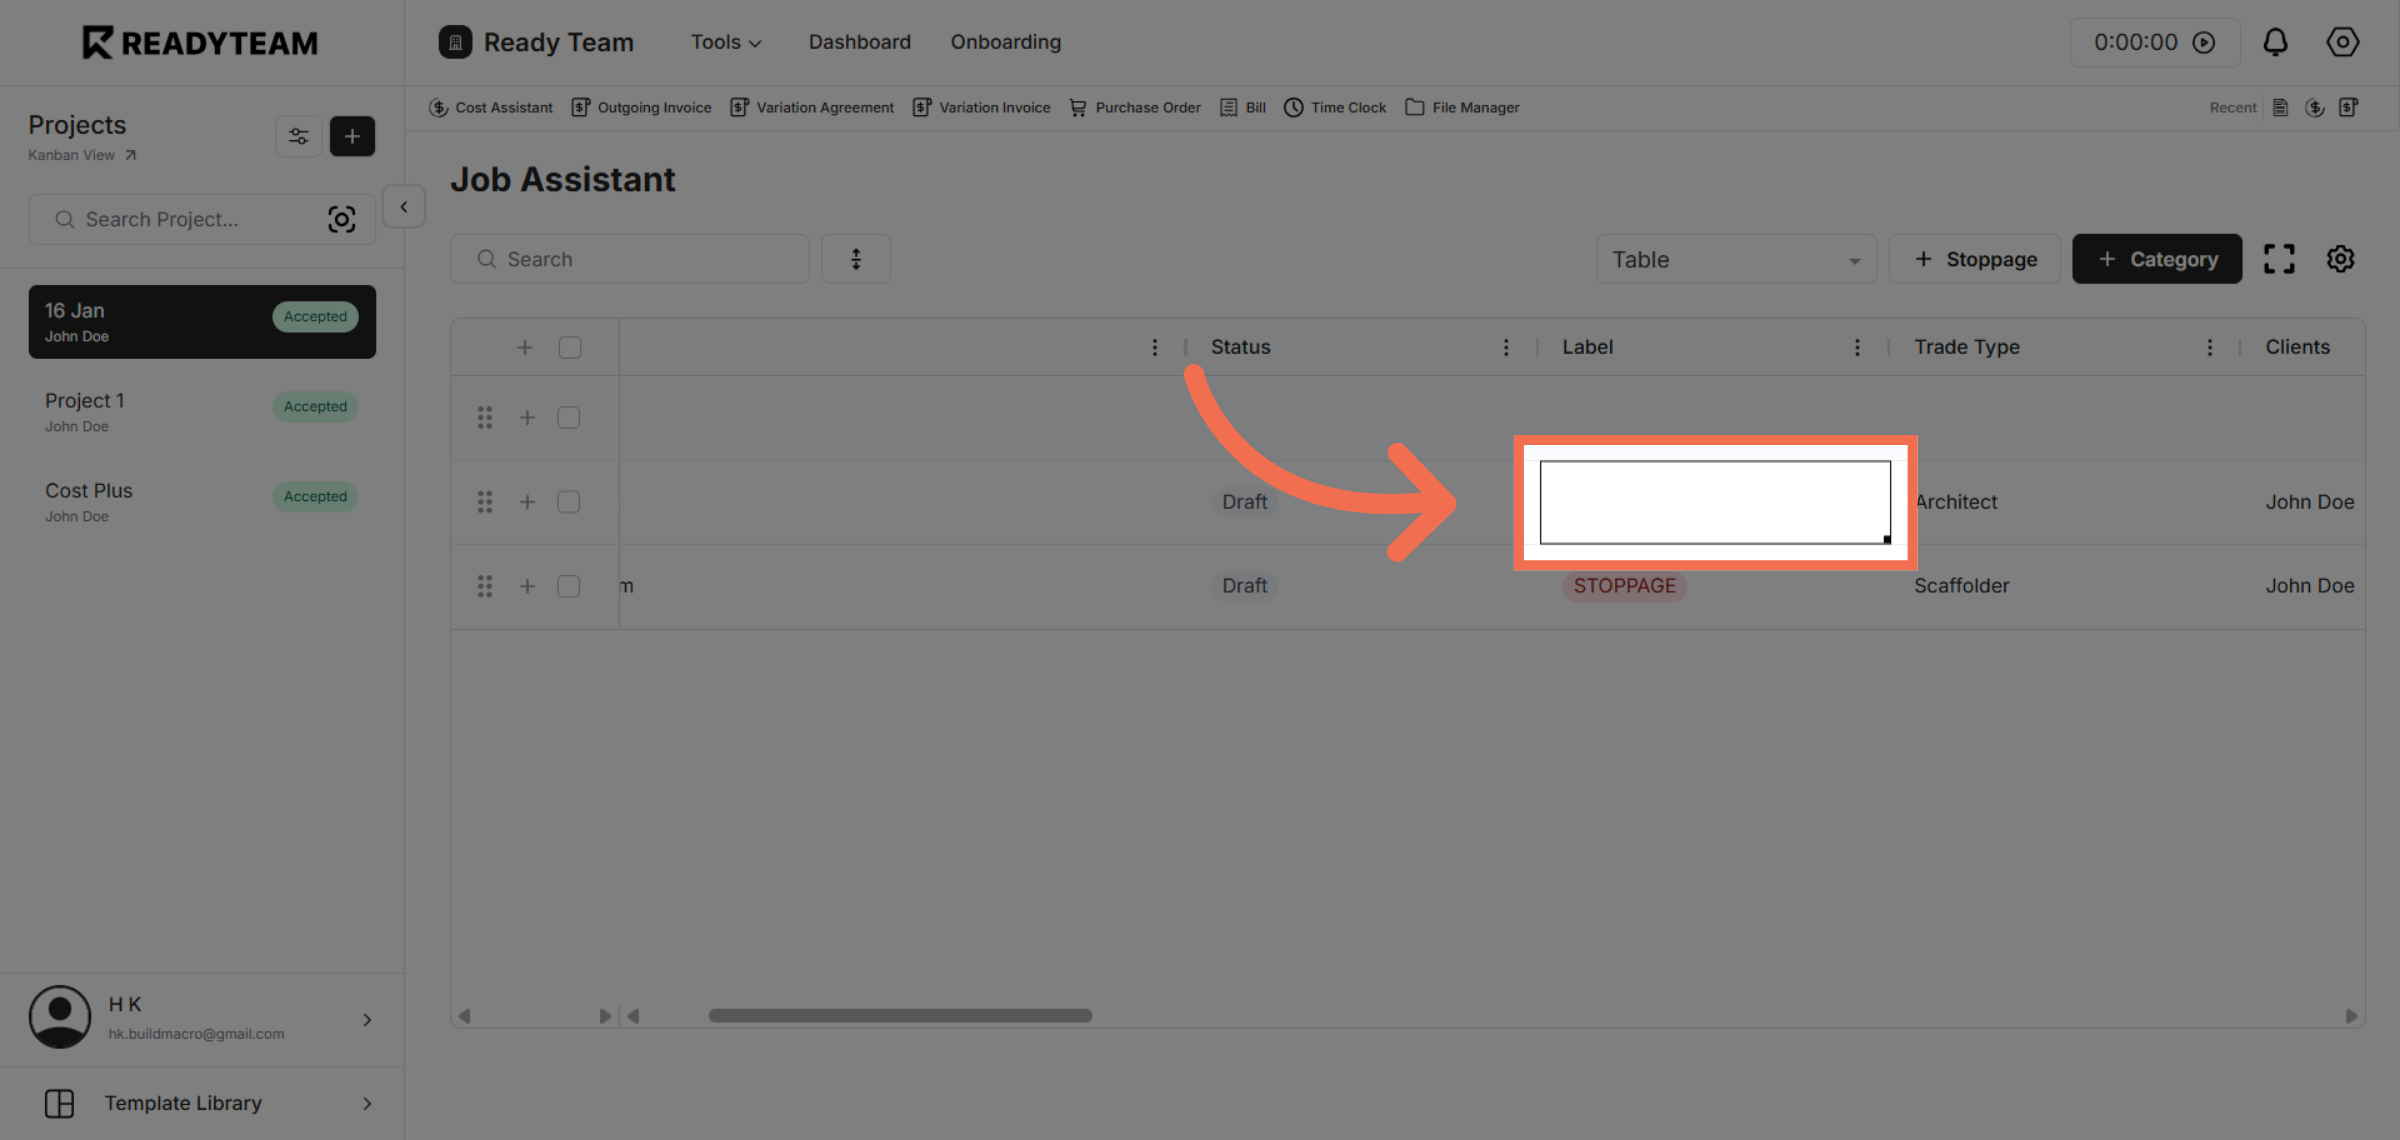
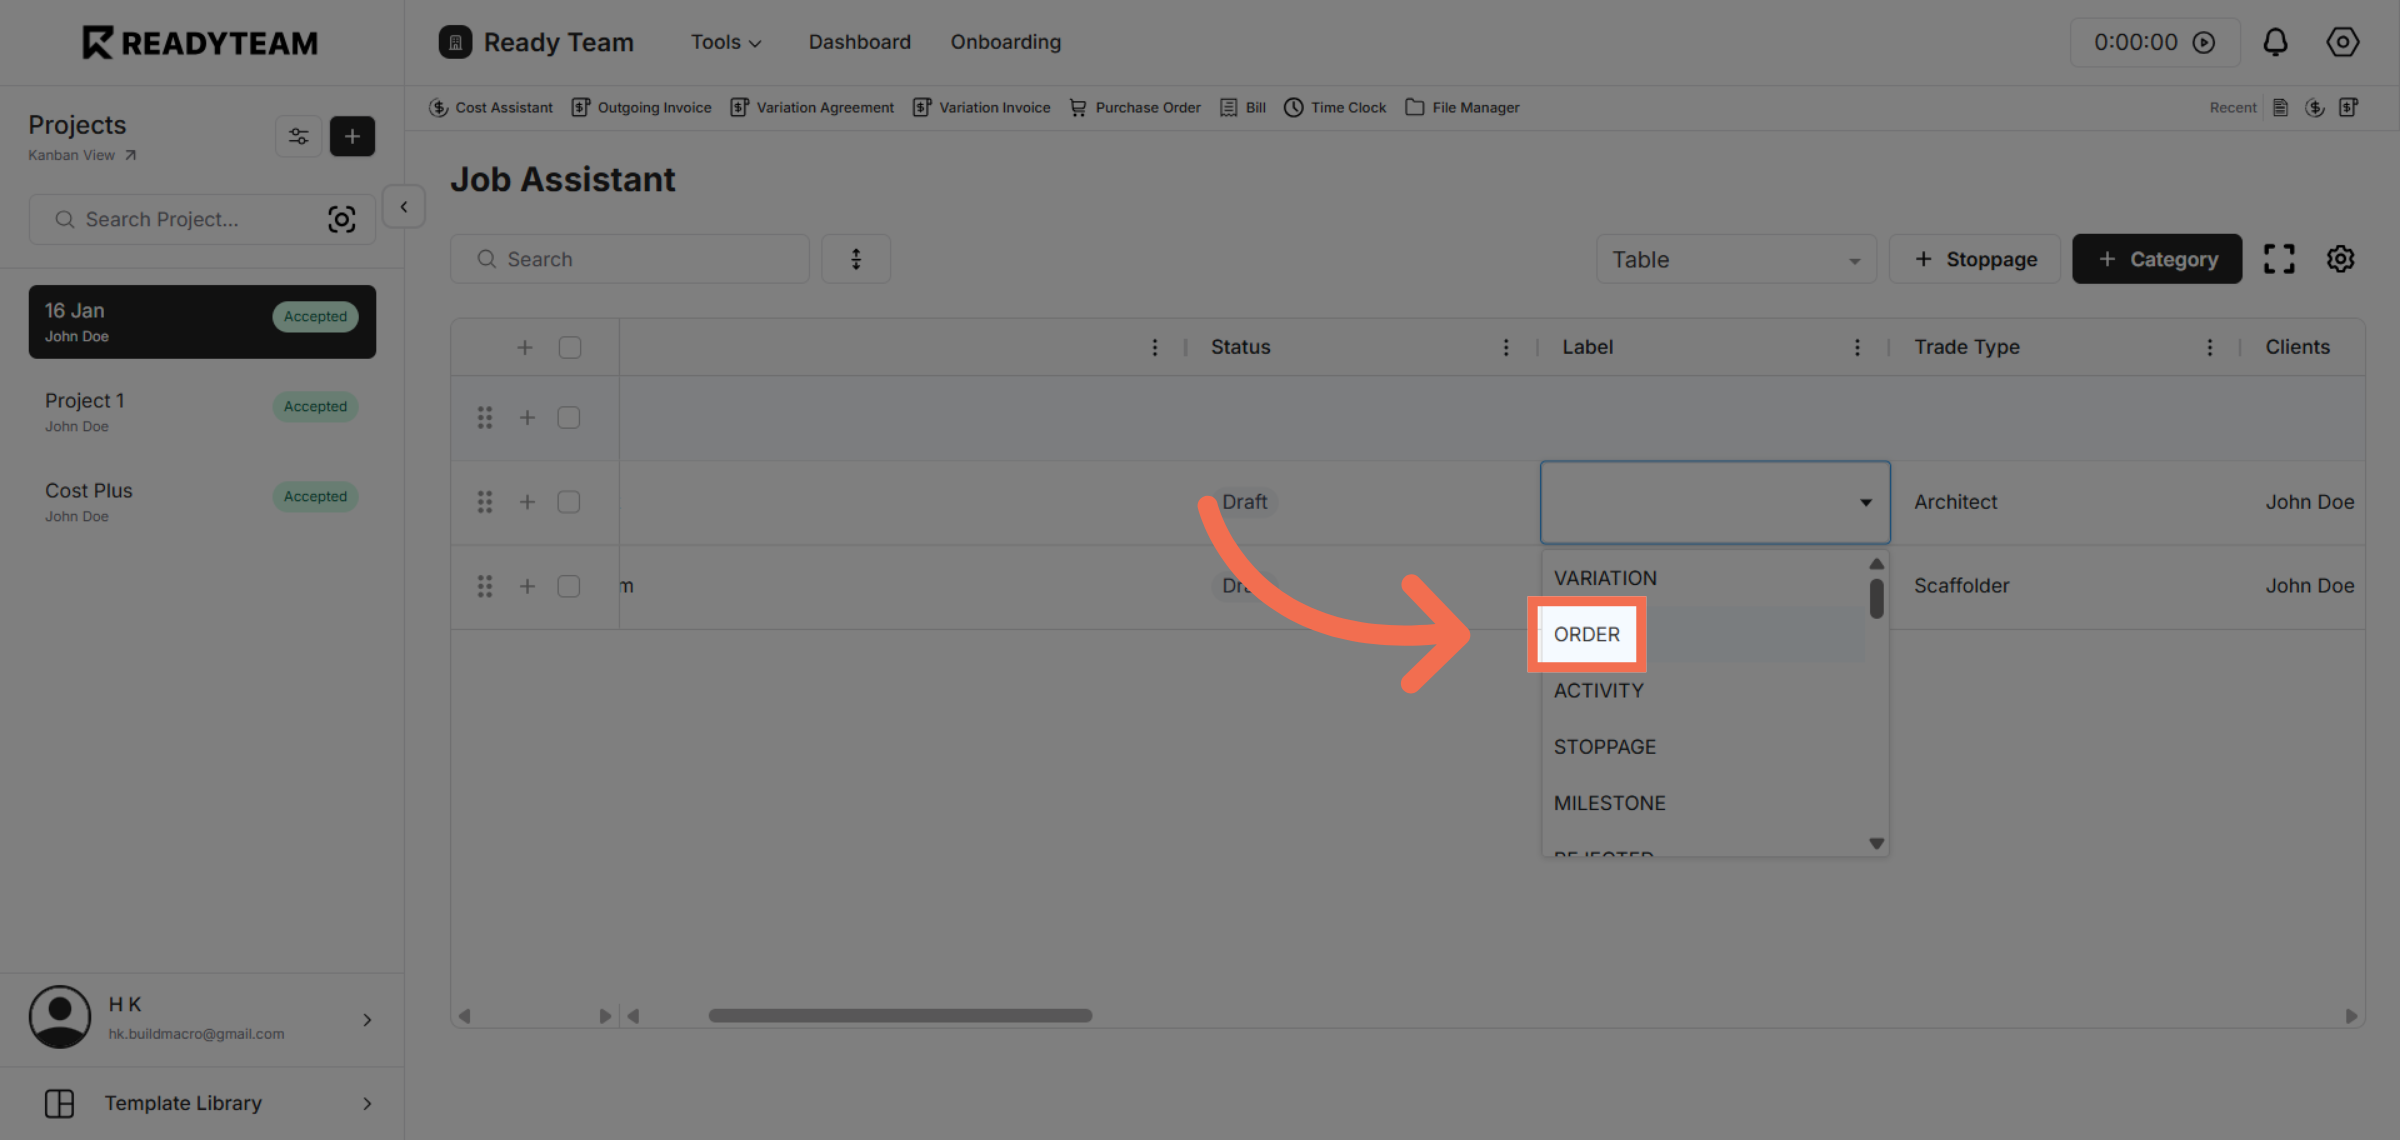
5. Open Label Selection
Click here to open the label selection menu where you can choose appropriate labels.
6. Choose Your First Label
Click the Order label to categorize the job under order-related activities.
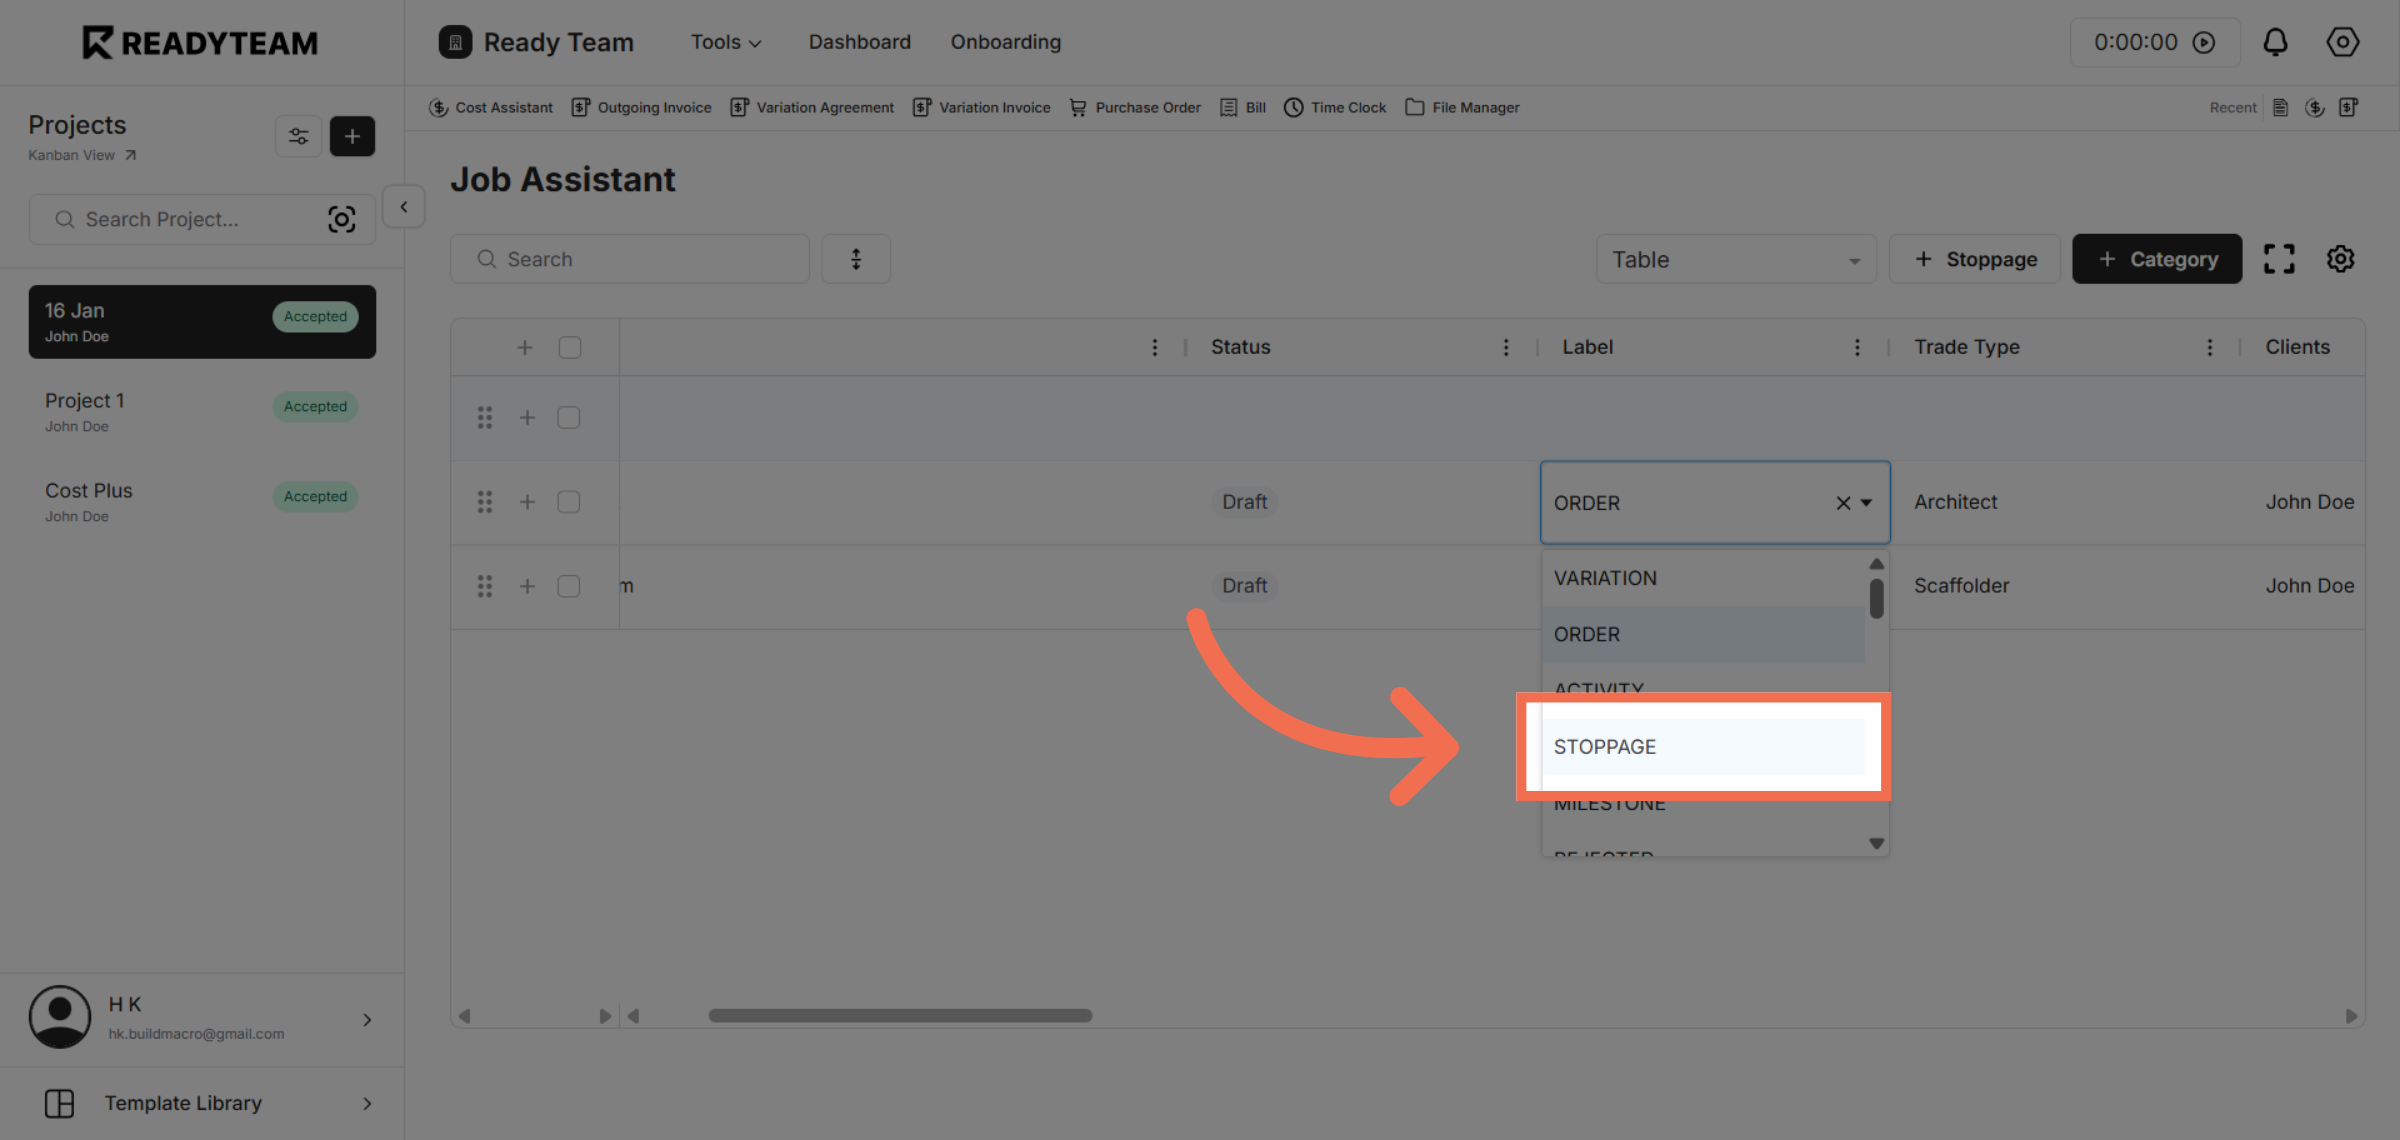
7. If needed you can add multiple labels to the same space
Click the Stoppage label to indicate any stoppage-related issues associated with the job.
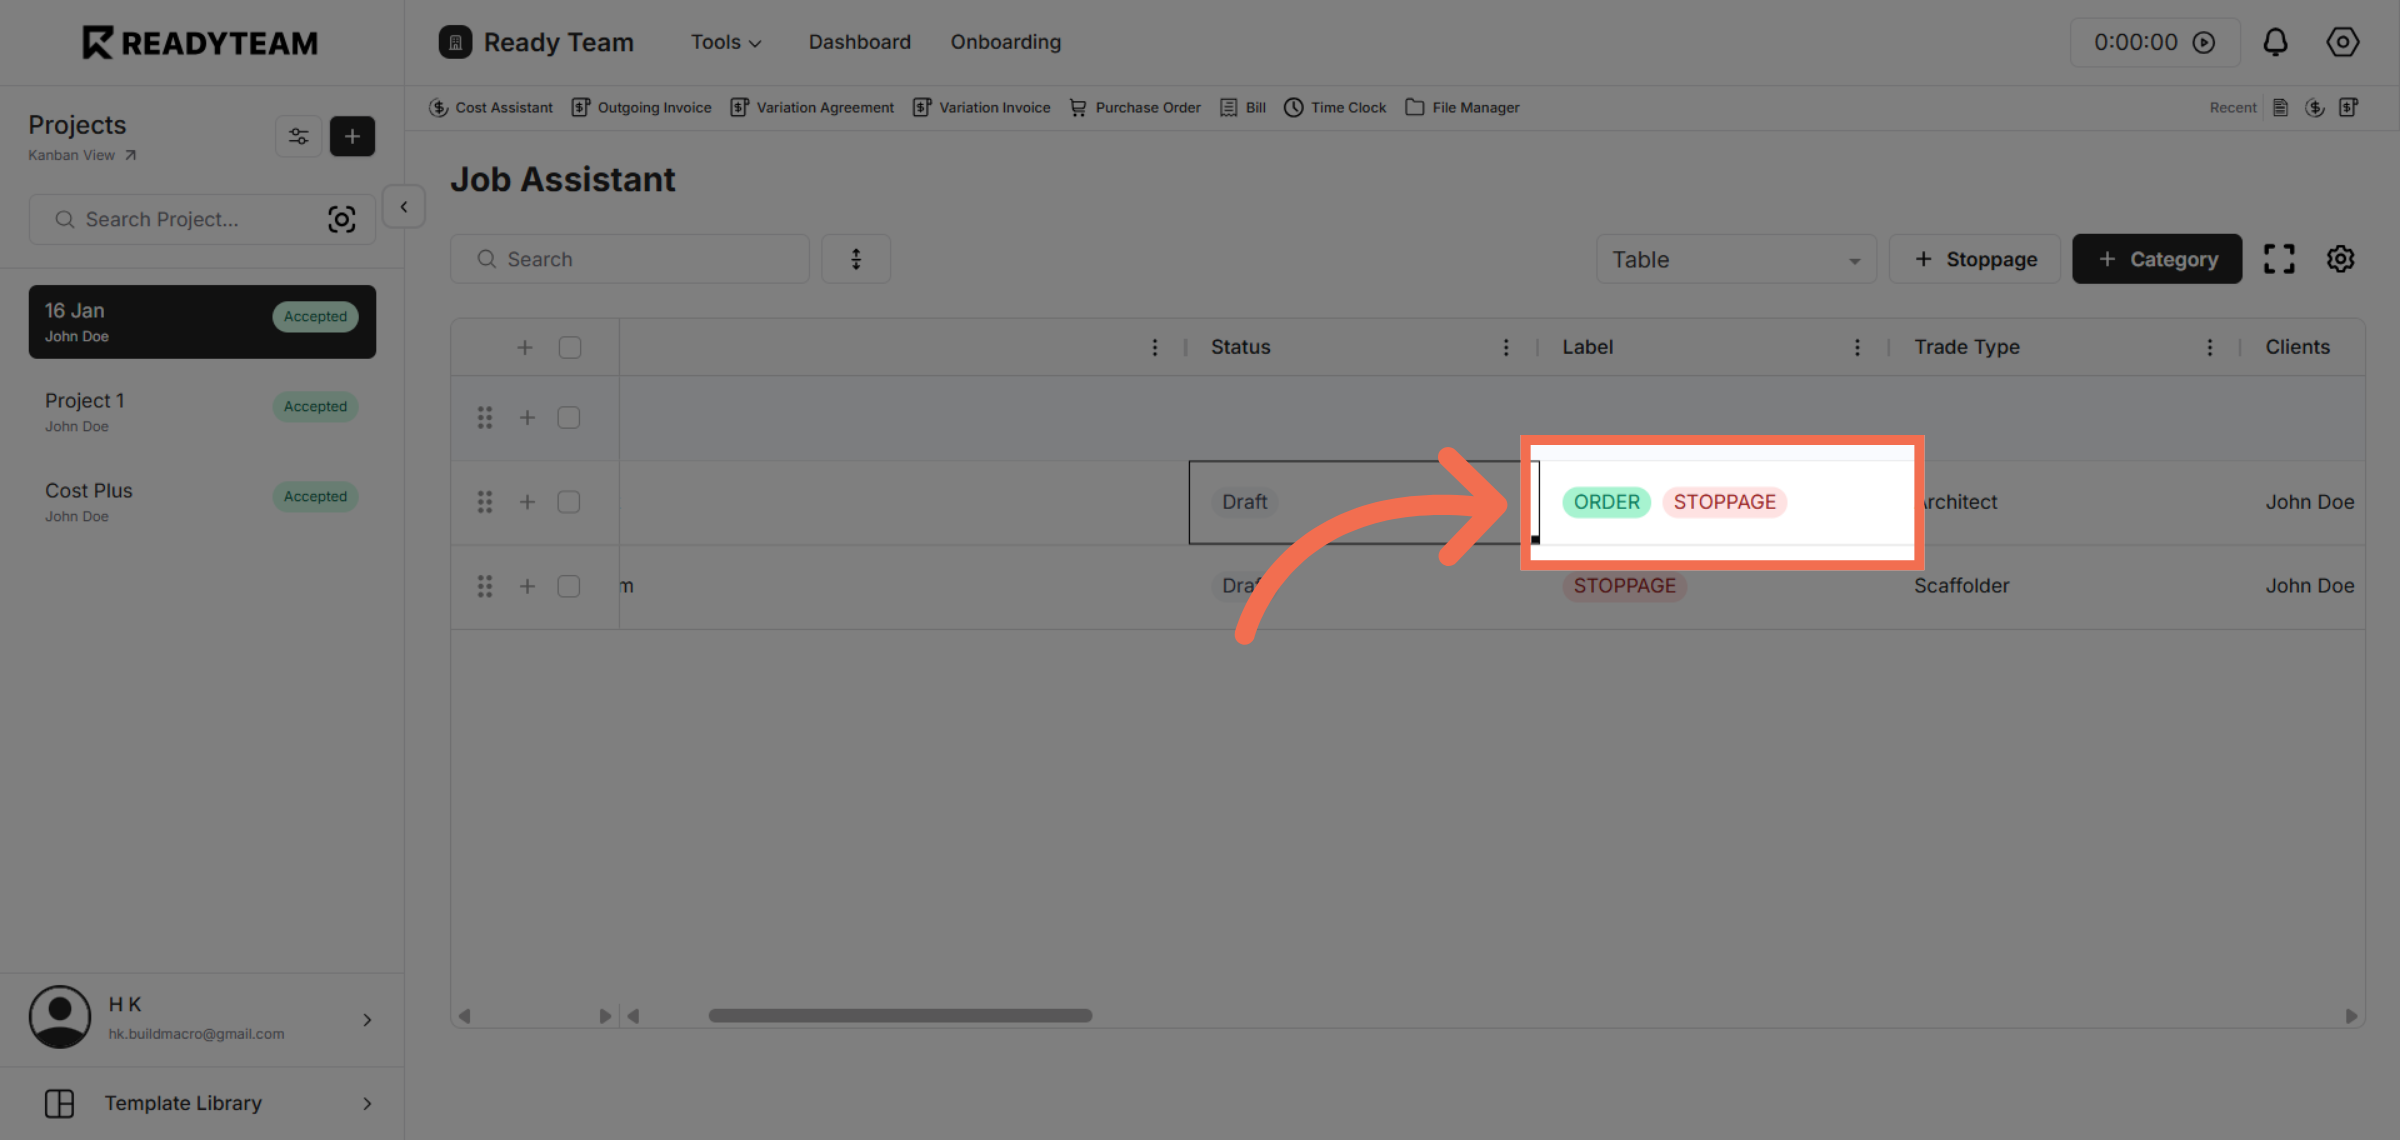
8. Review labels
Notice that both Labels are added into the same line item.
This demo demonstrated how to add and manage labels within Readyteam to organize job entries effectively. By using the labeling feature, you can streamline job categorization and enhance your workflow management immediately.