Import Cost assistant in ReadyTeam

This demo showcases how to efficiently import and manage cost data using the Cost Assistant feature.
Go to app.readyteam.ai
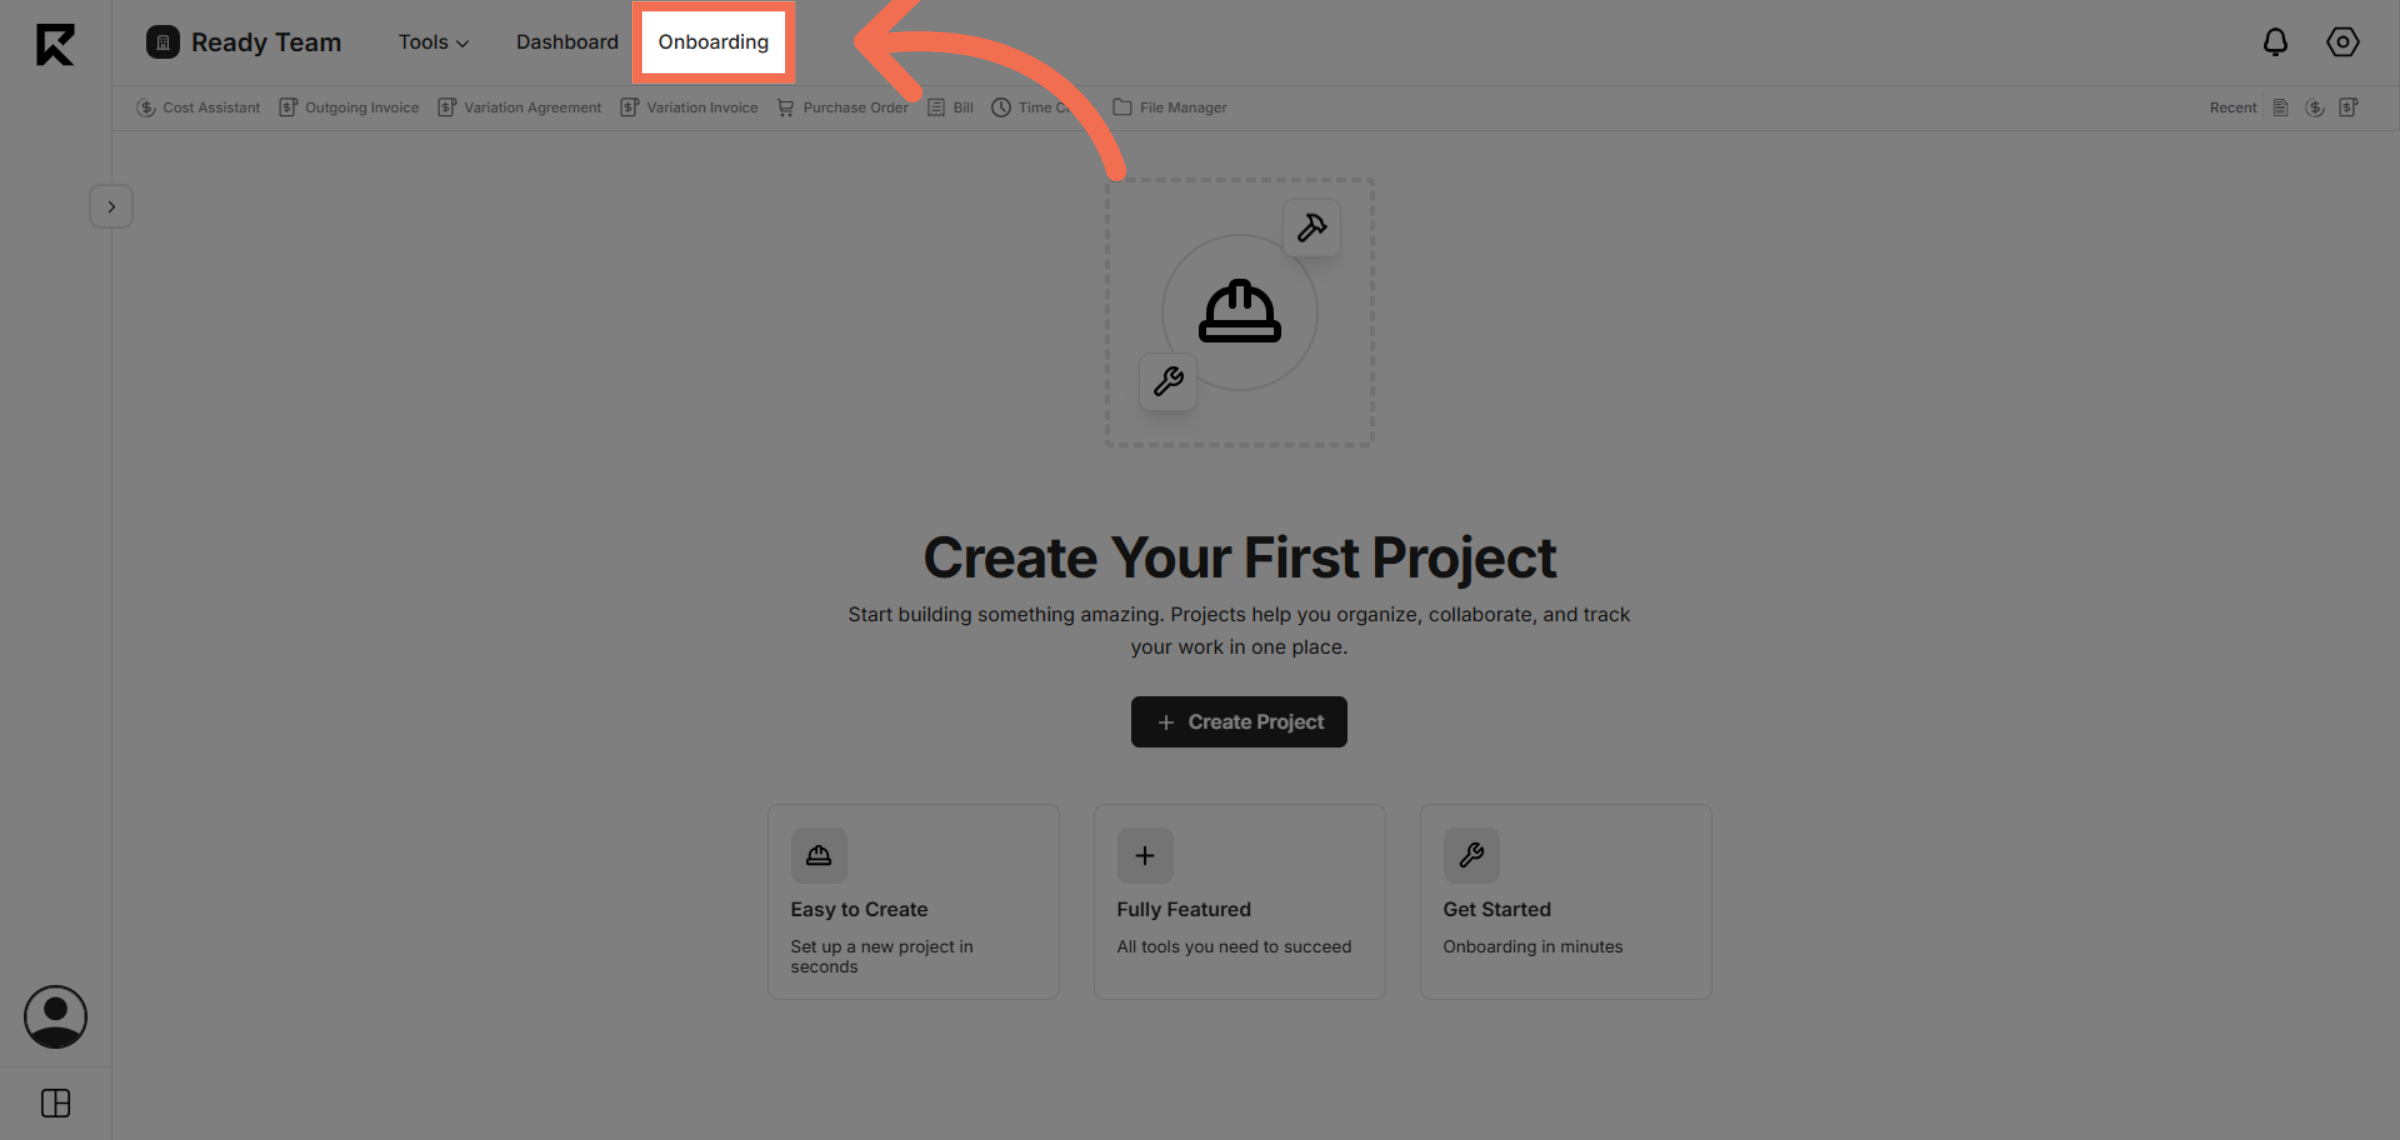
1. Navigate to Onboarding
Click the Onboarding section to begin accessing the Cost Assistant feature.
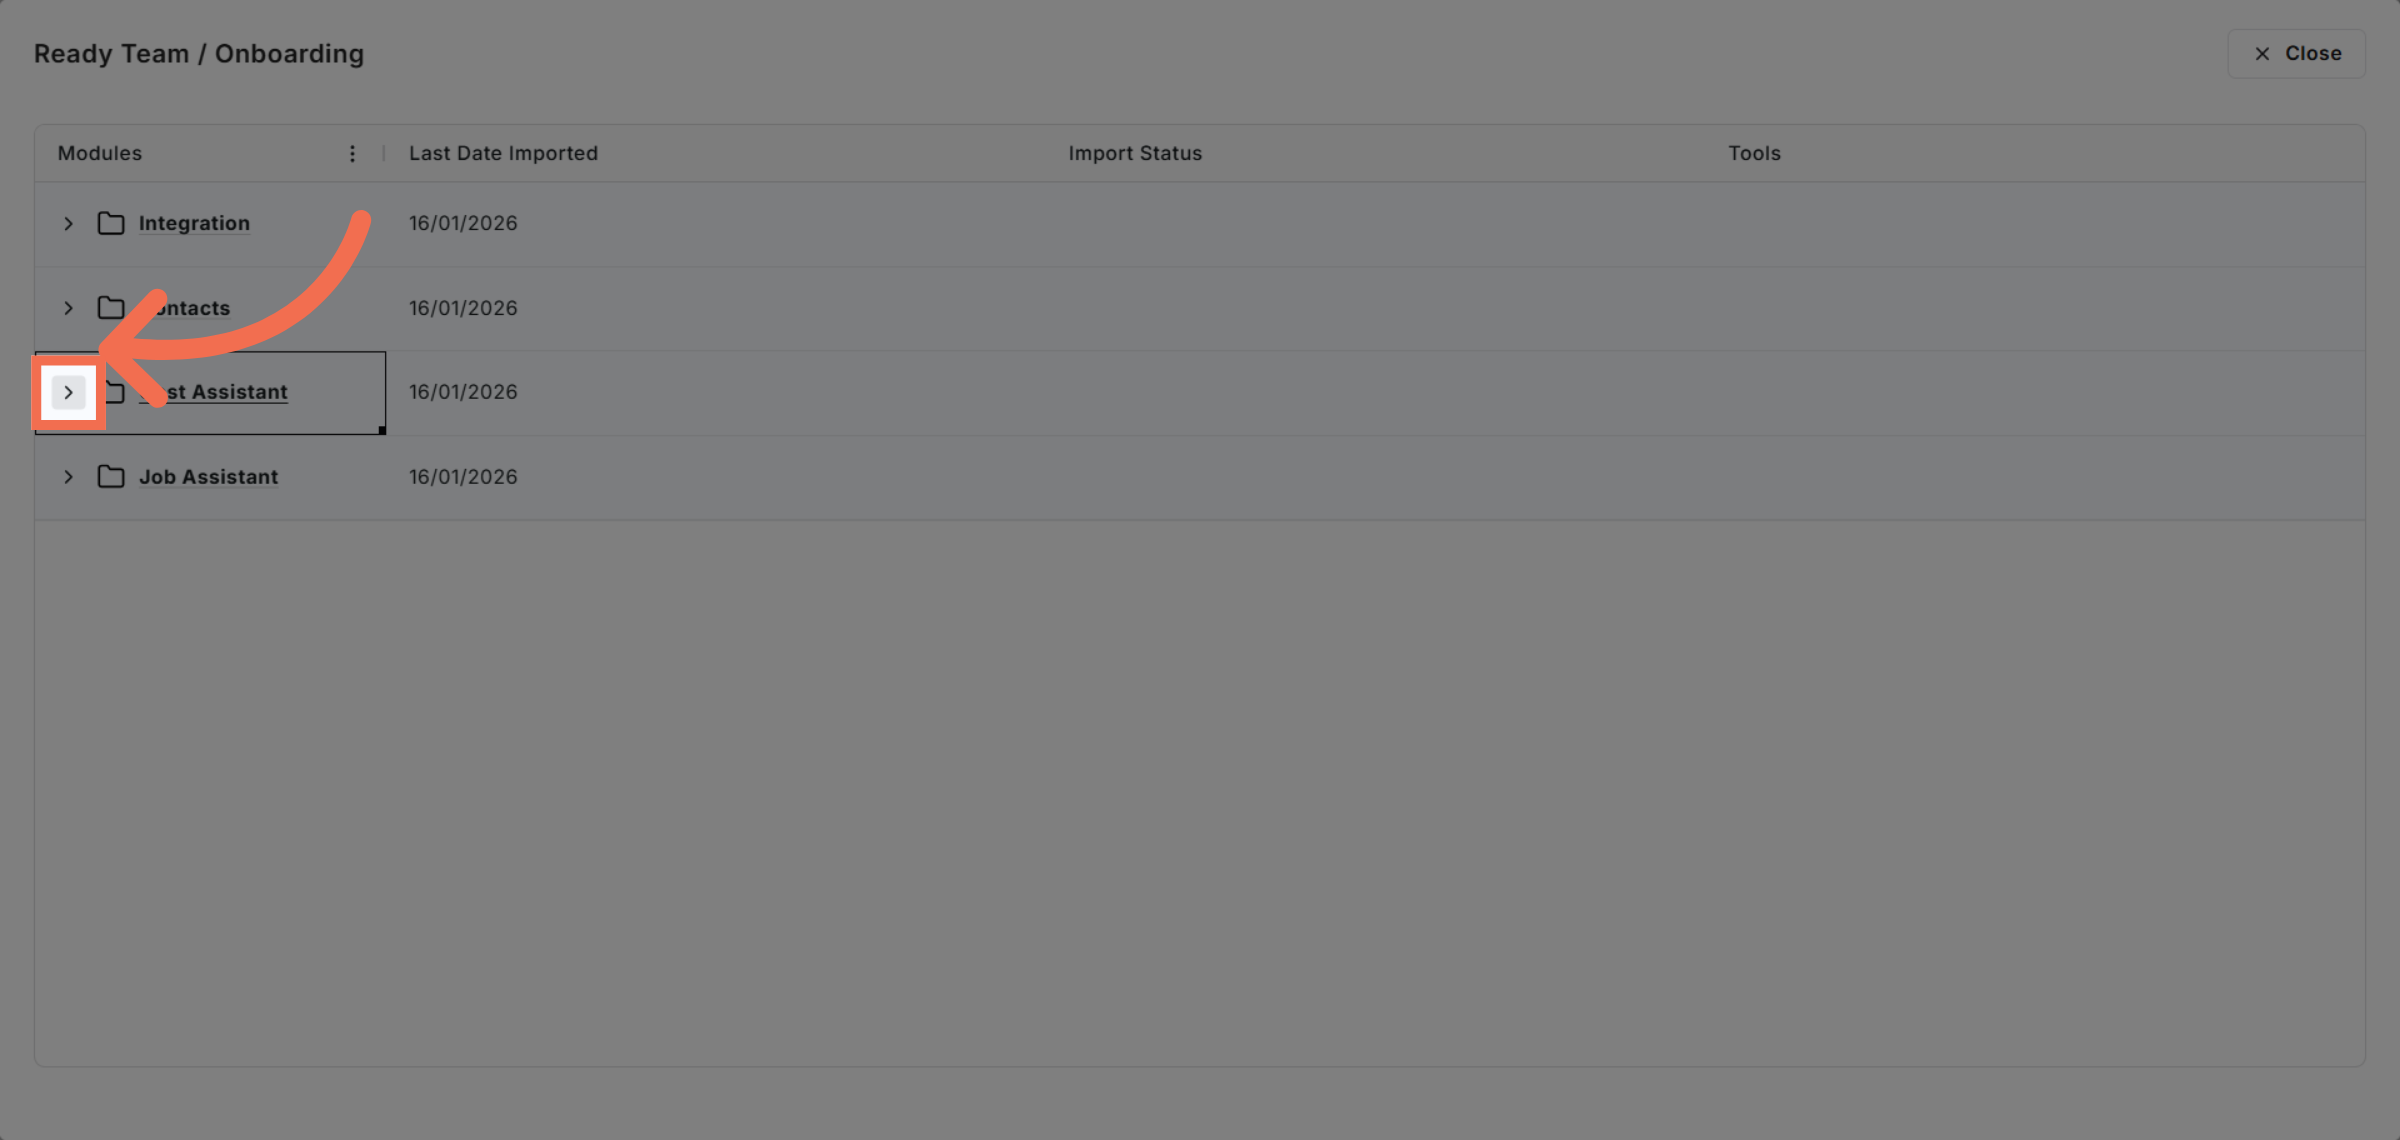
2. Access Cost Assistant
Click the indicated area to proceed to the Cost Assistant module.
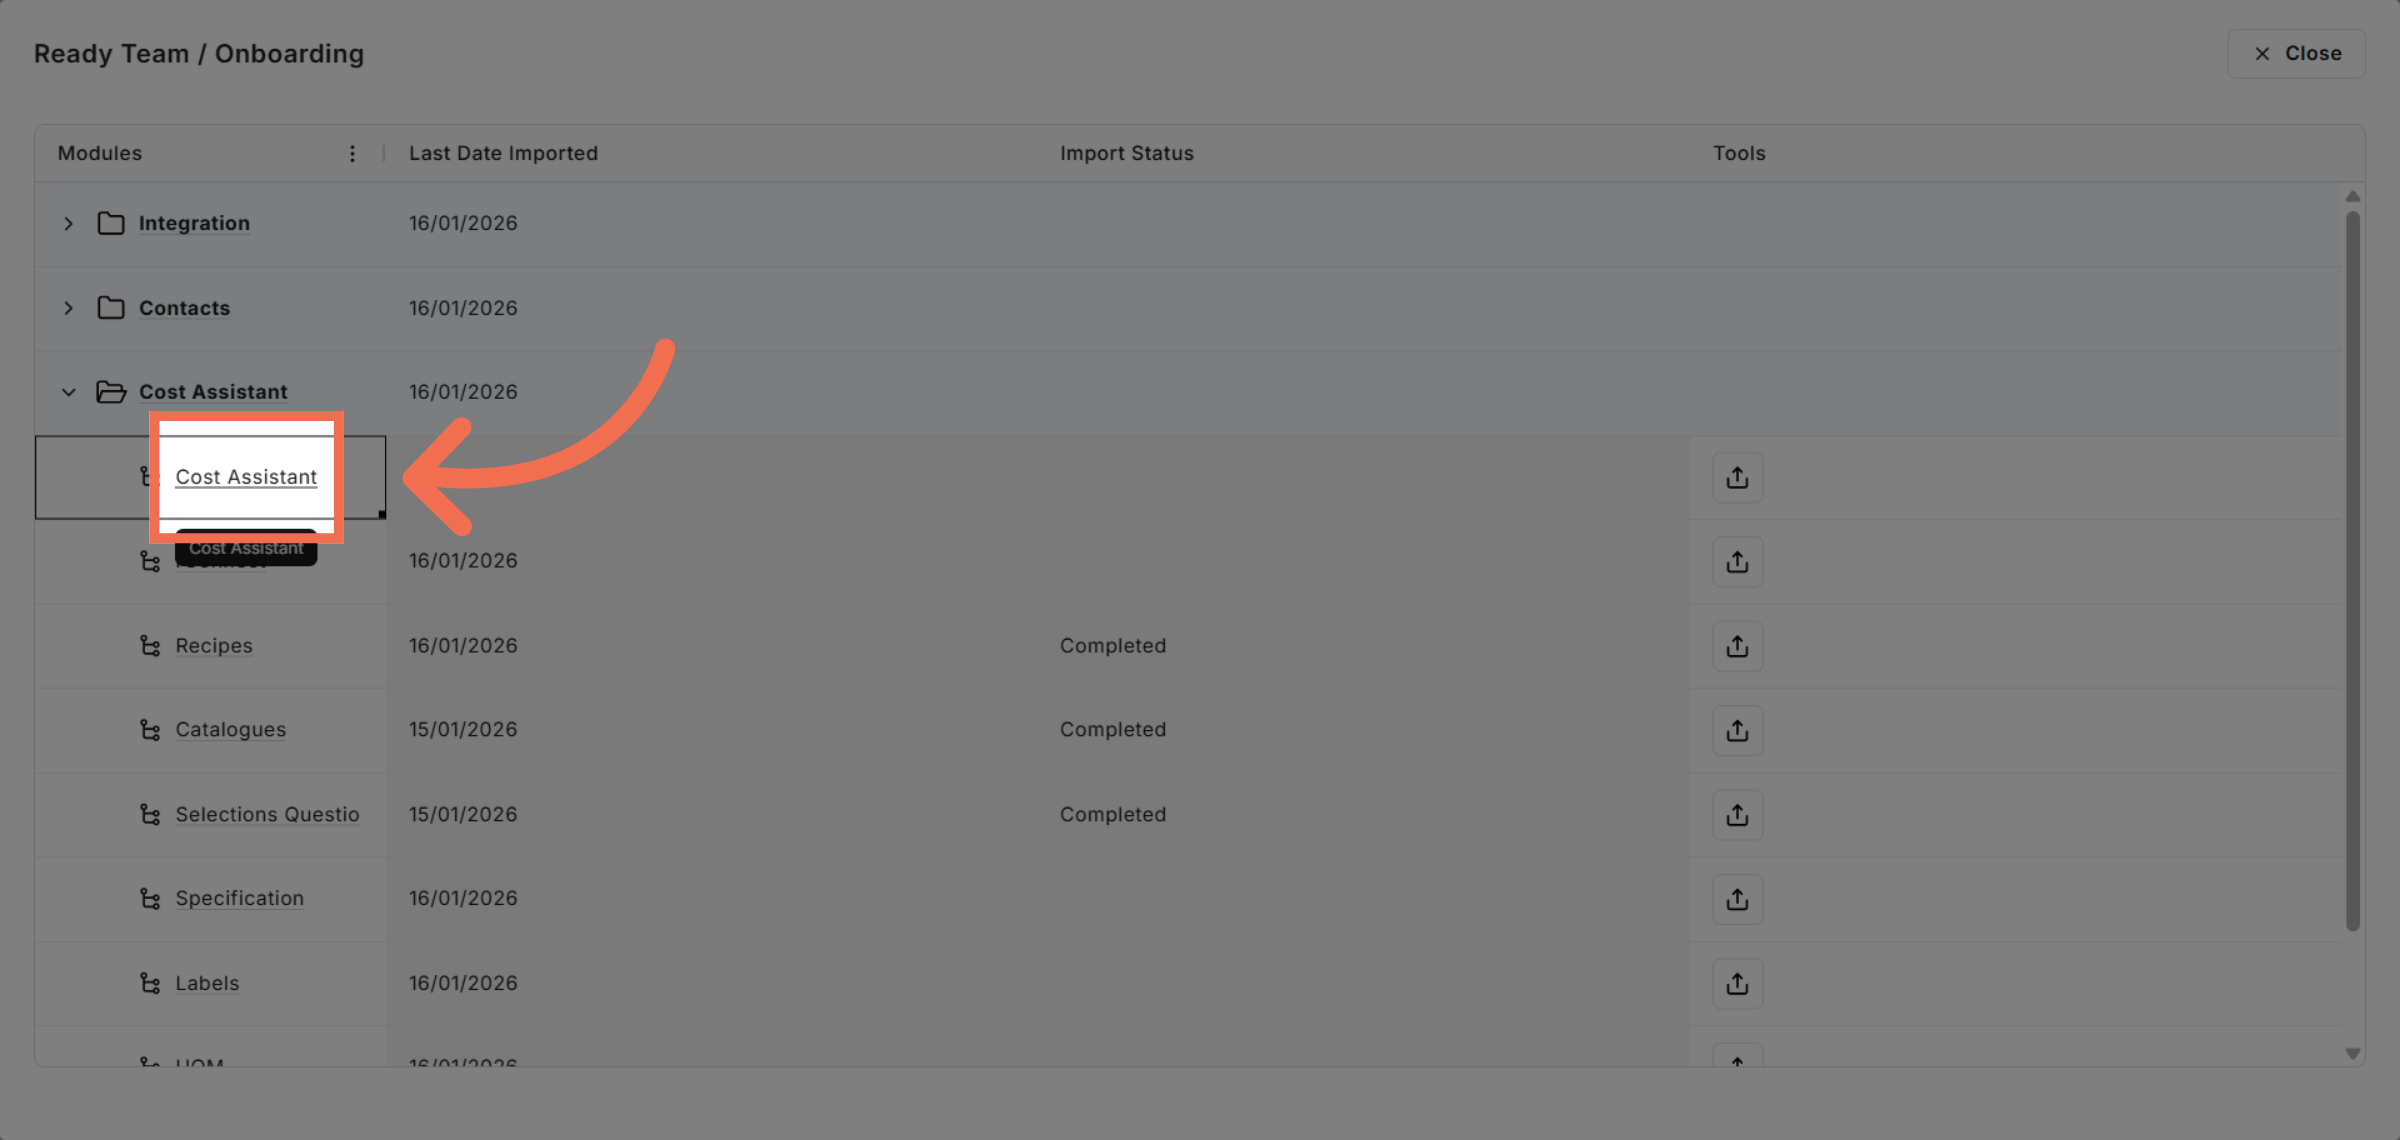
3. Select Cost Assistant
Click the Cost Assistant option to open the import interface.
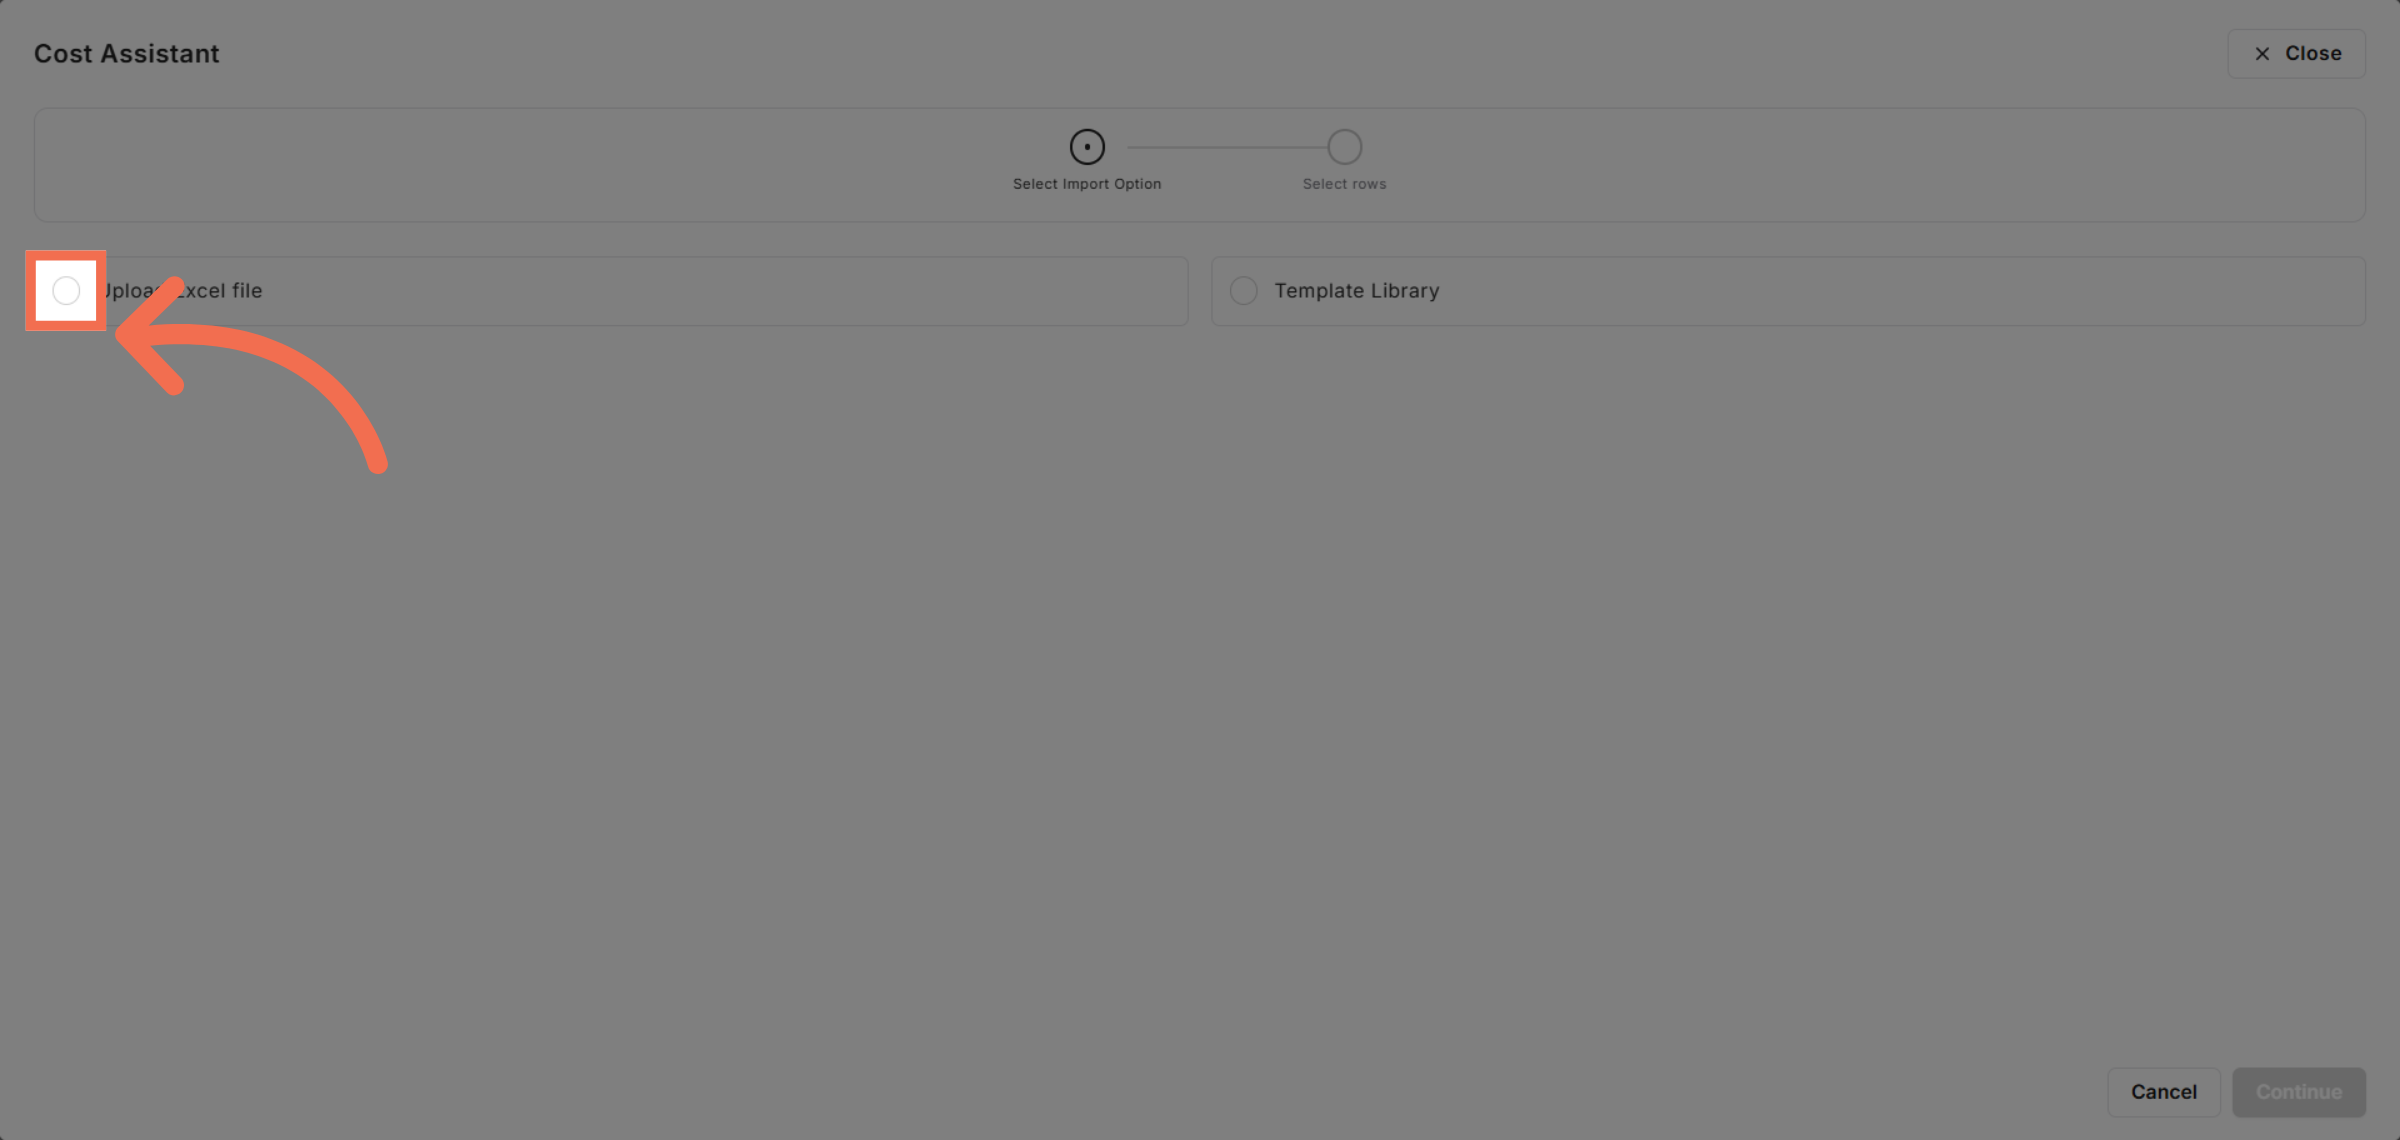
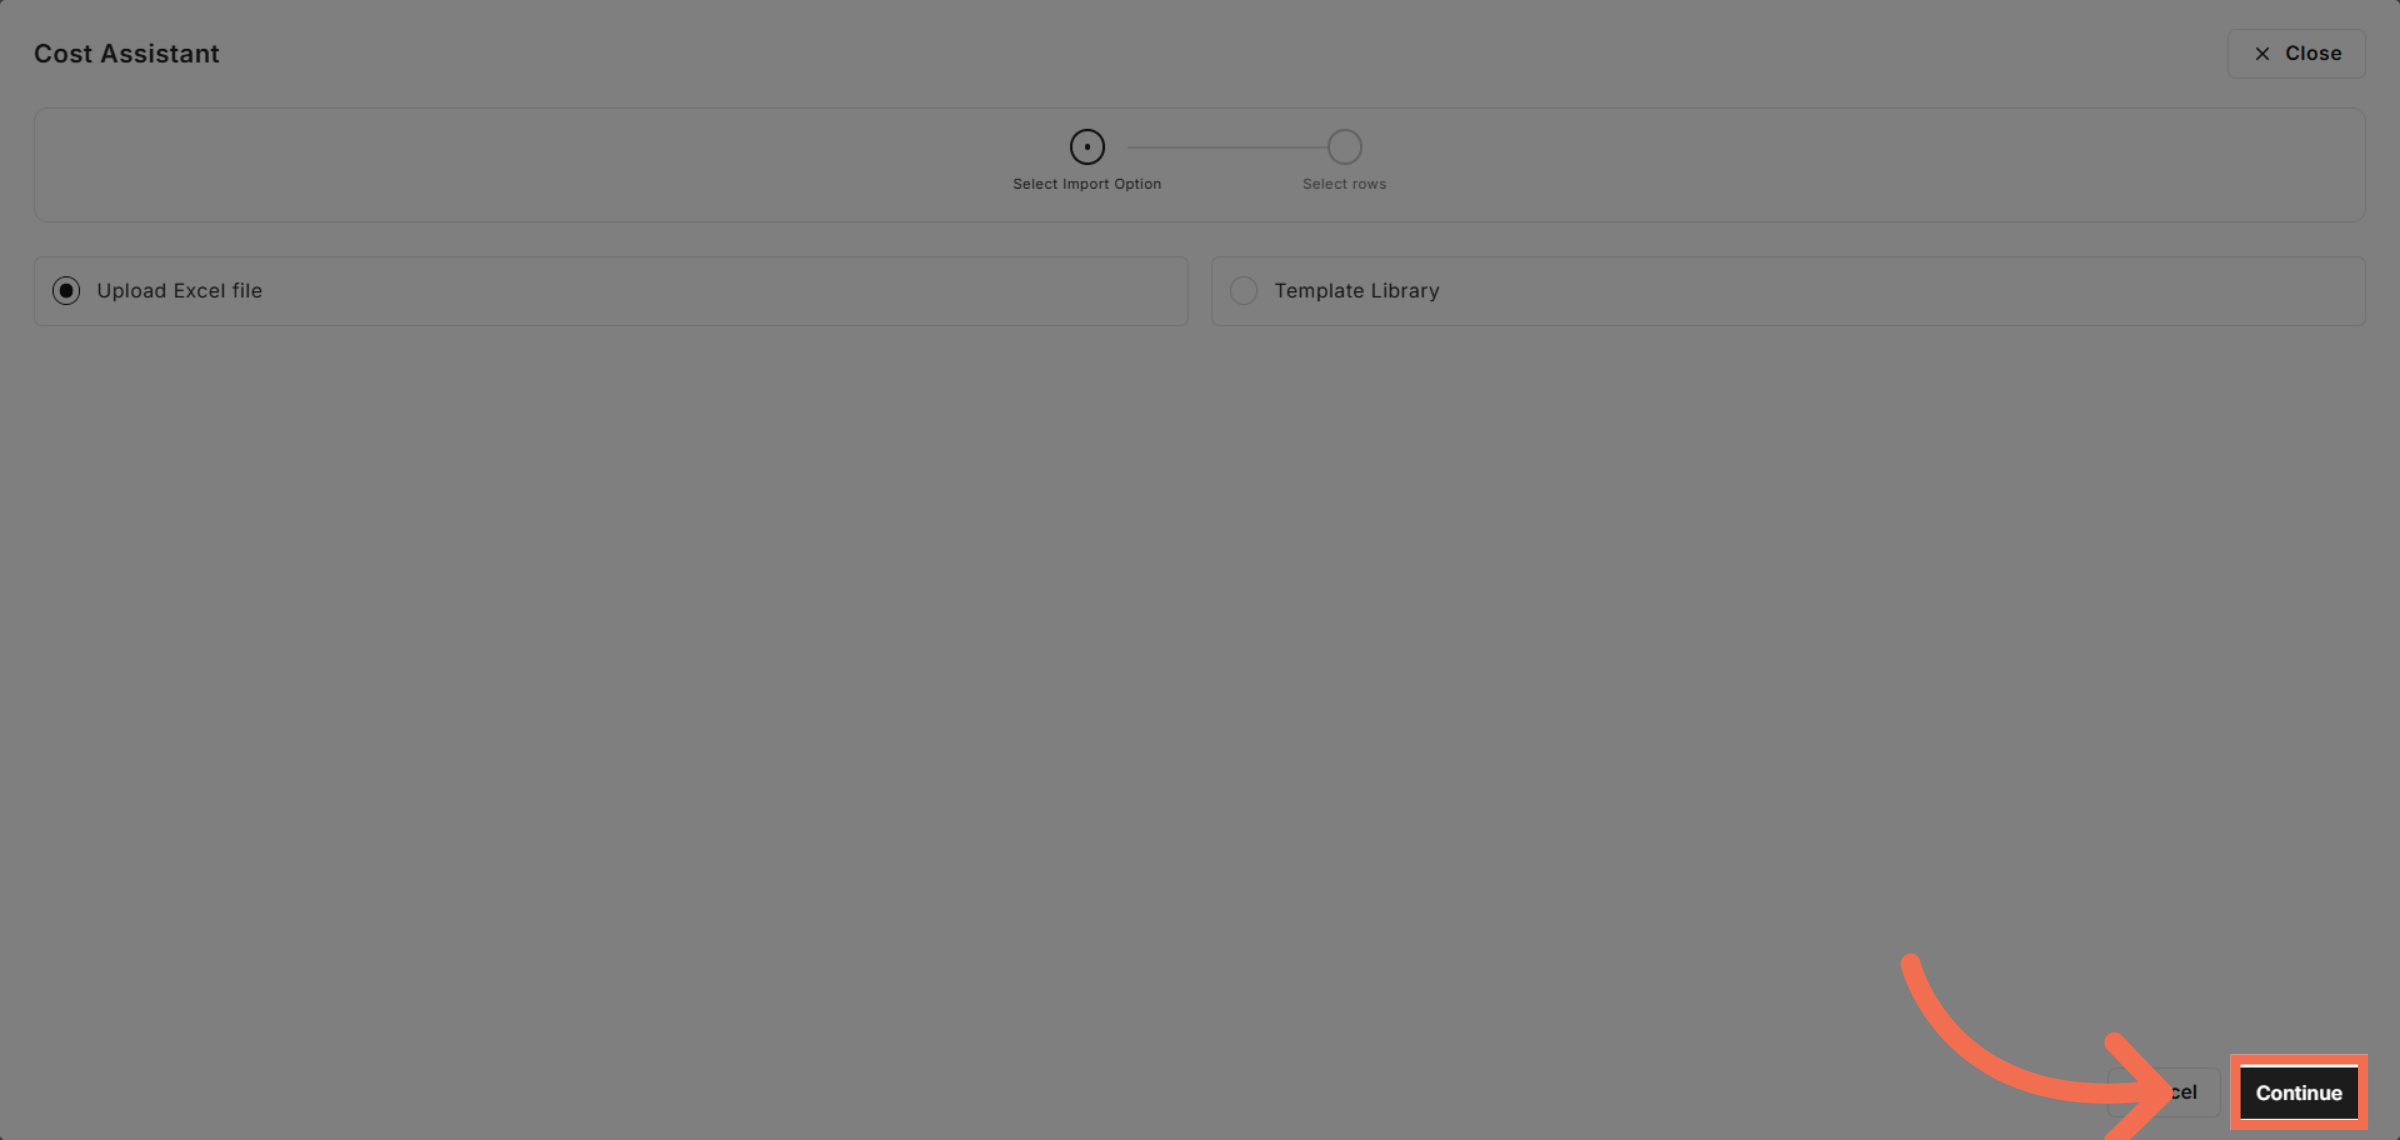
4. Initiate Excel Upload
Click the Upload Excel file button to start importing your cost data.
5. Proceed with Upload
Click Continue to move forward with the file upload process.
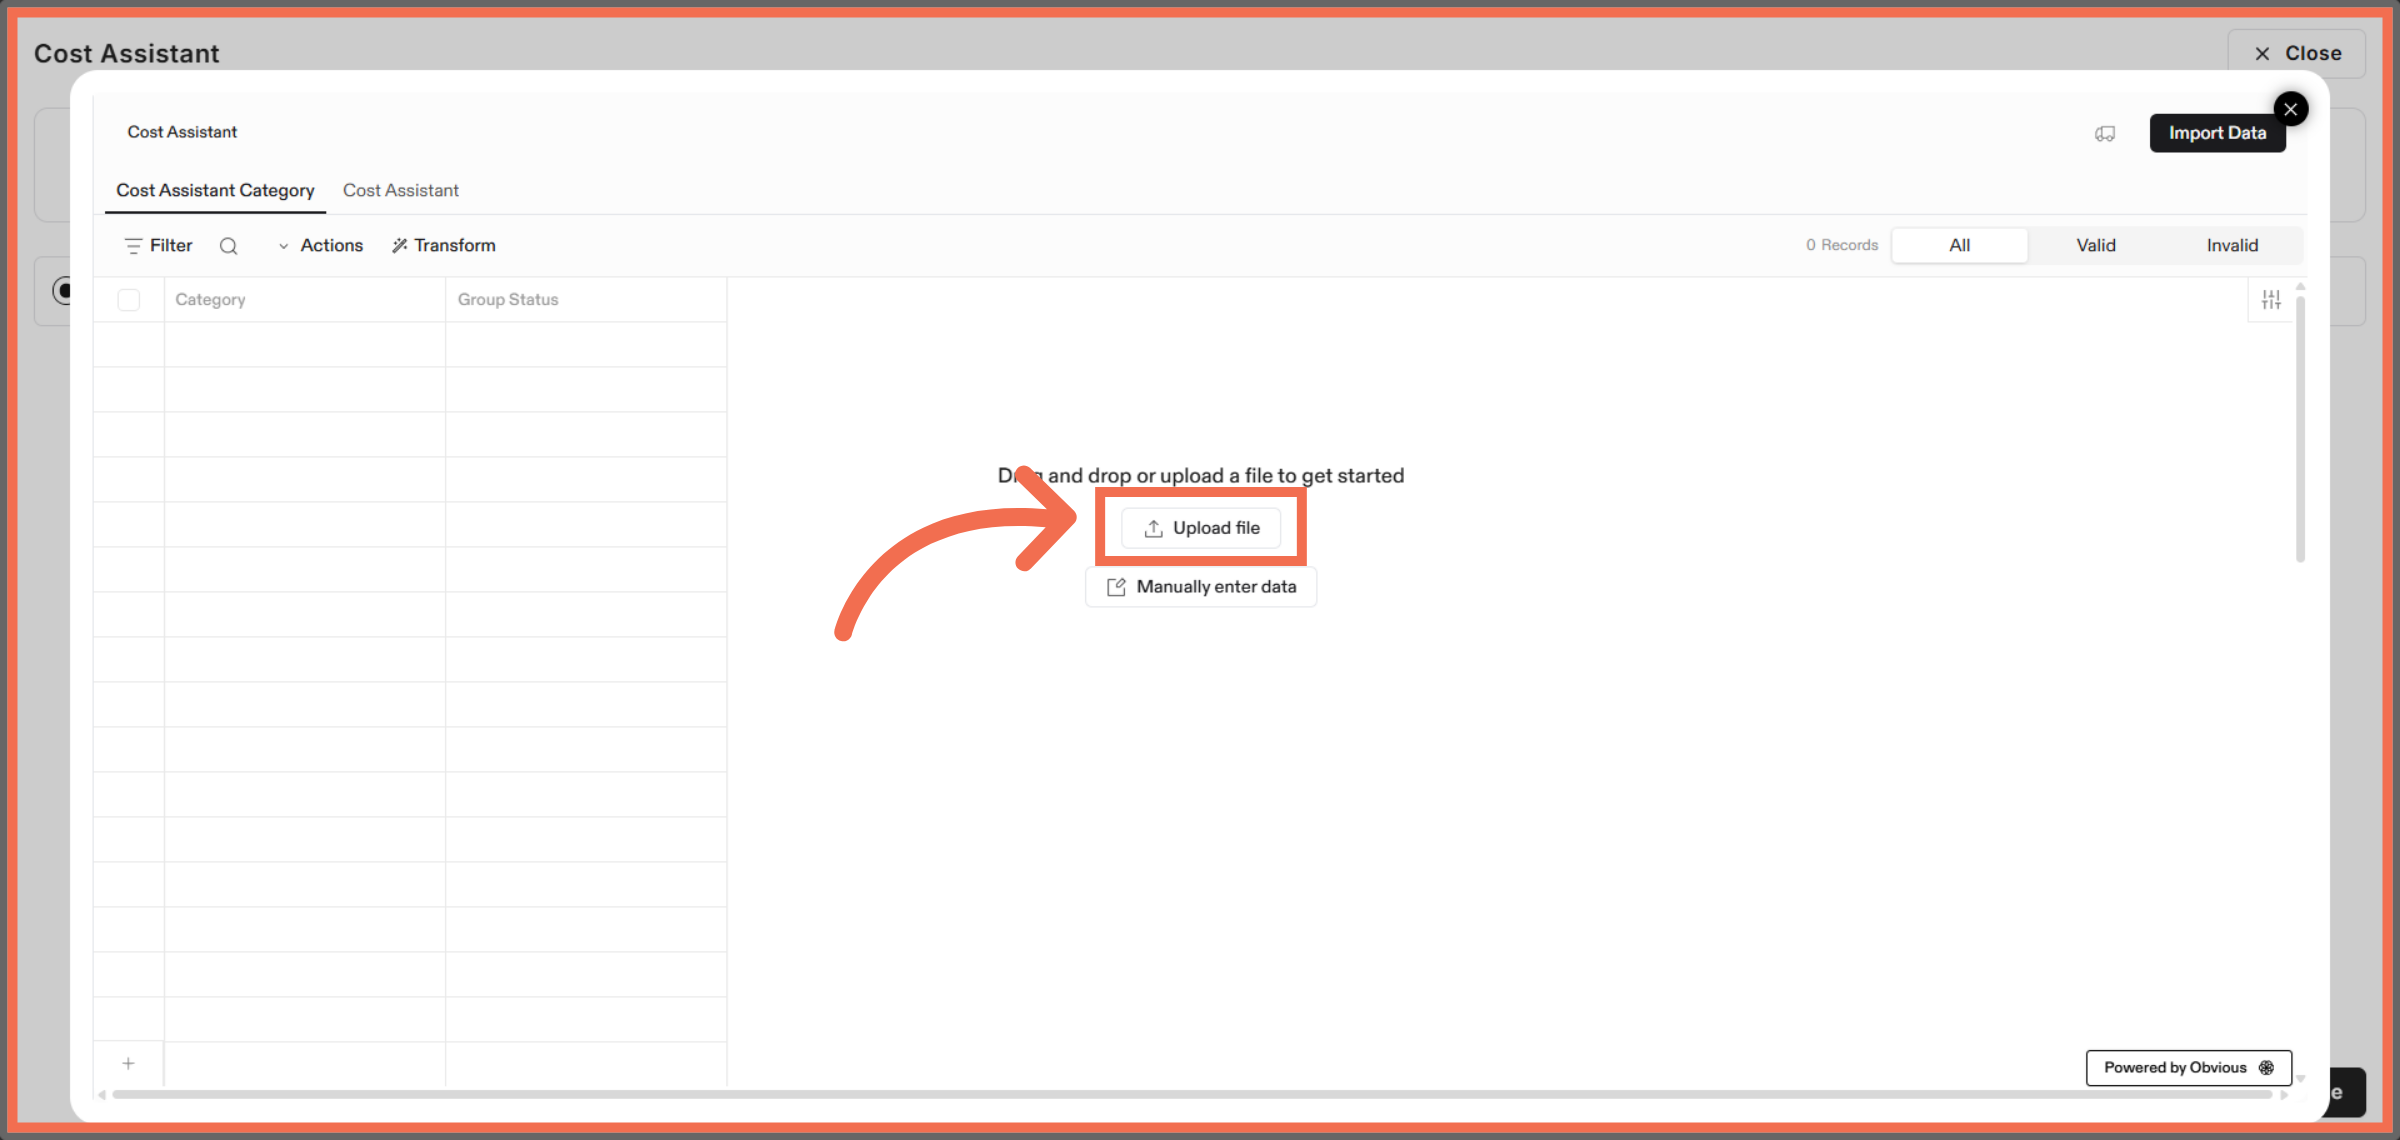
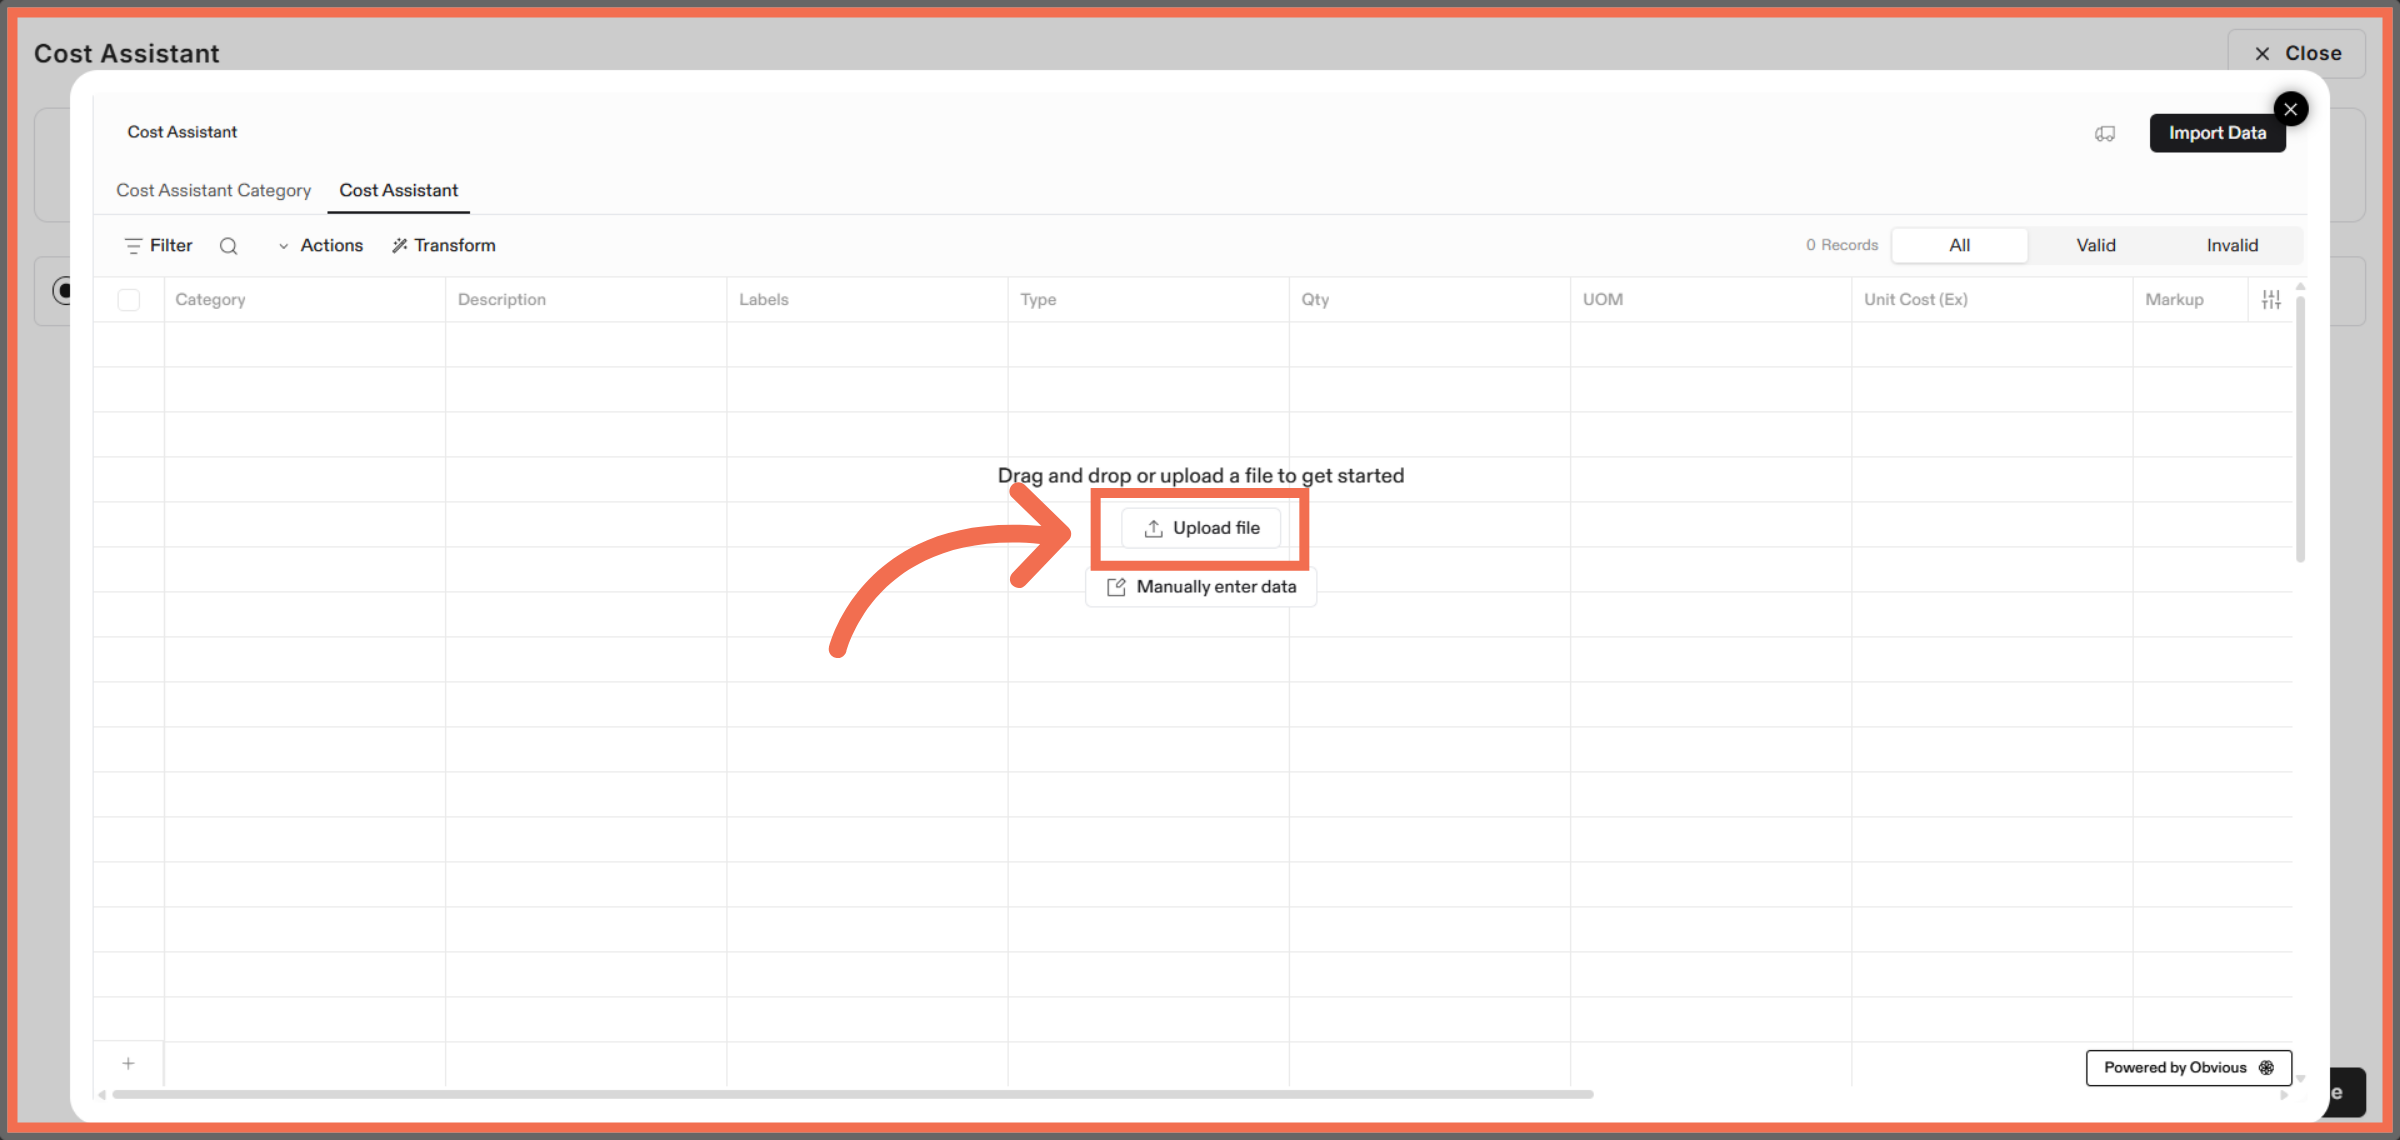
6. Upload File
Click the Upload file button to select your Excel file for import.
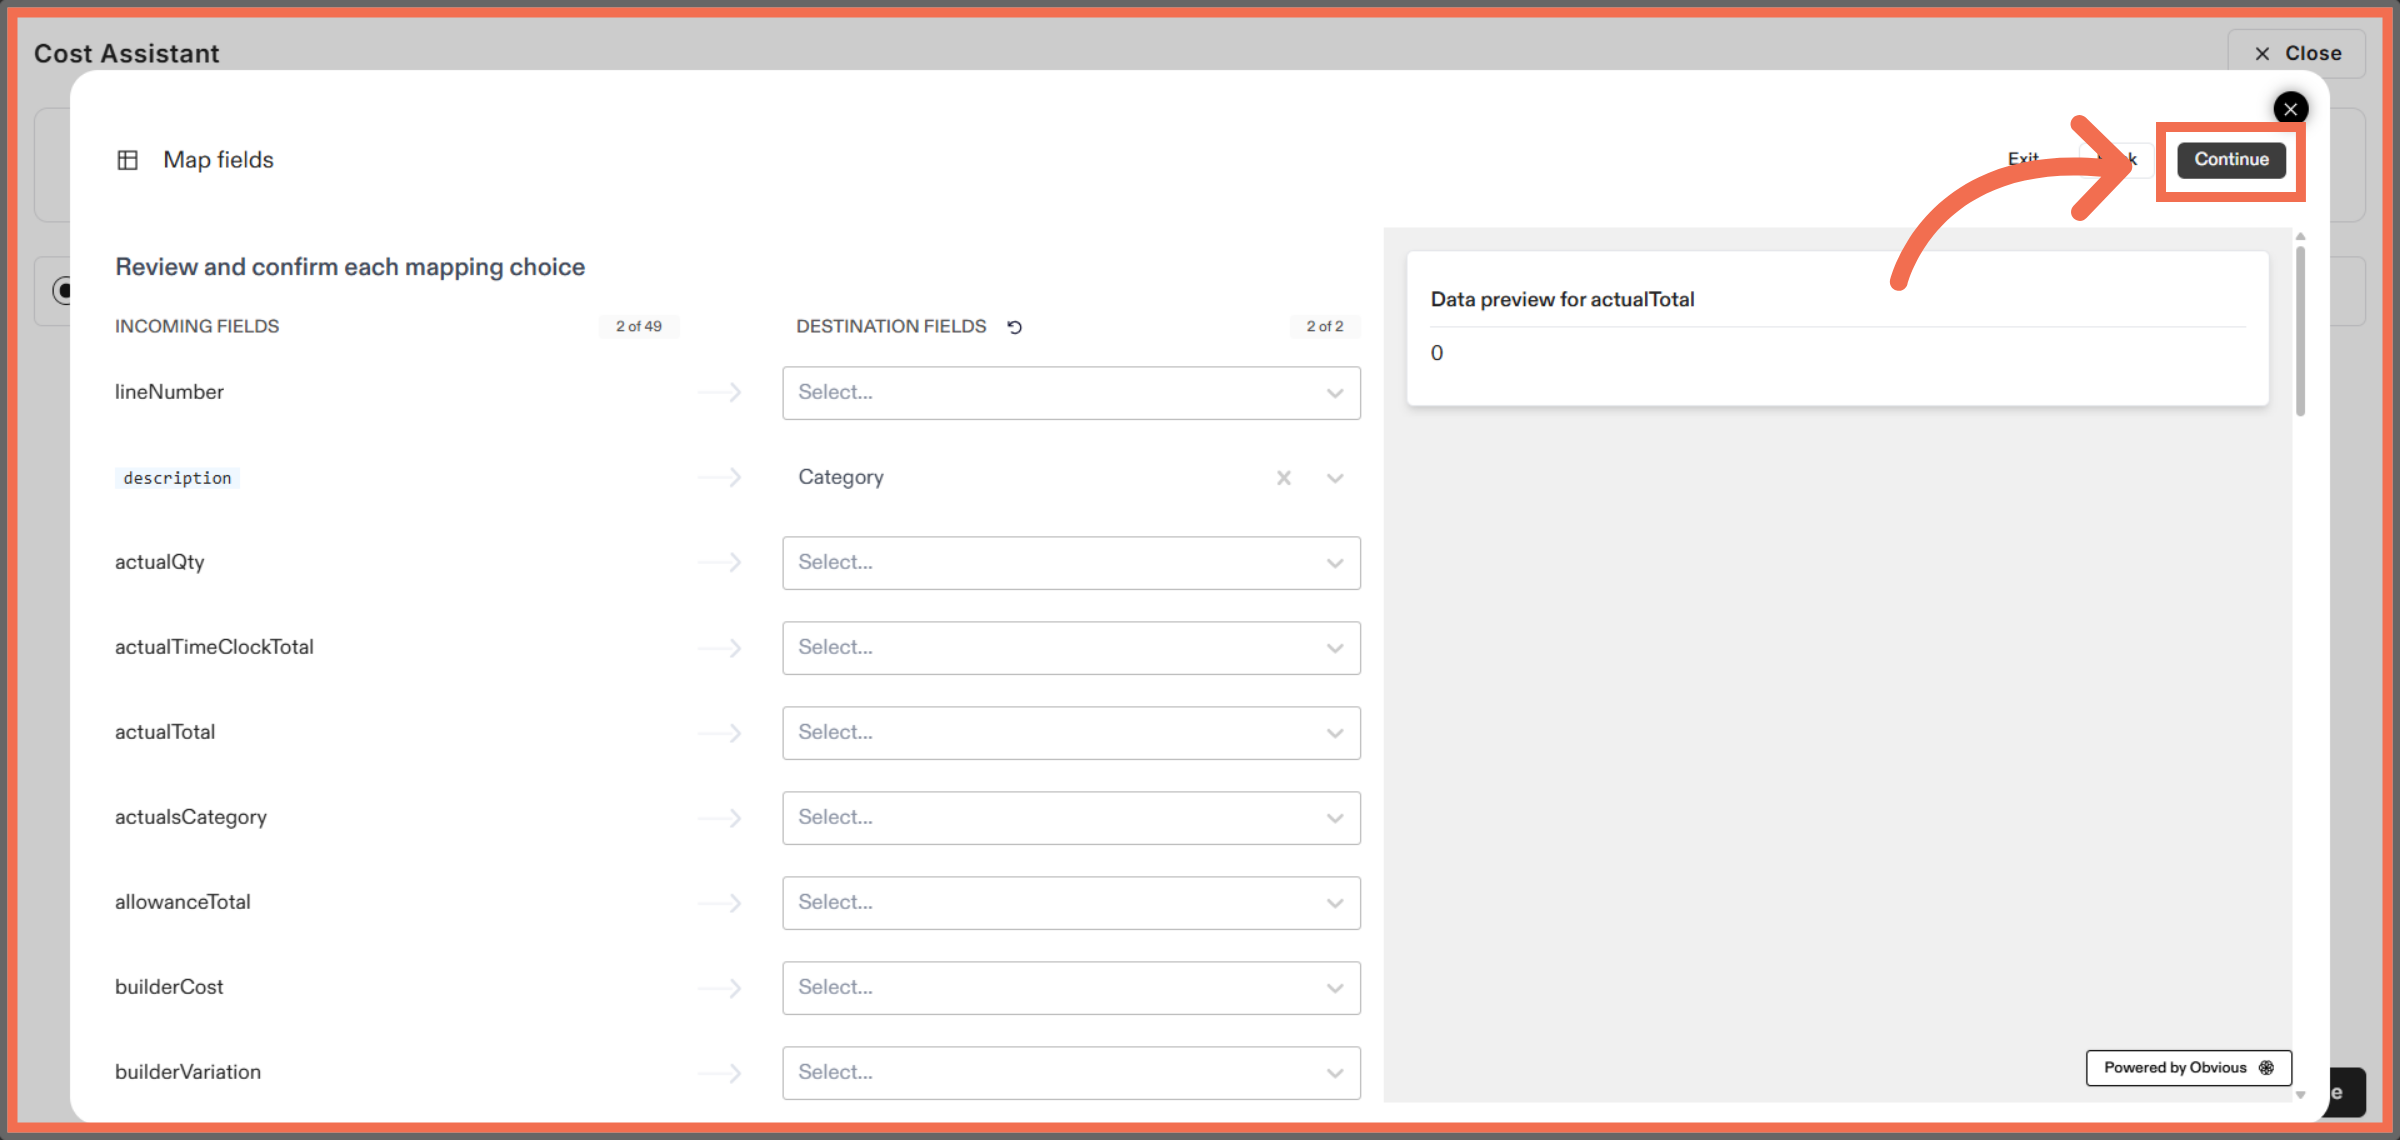
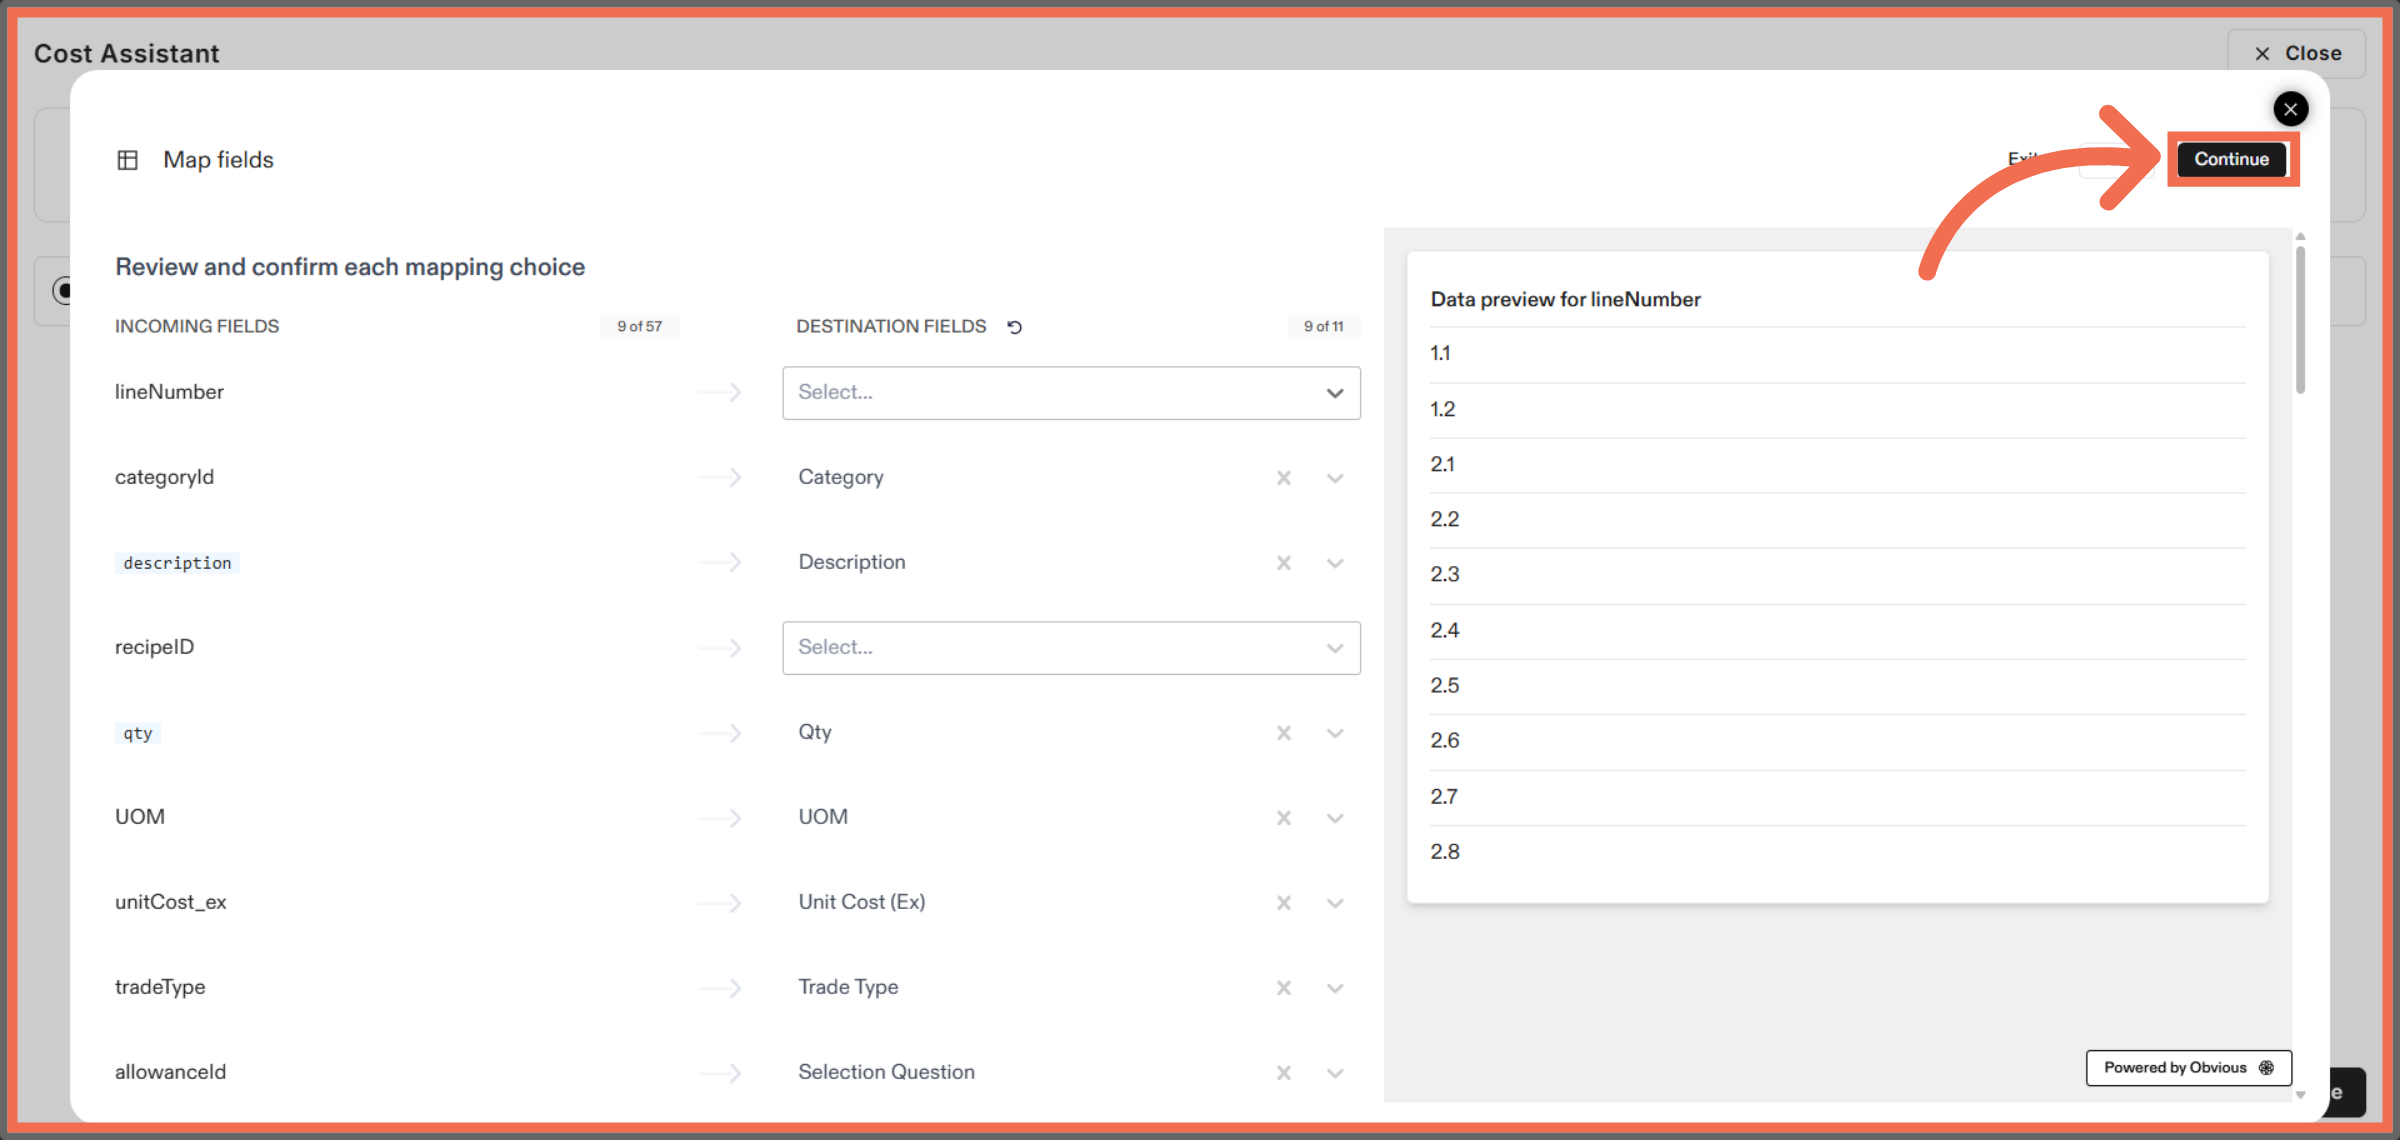
7. Review Mapping and Continue Mapping
Click Continue to proceed with mapping your data fields.
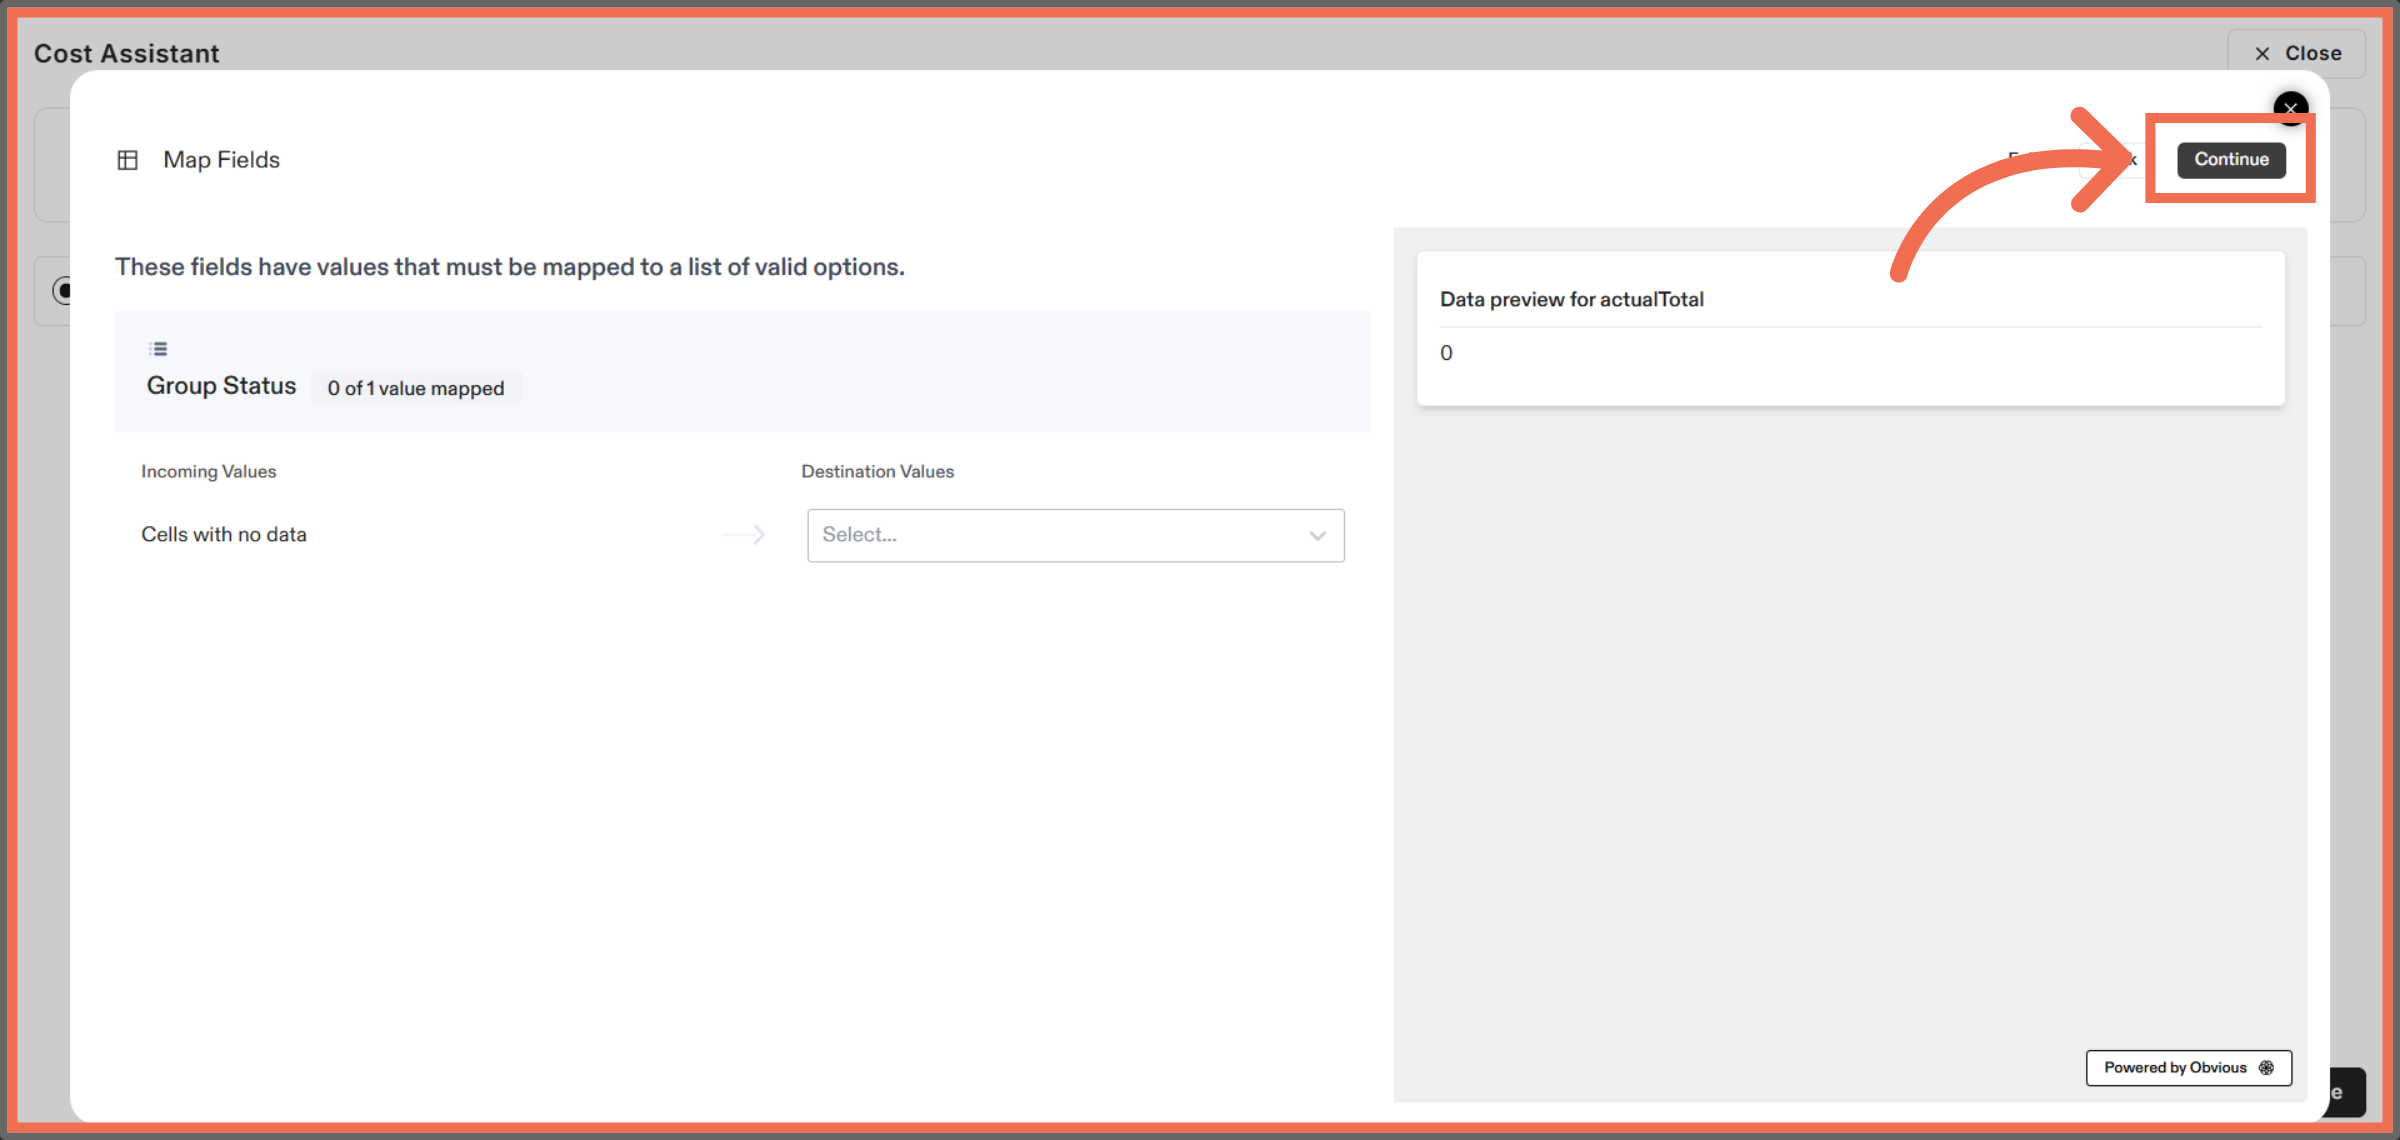
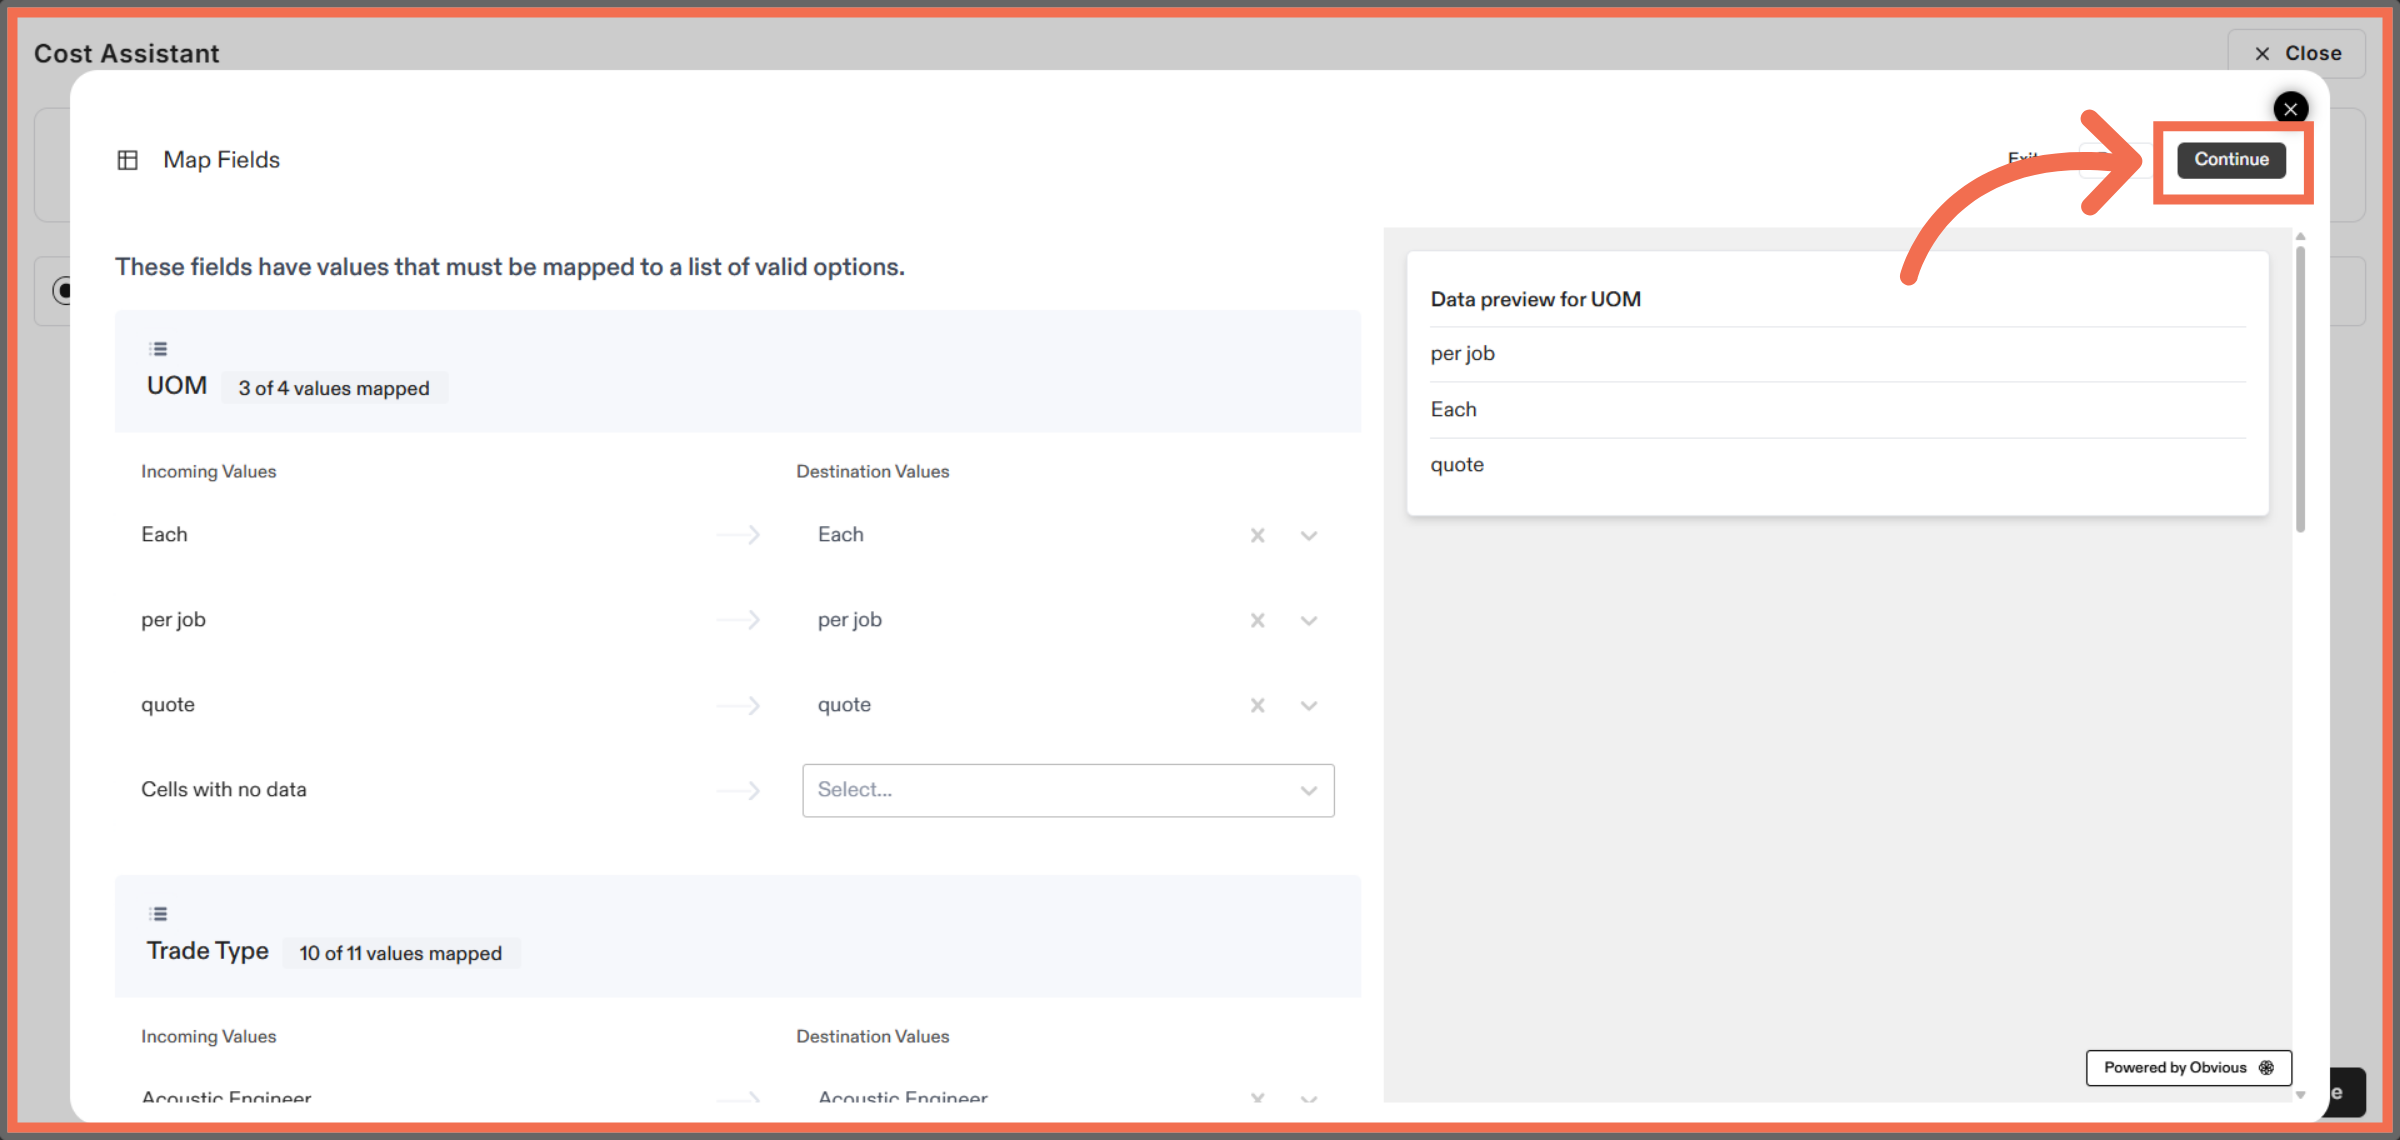
8. Confirm Mapping Progress
Click Continue again to advance through the mapping steps.
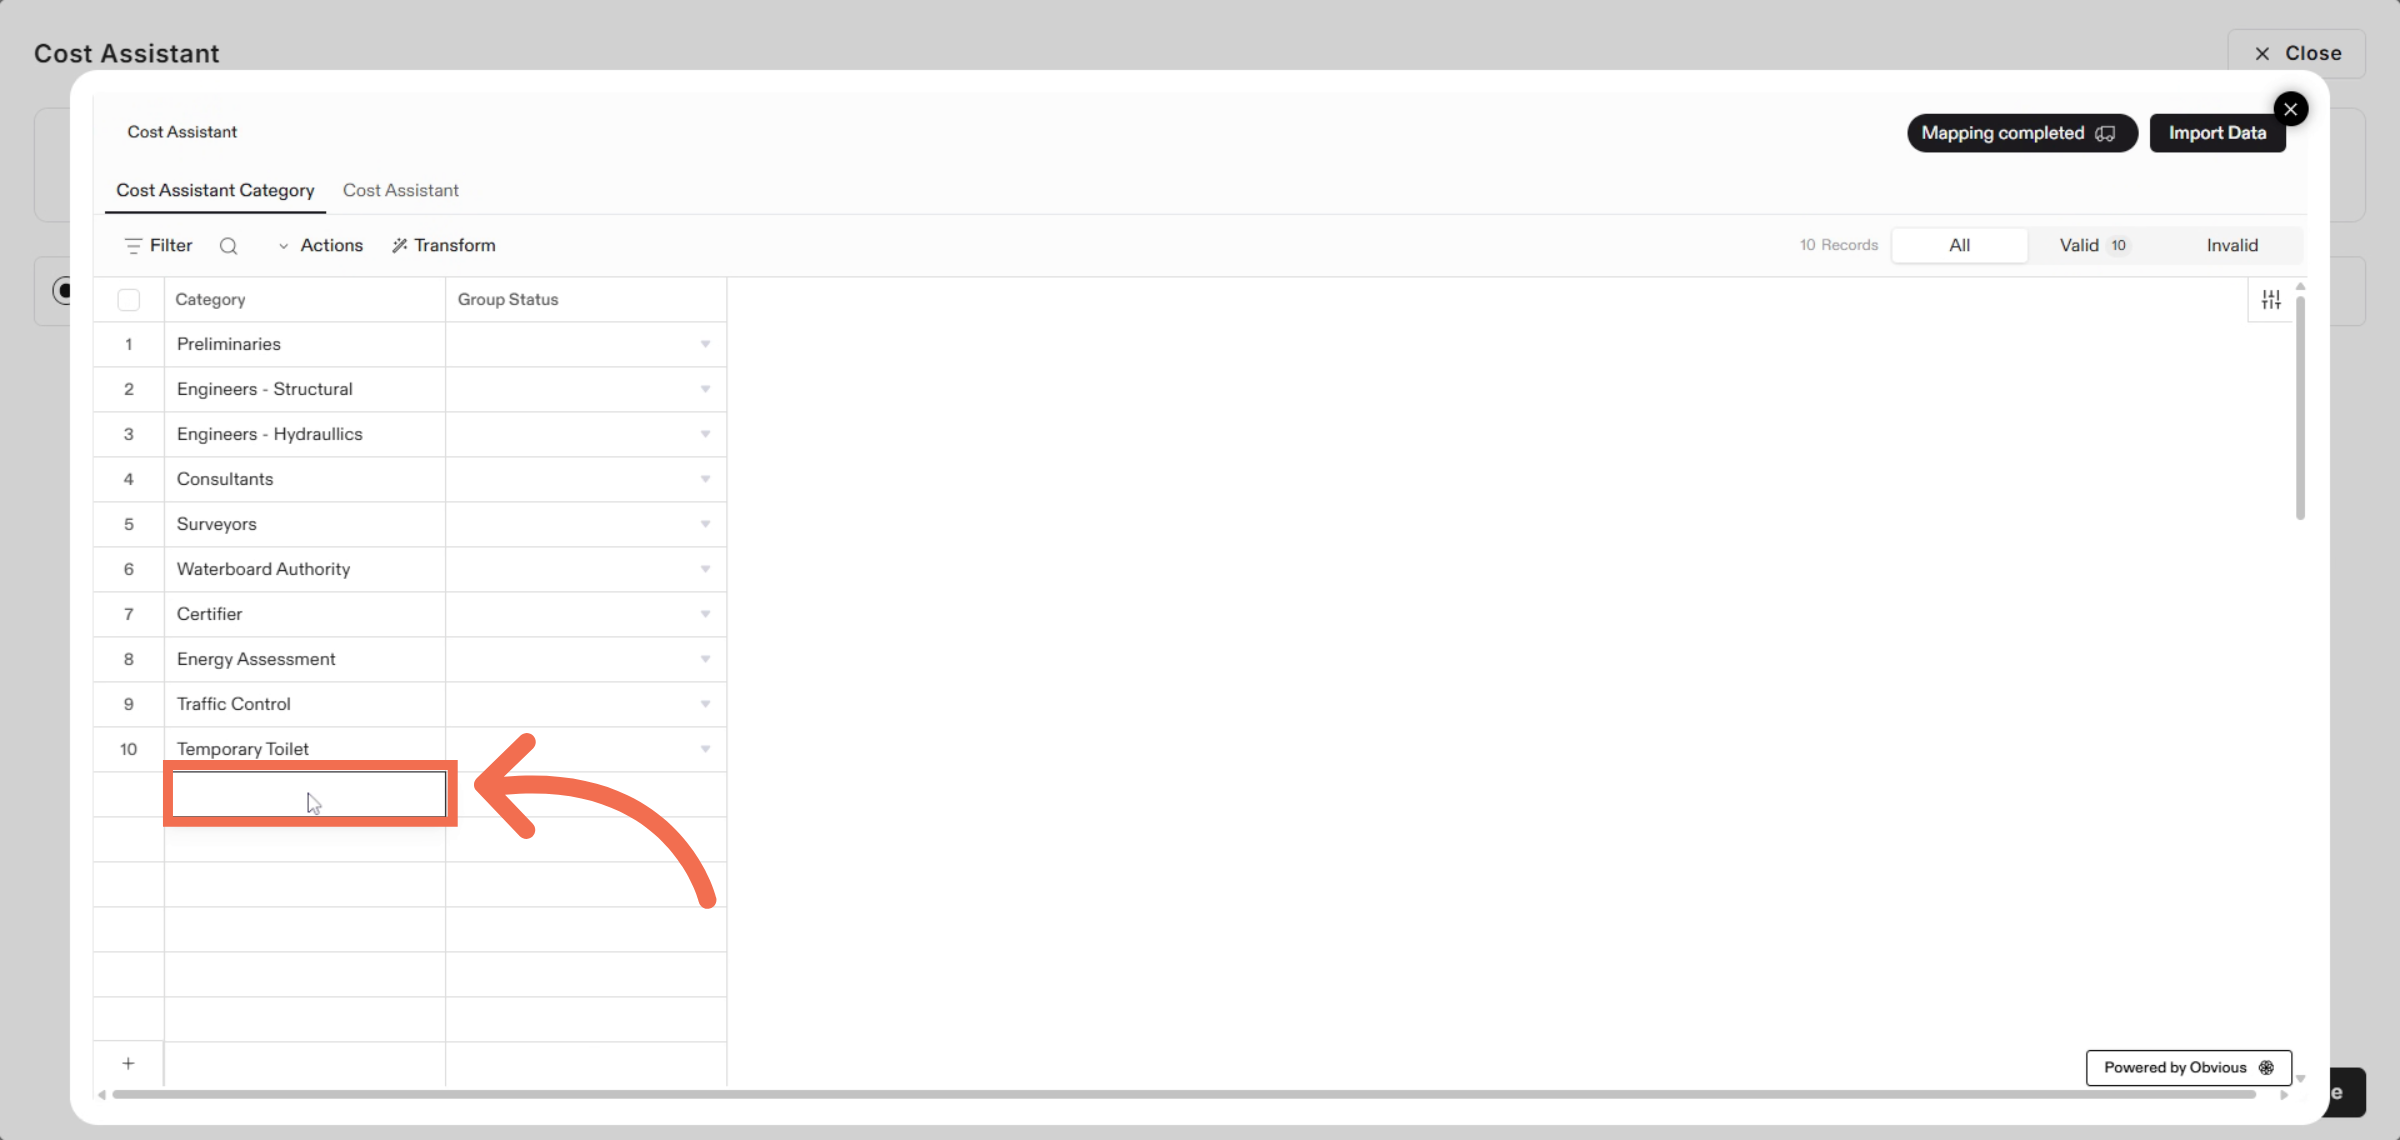
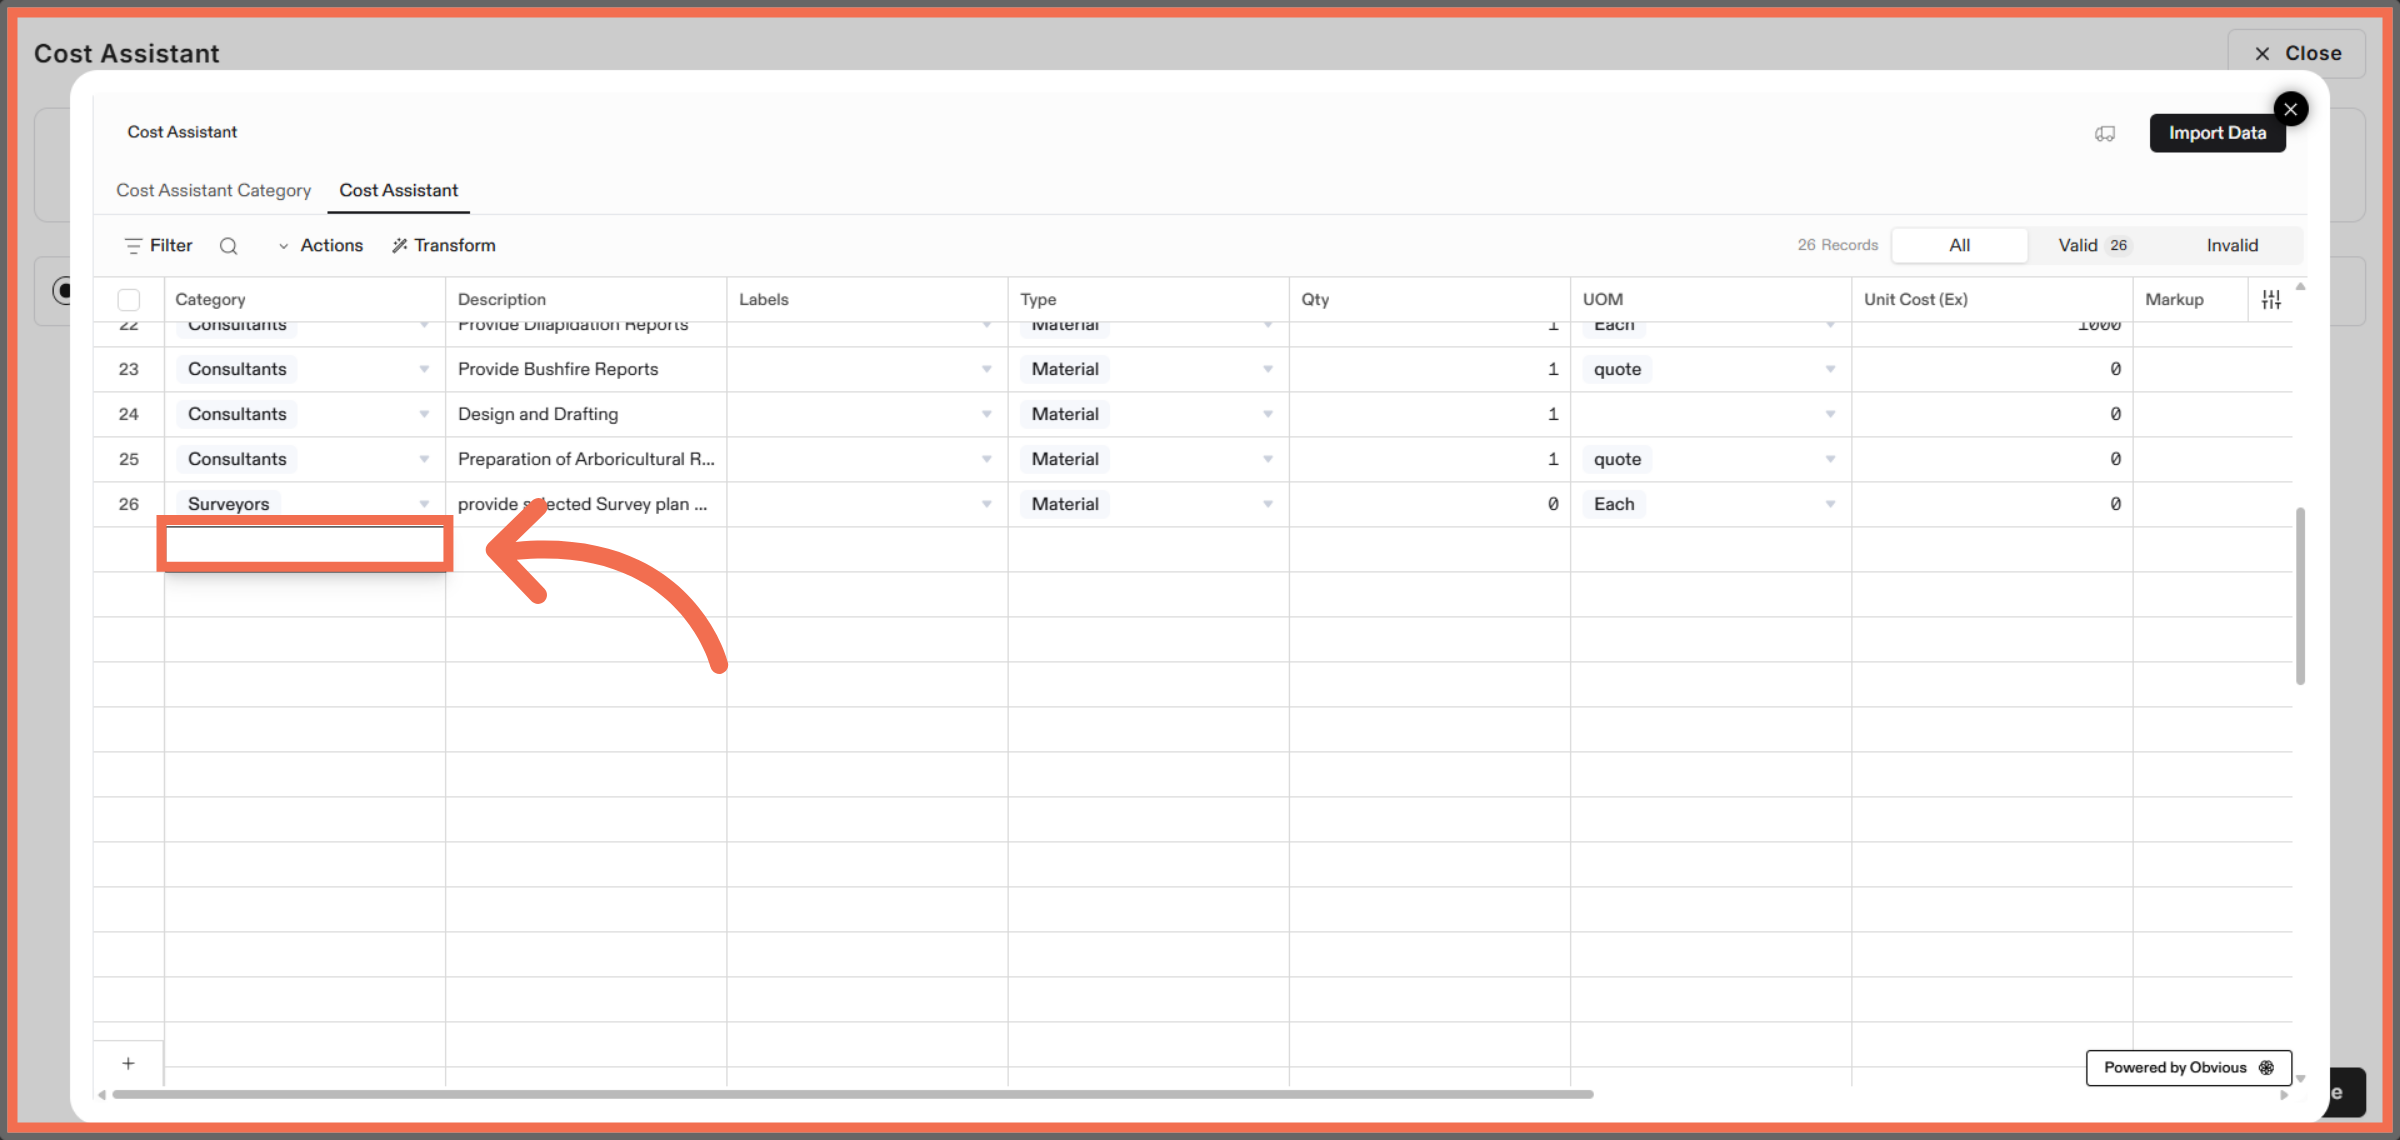
9. Manually Enter Data
Click the indicated area to further refine your data mapping.
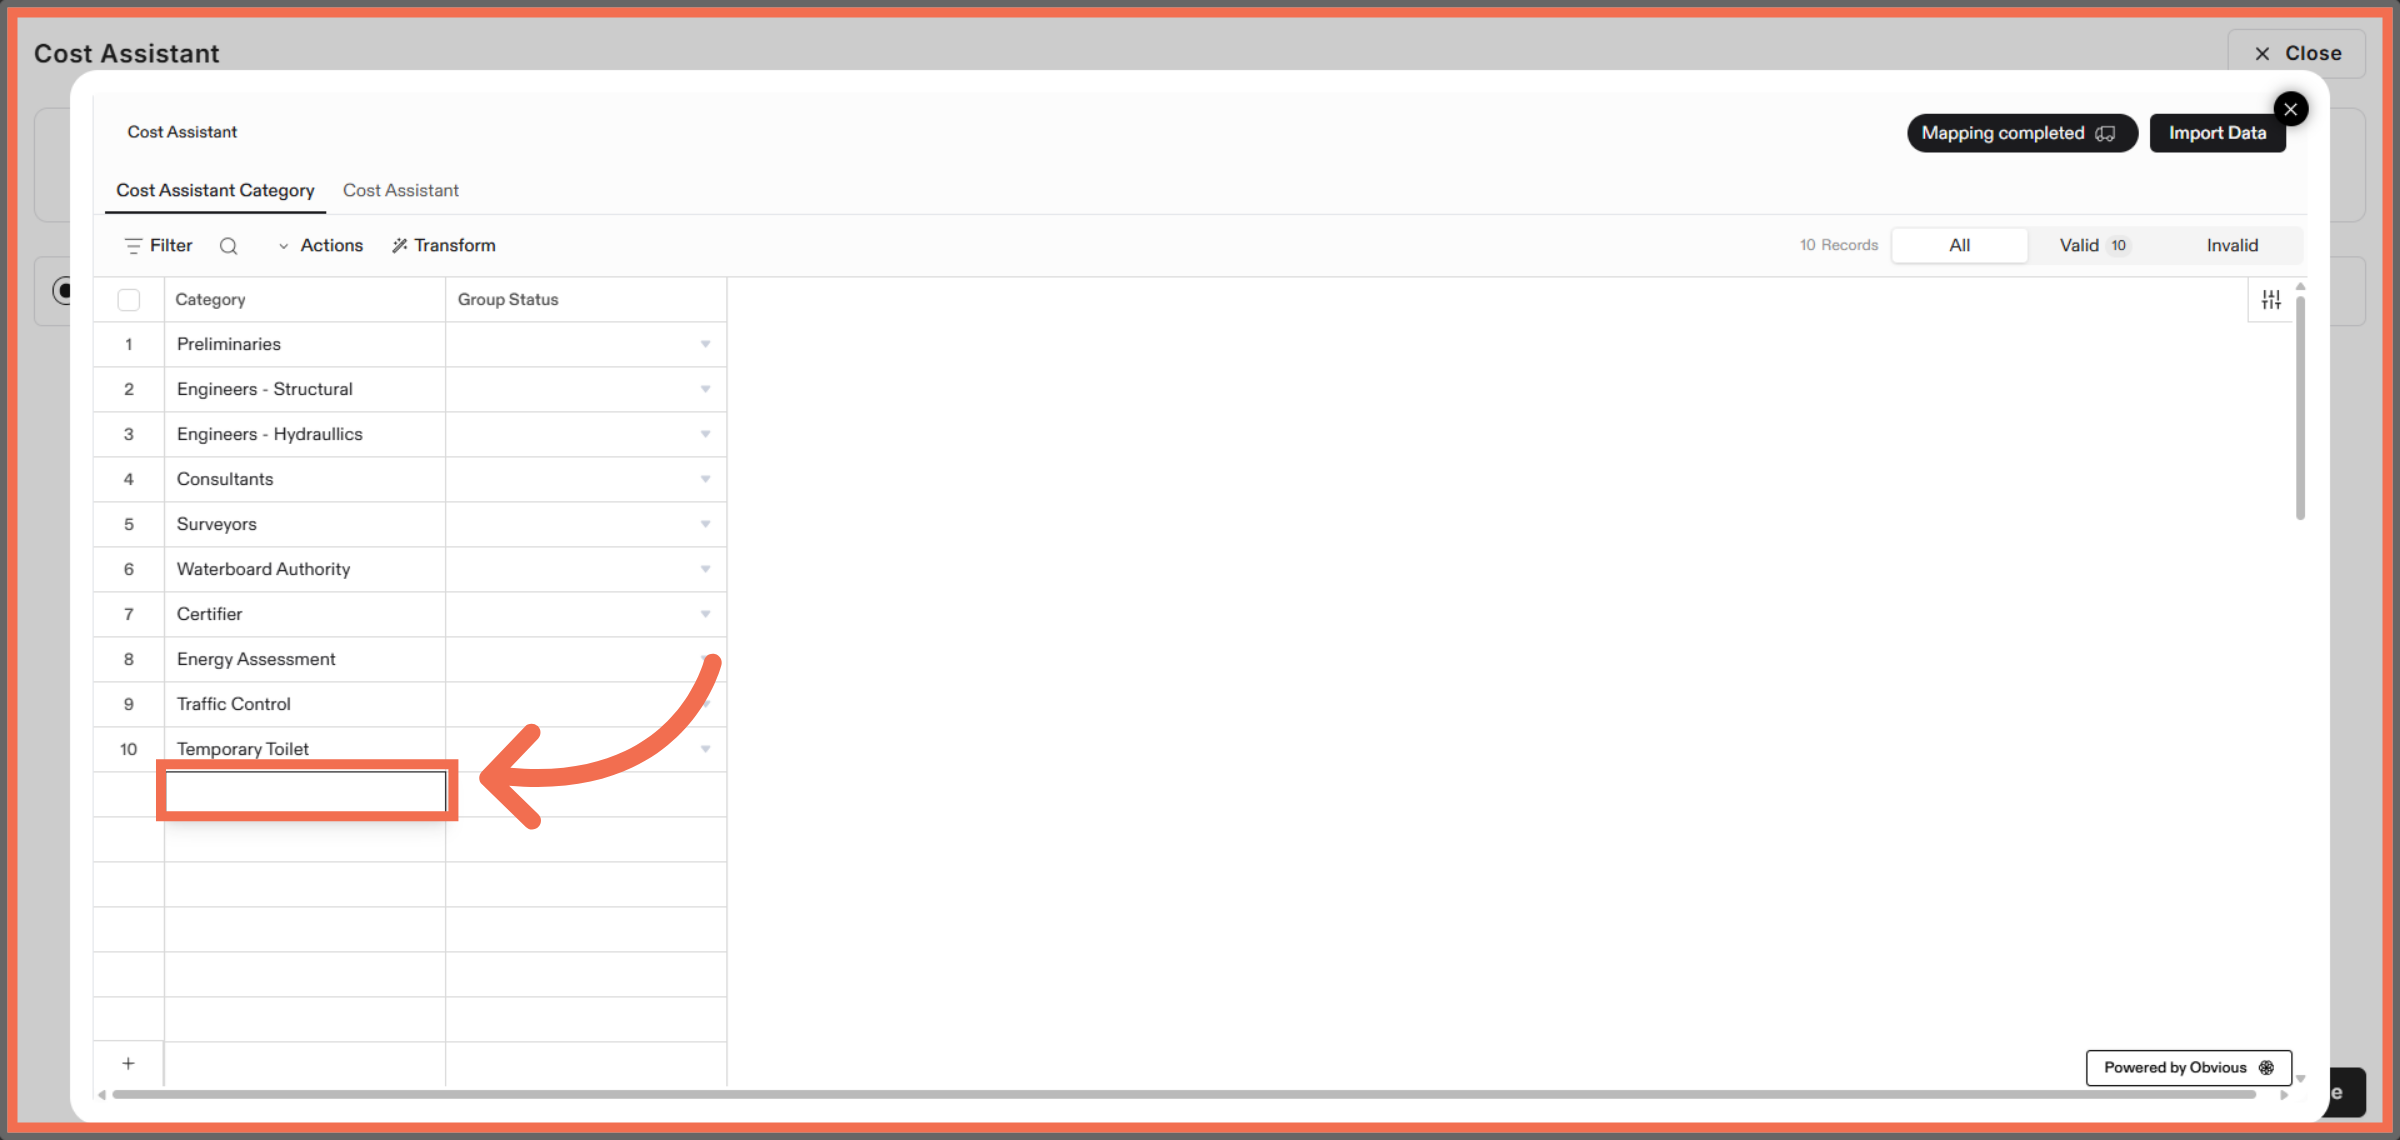
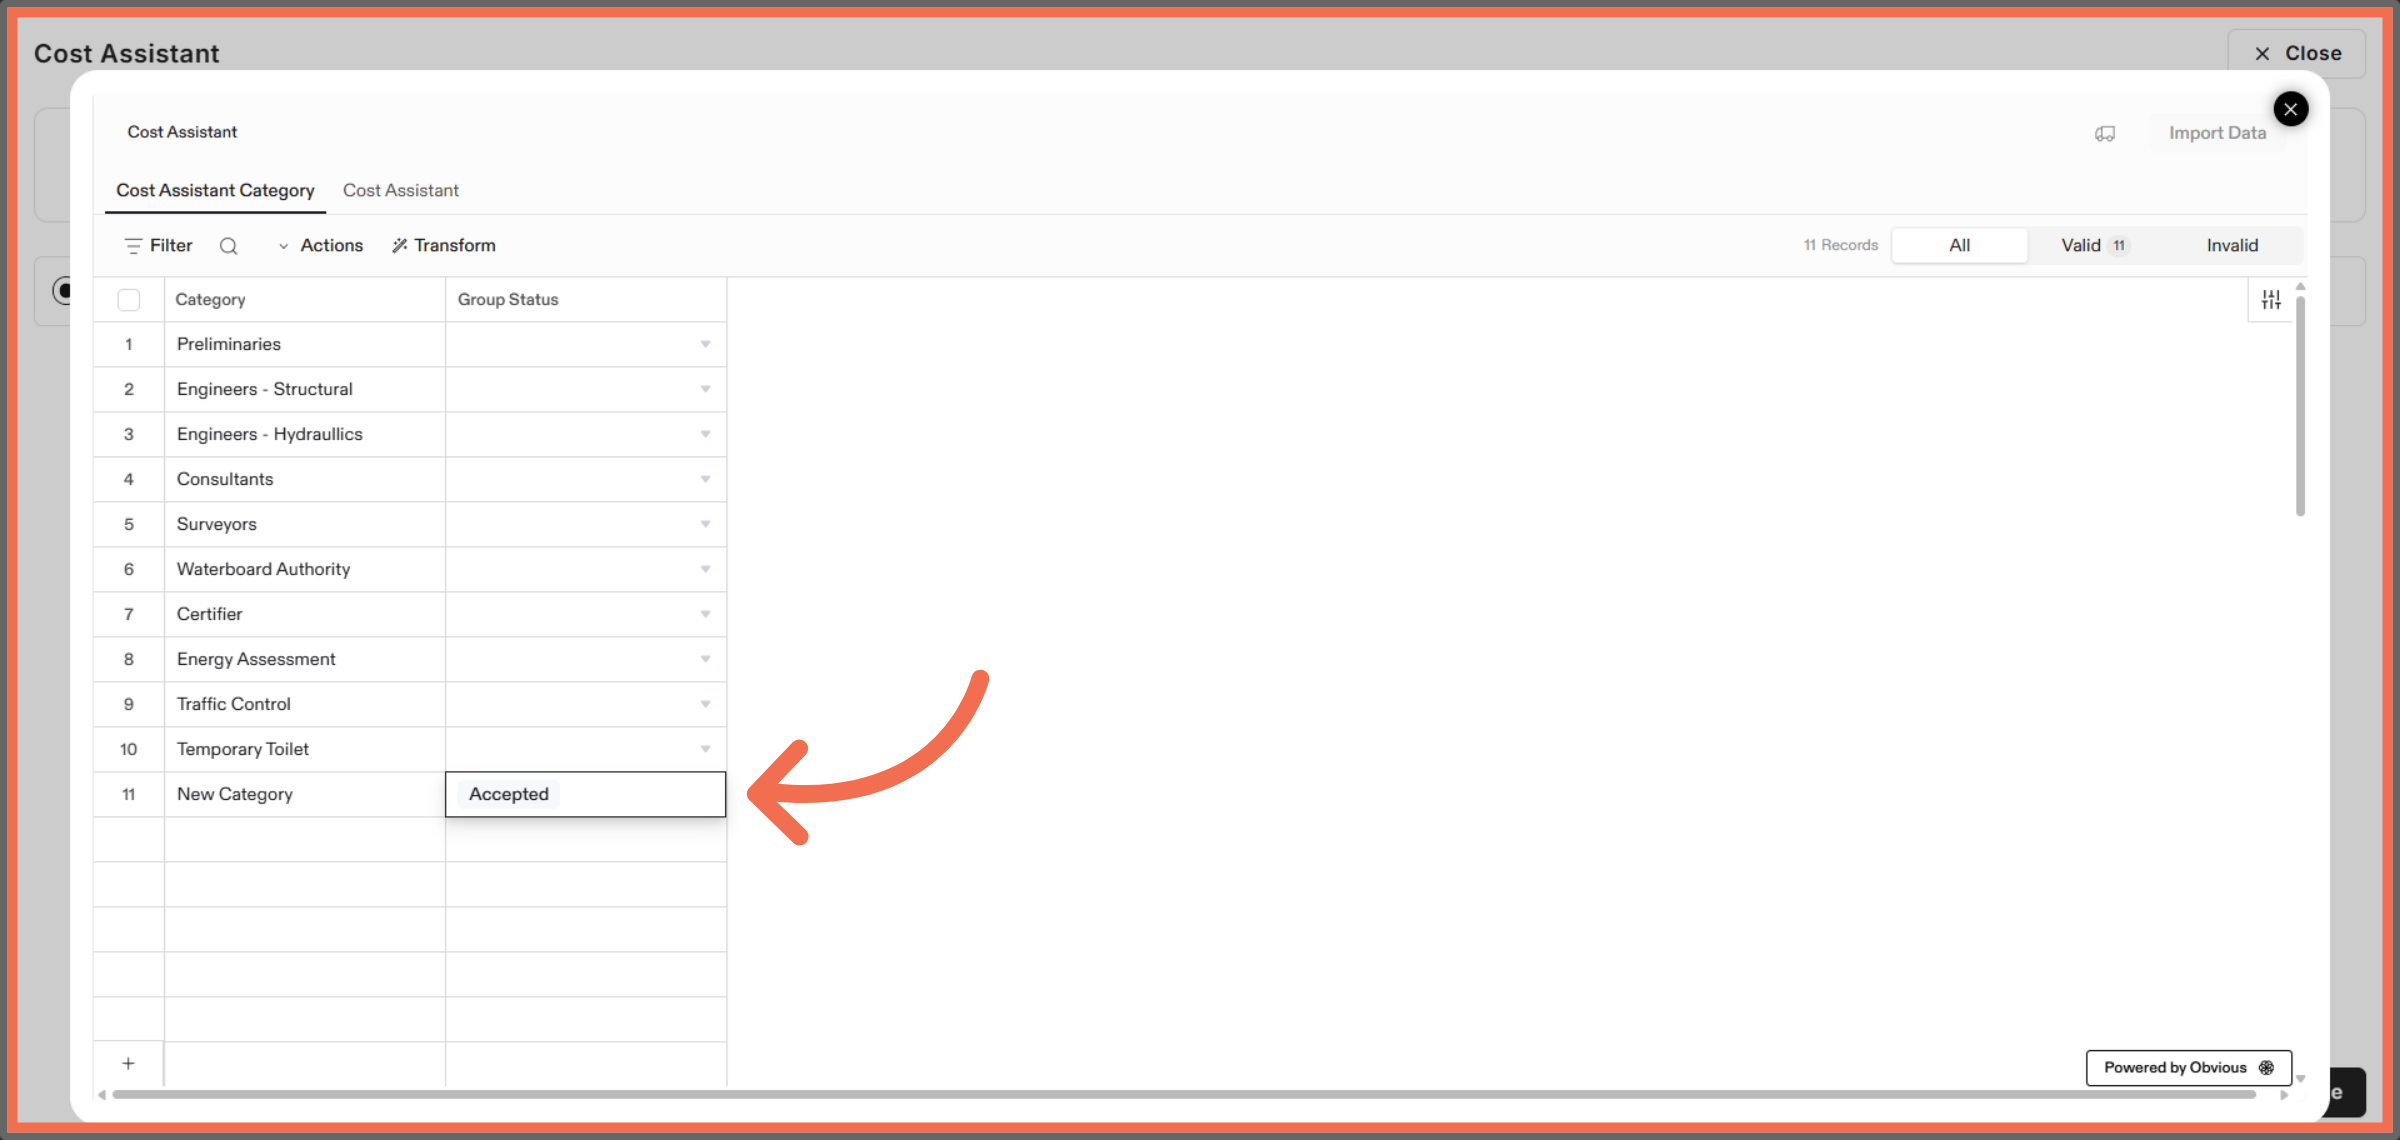
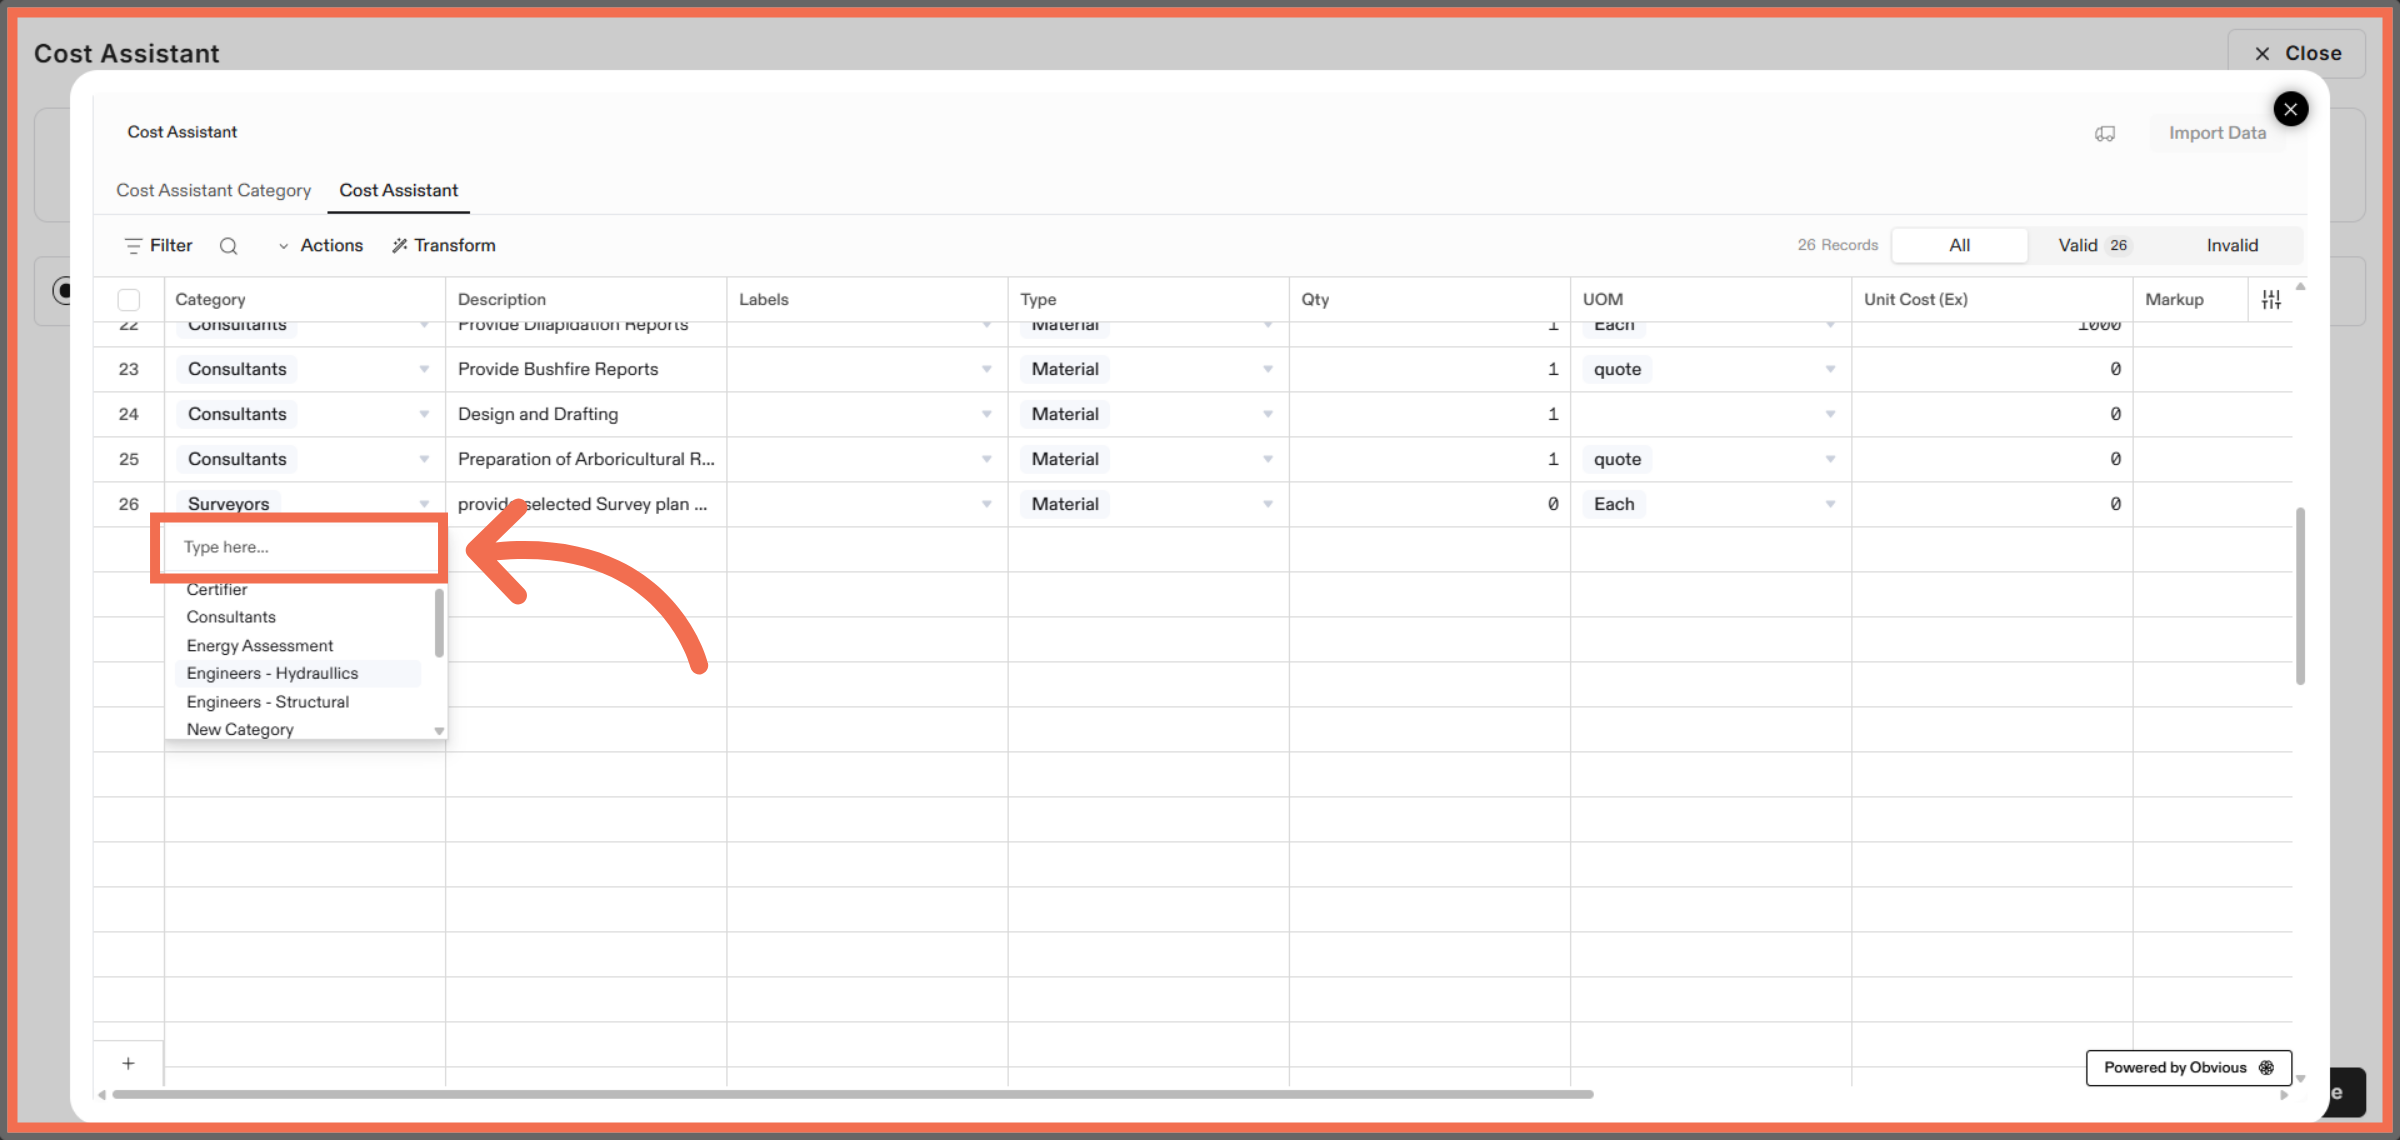
10. Add New Category
Enter a new category name to organize your cost data effectively.
11. Select Status
Select the Accepted status to mark the category as approved.
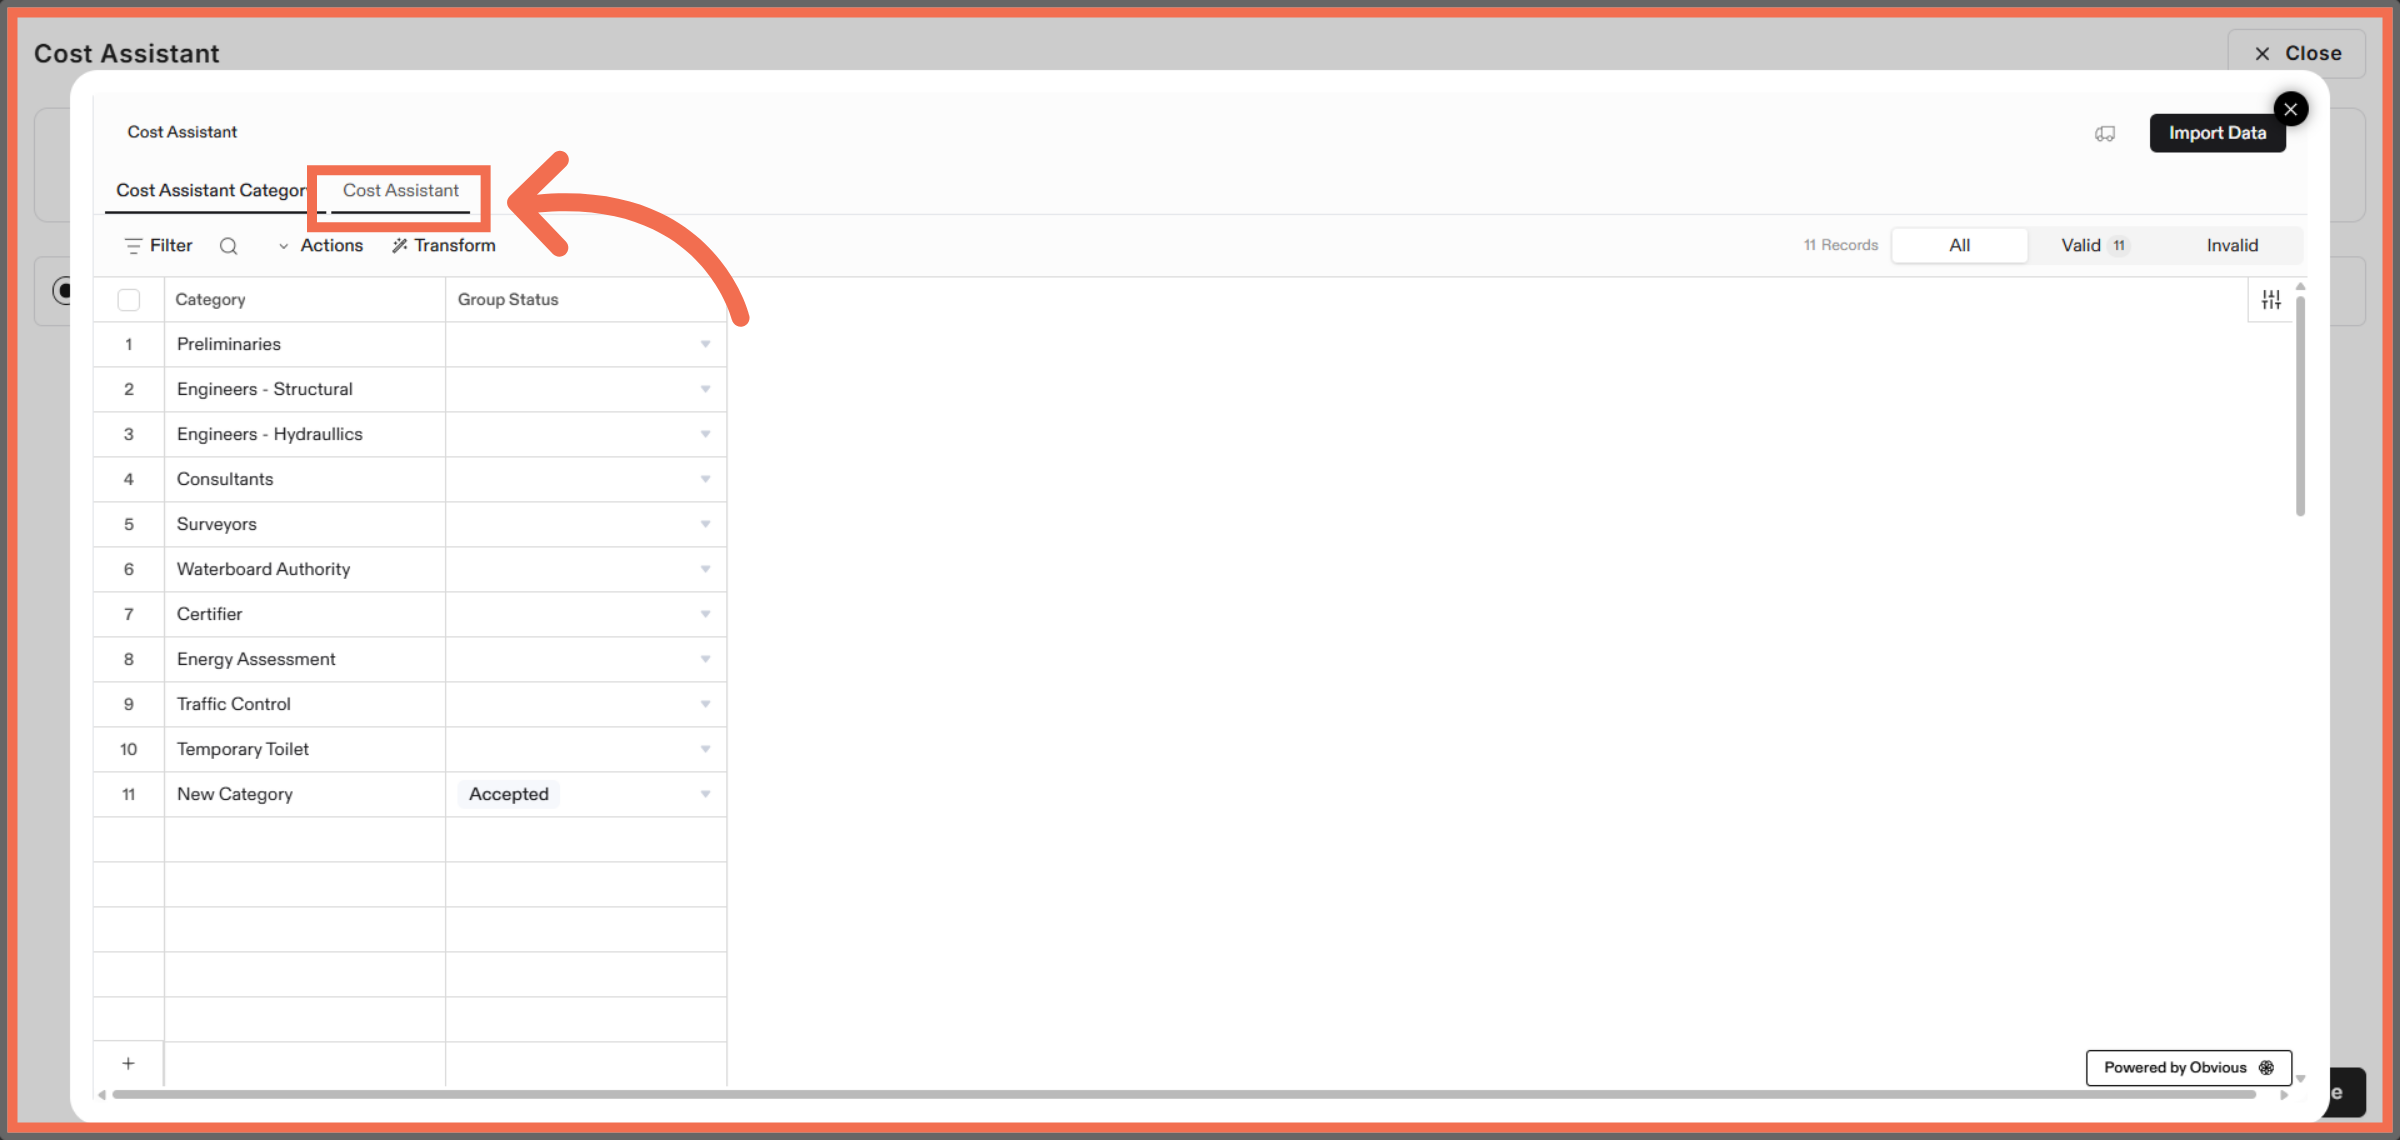
12. Switch To Cost Assistant Tab
Click the Cost Assistant option to continue with your import.
13. Upload File
Click Upload file to add more data to your cost assistant import.
14. Review Mapping Choices and Continue
Click Review and confirm each mapping choice to ensure accuracy.
15. Proceed with Import
Click Continue to move forward in the import workflow.
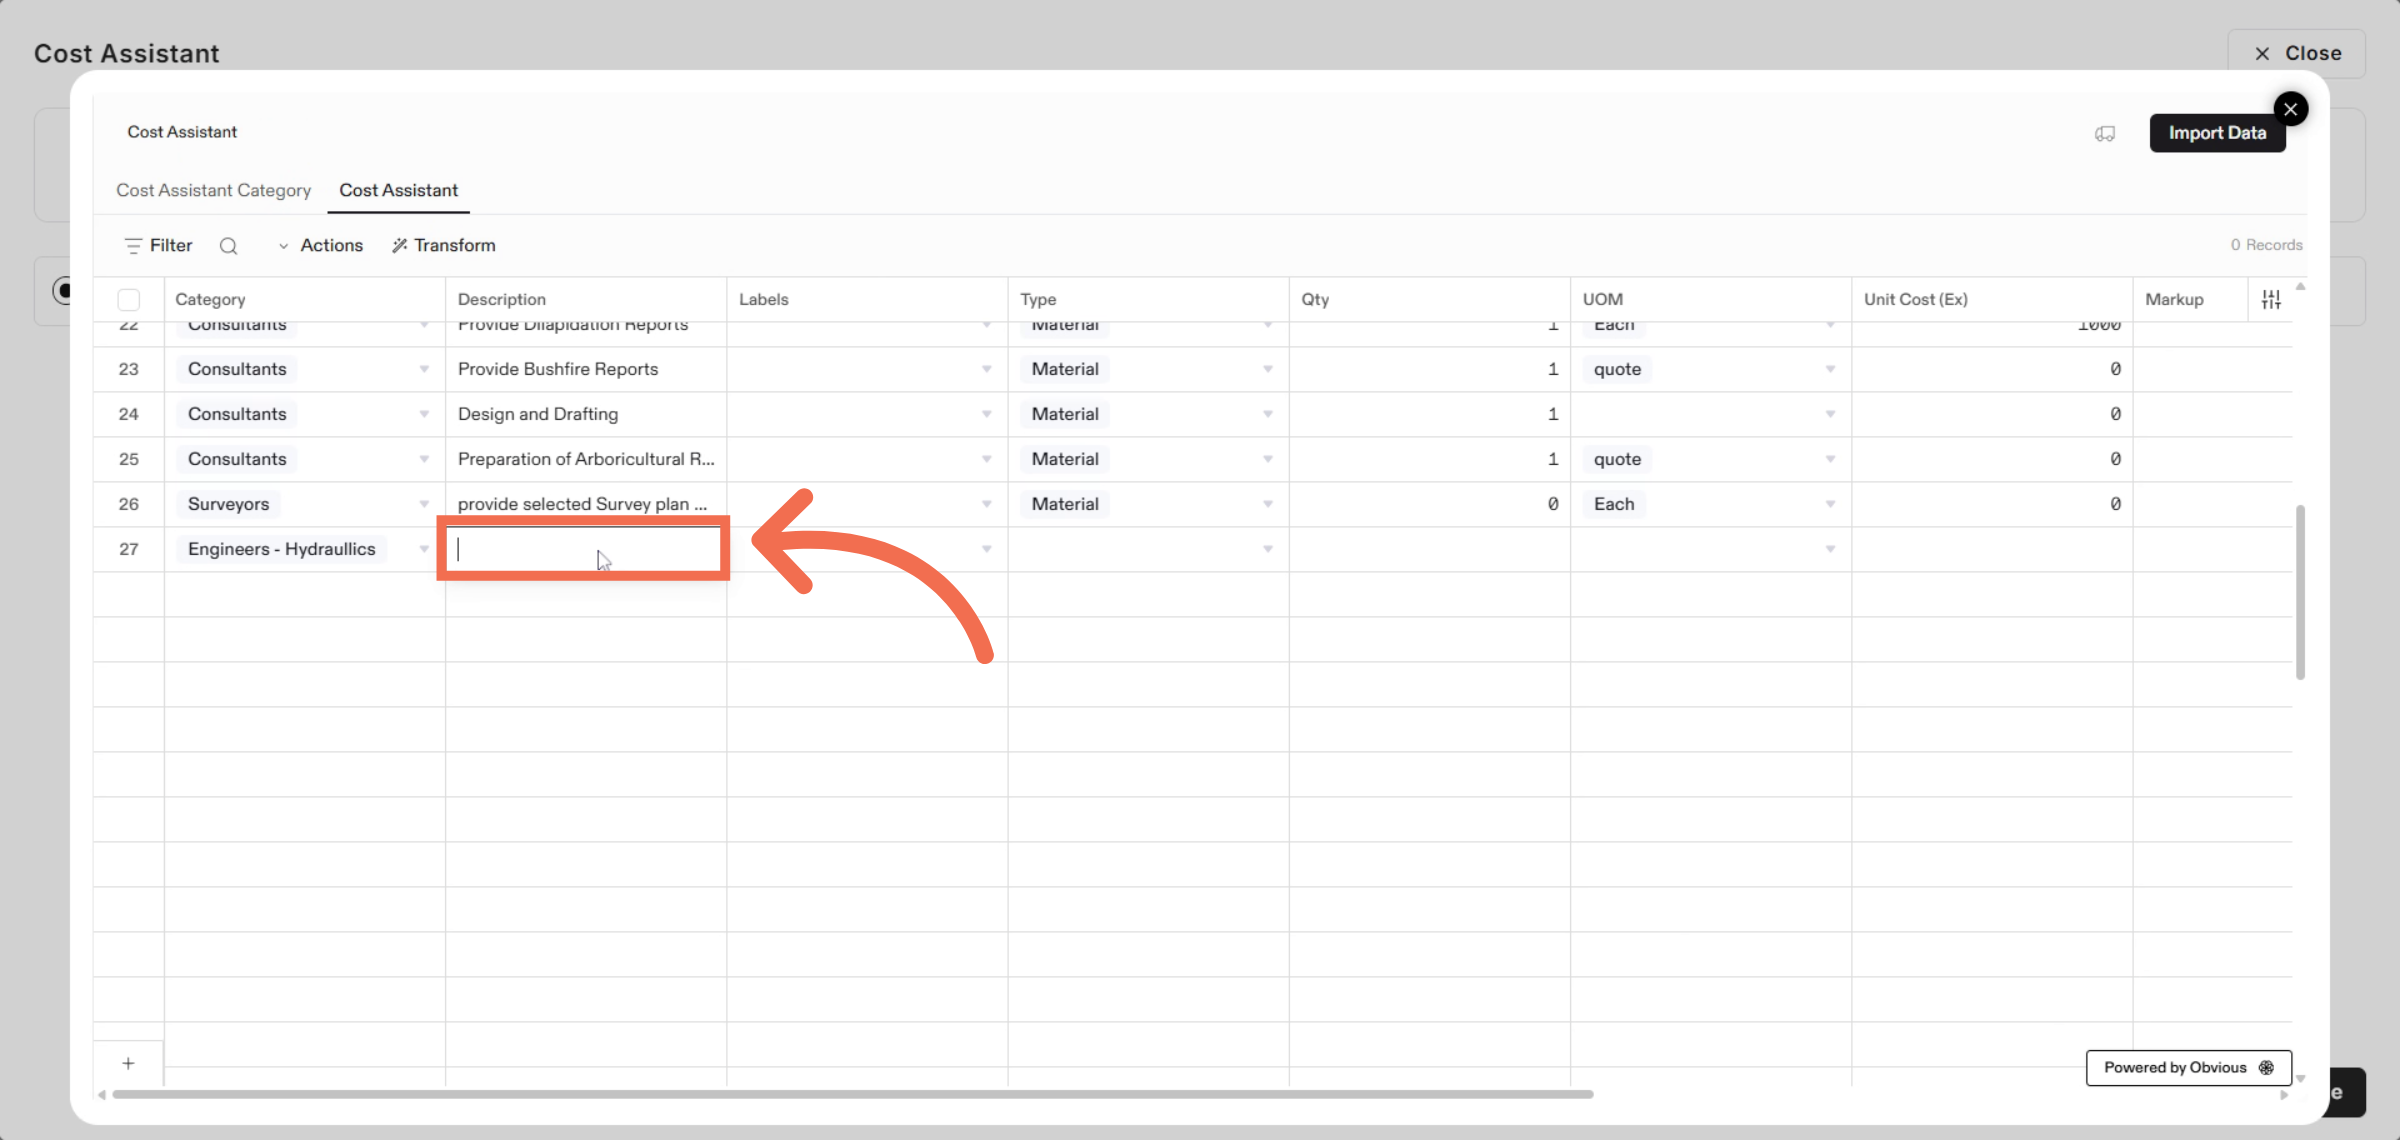
16. Manually Enter Data
Click the area to access more import settings.
17. Select Category
Click Engineers - Hydraullics to assign this category.
18. Add Description
Enter a new line item to include additional cost details.
19. Select Labels
Select labels to assign this new cost assistant item.

20. Open Type Options
Click the area to proceed with further configuration.
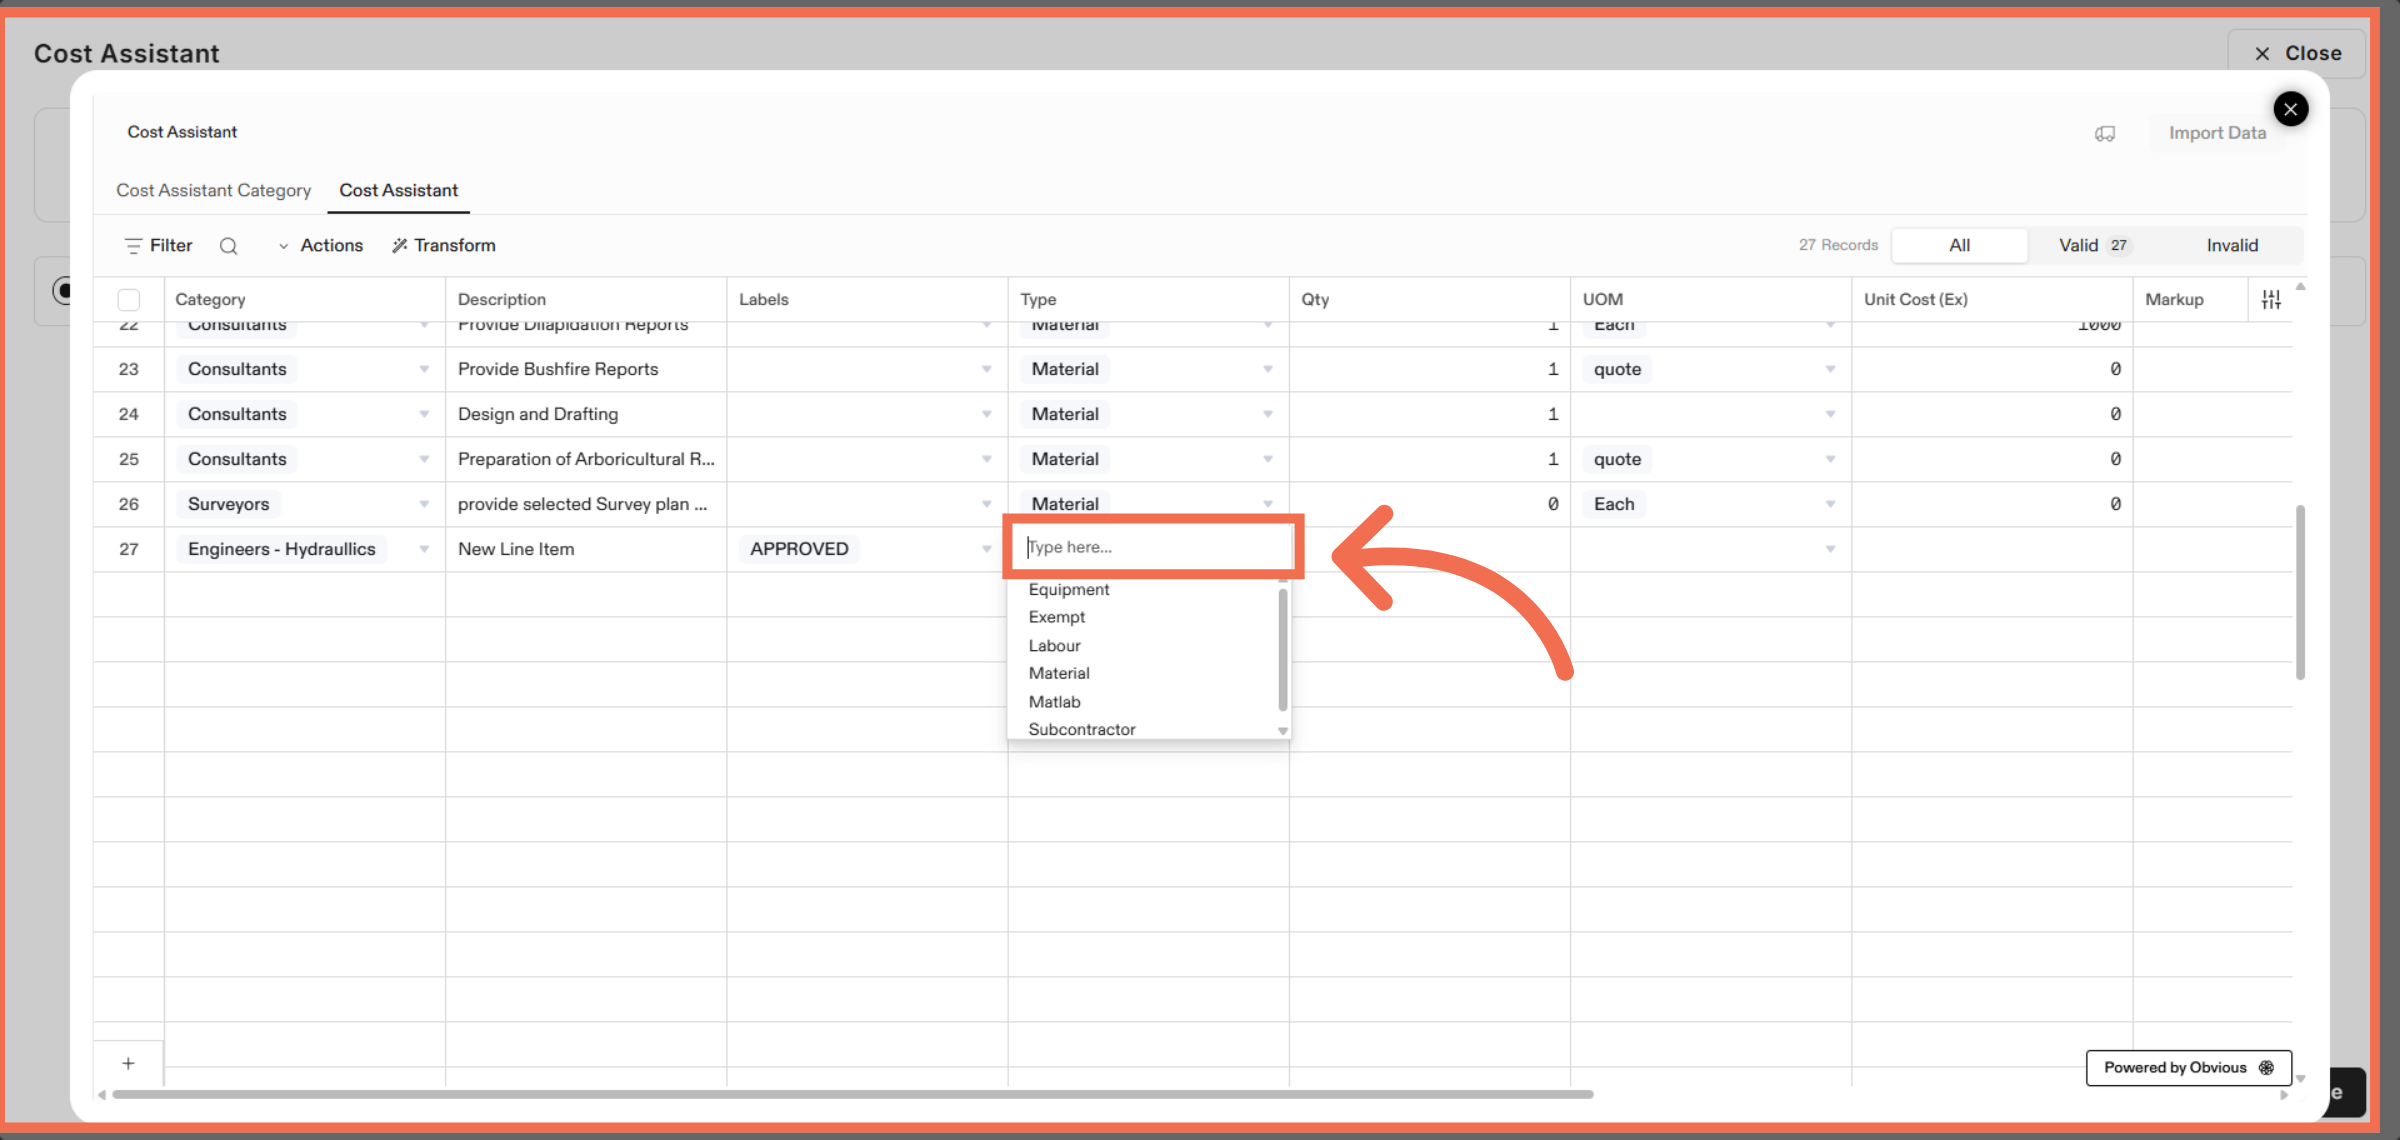
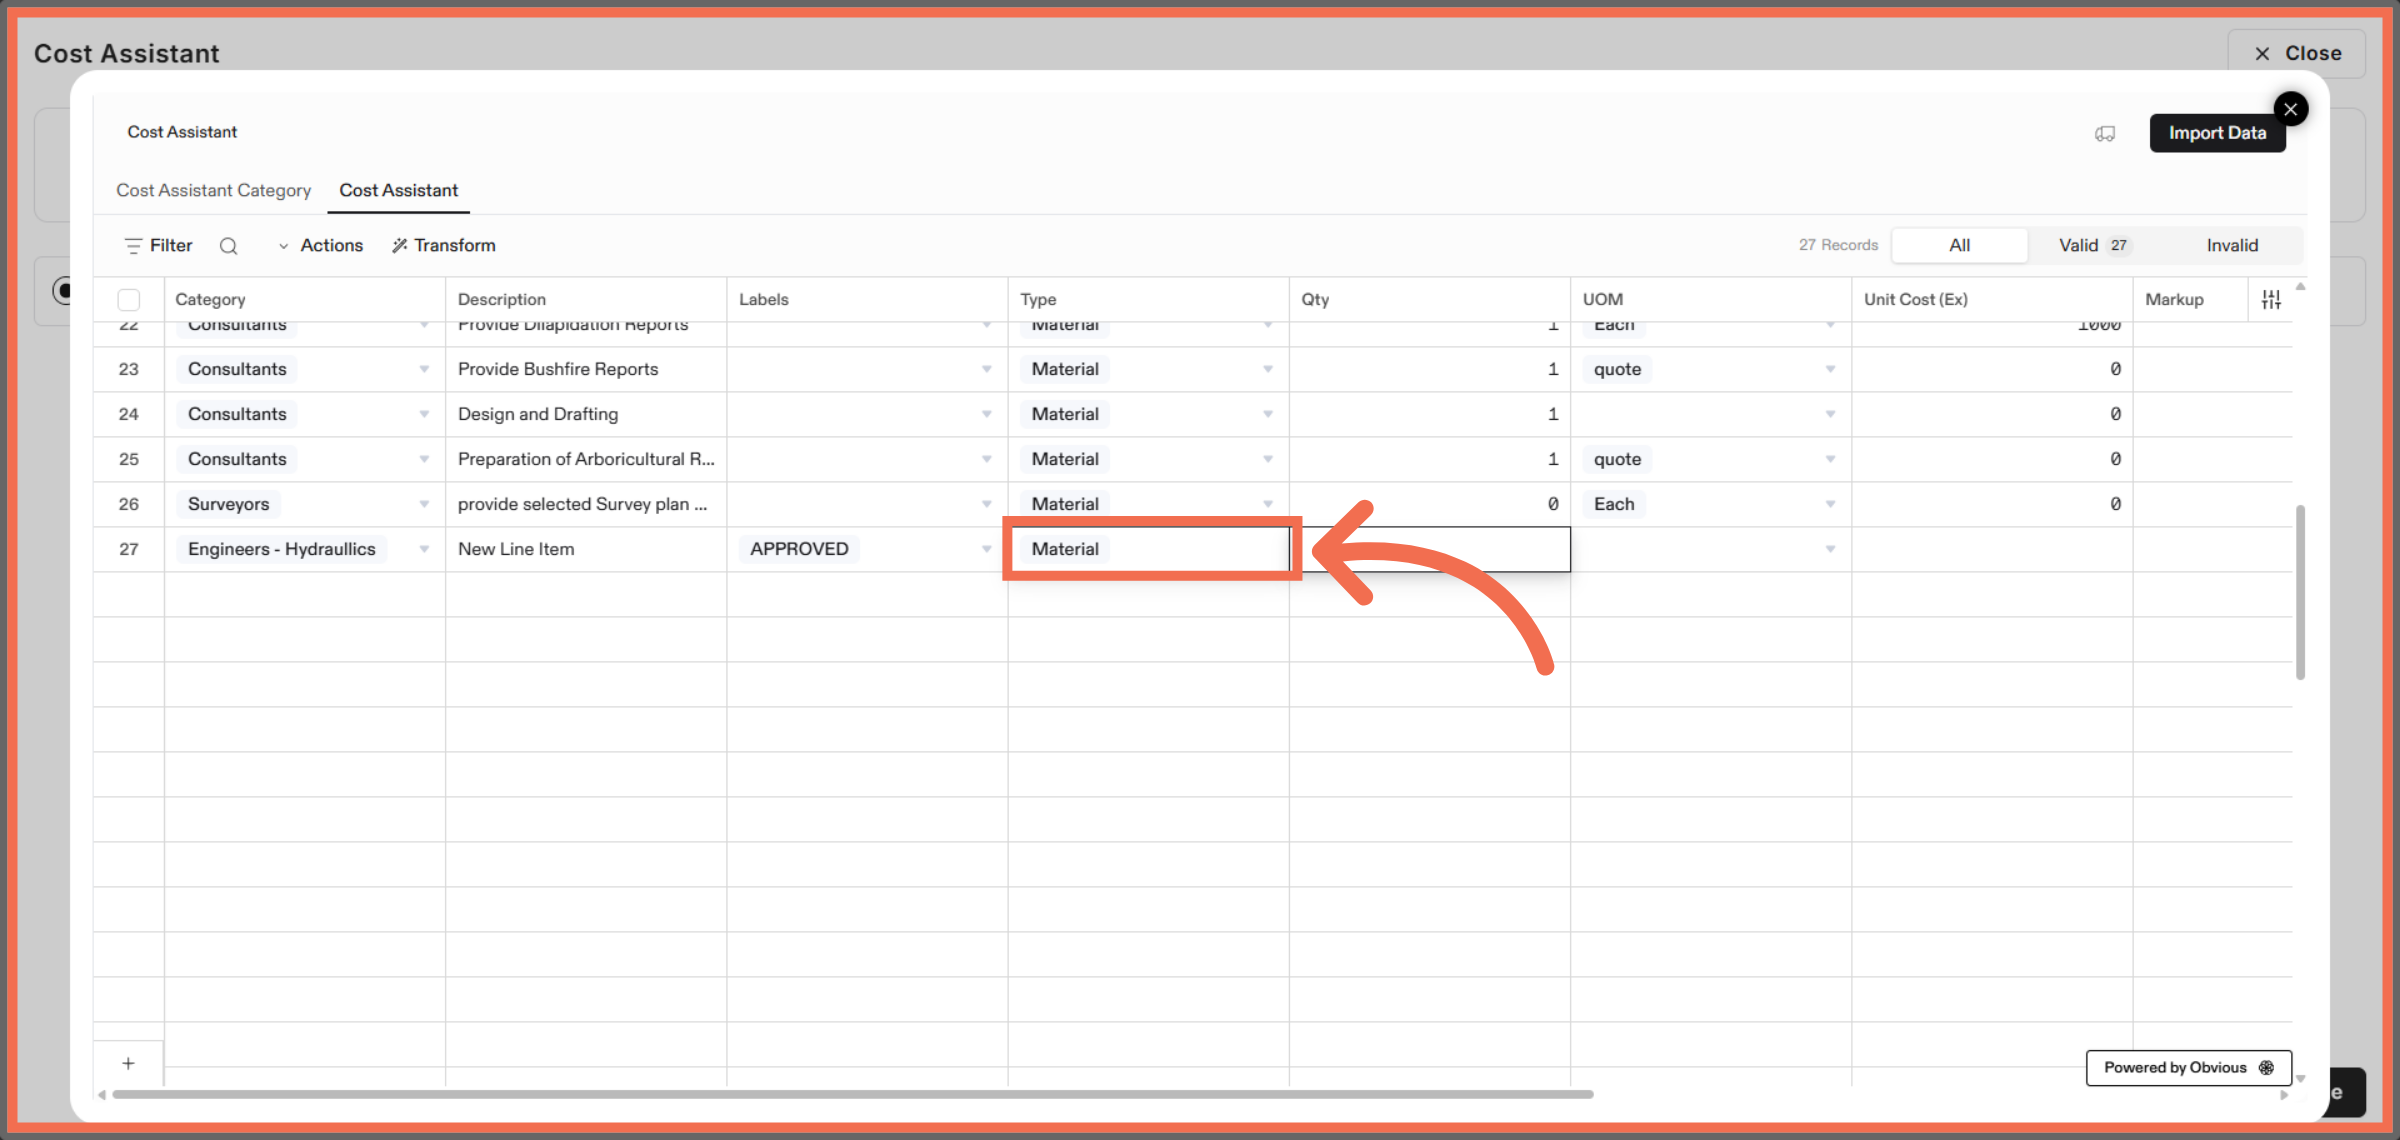
21. Select Type Field
Select Type Field for item.
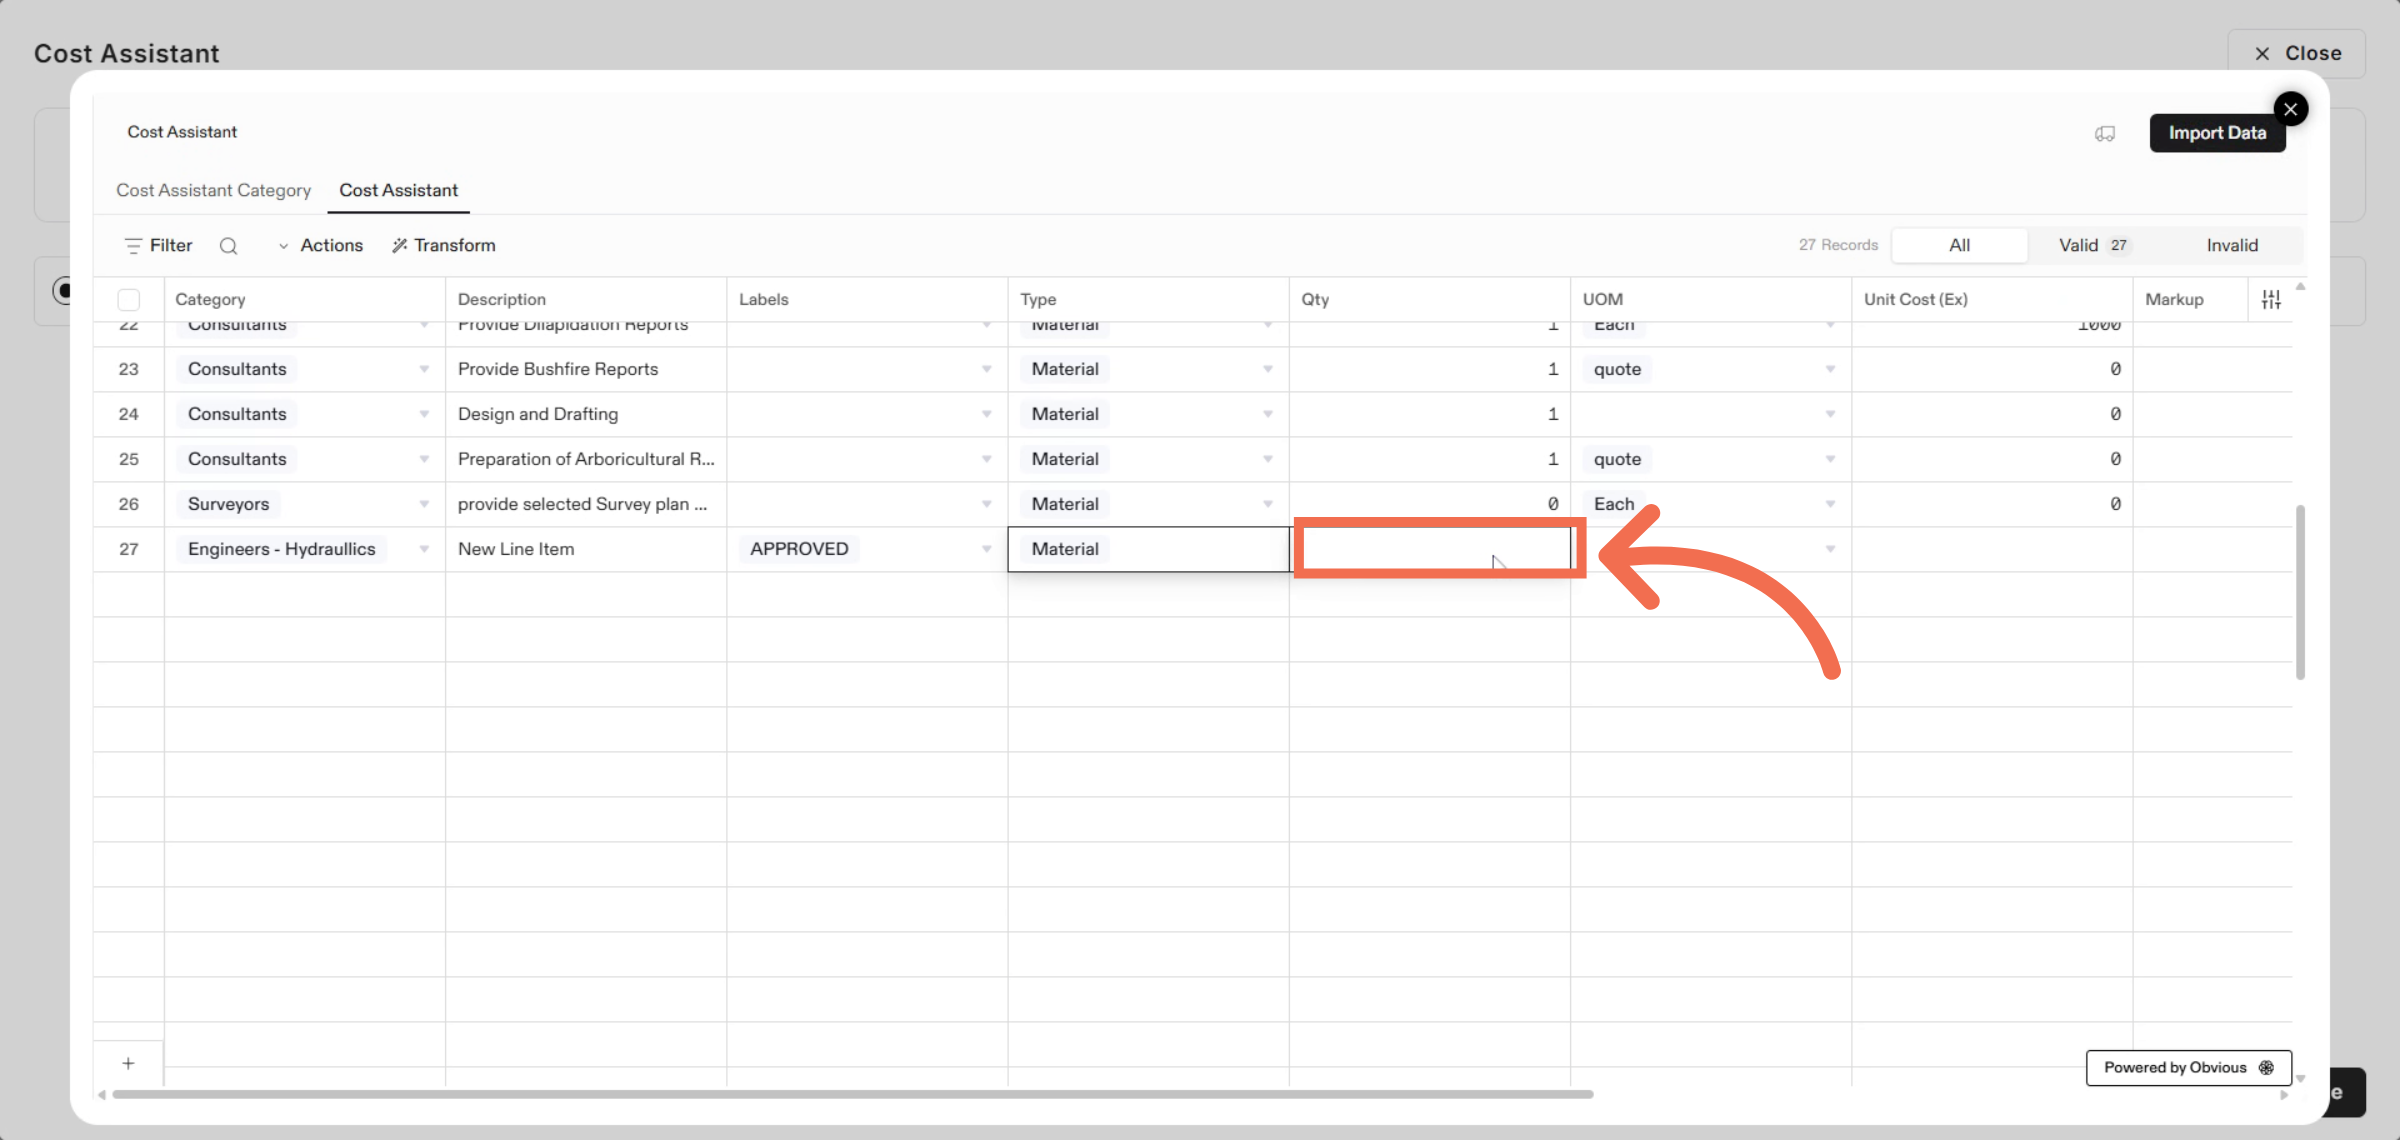
22. Enter Quantity Value
Enter the quantity value to specify the amount for the item.
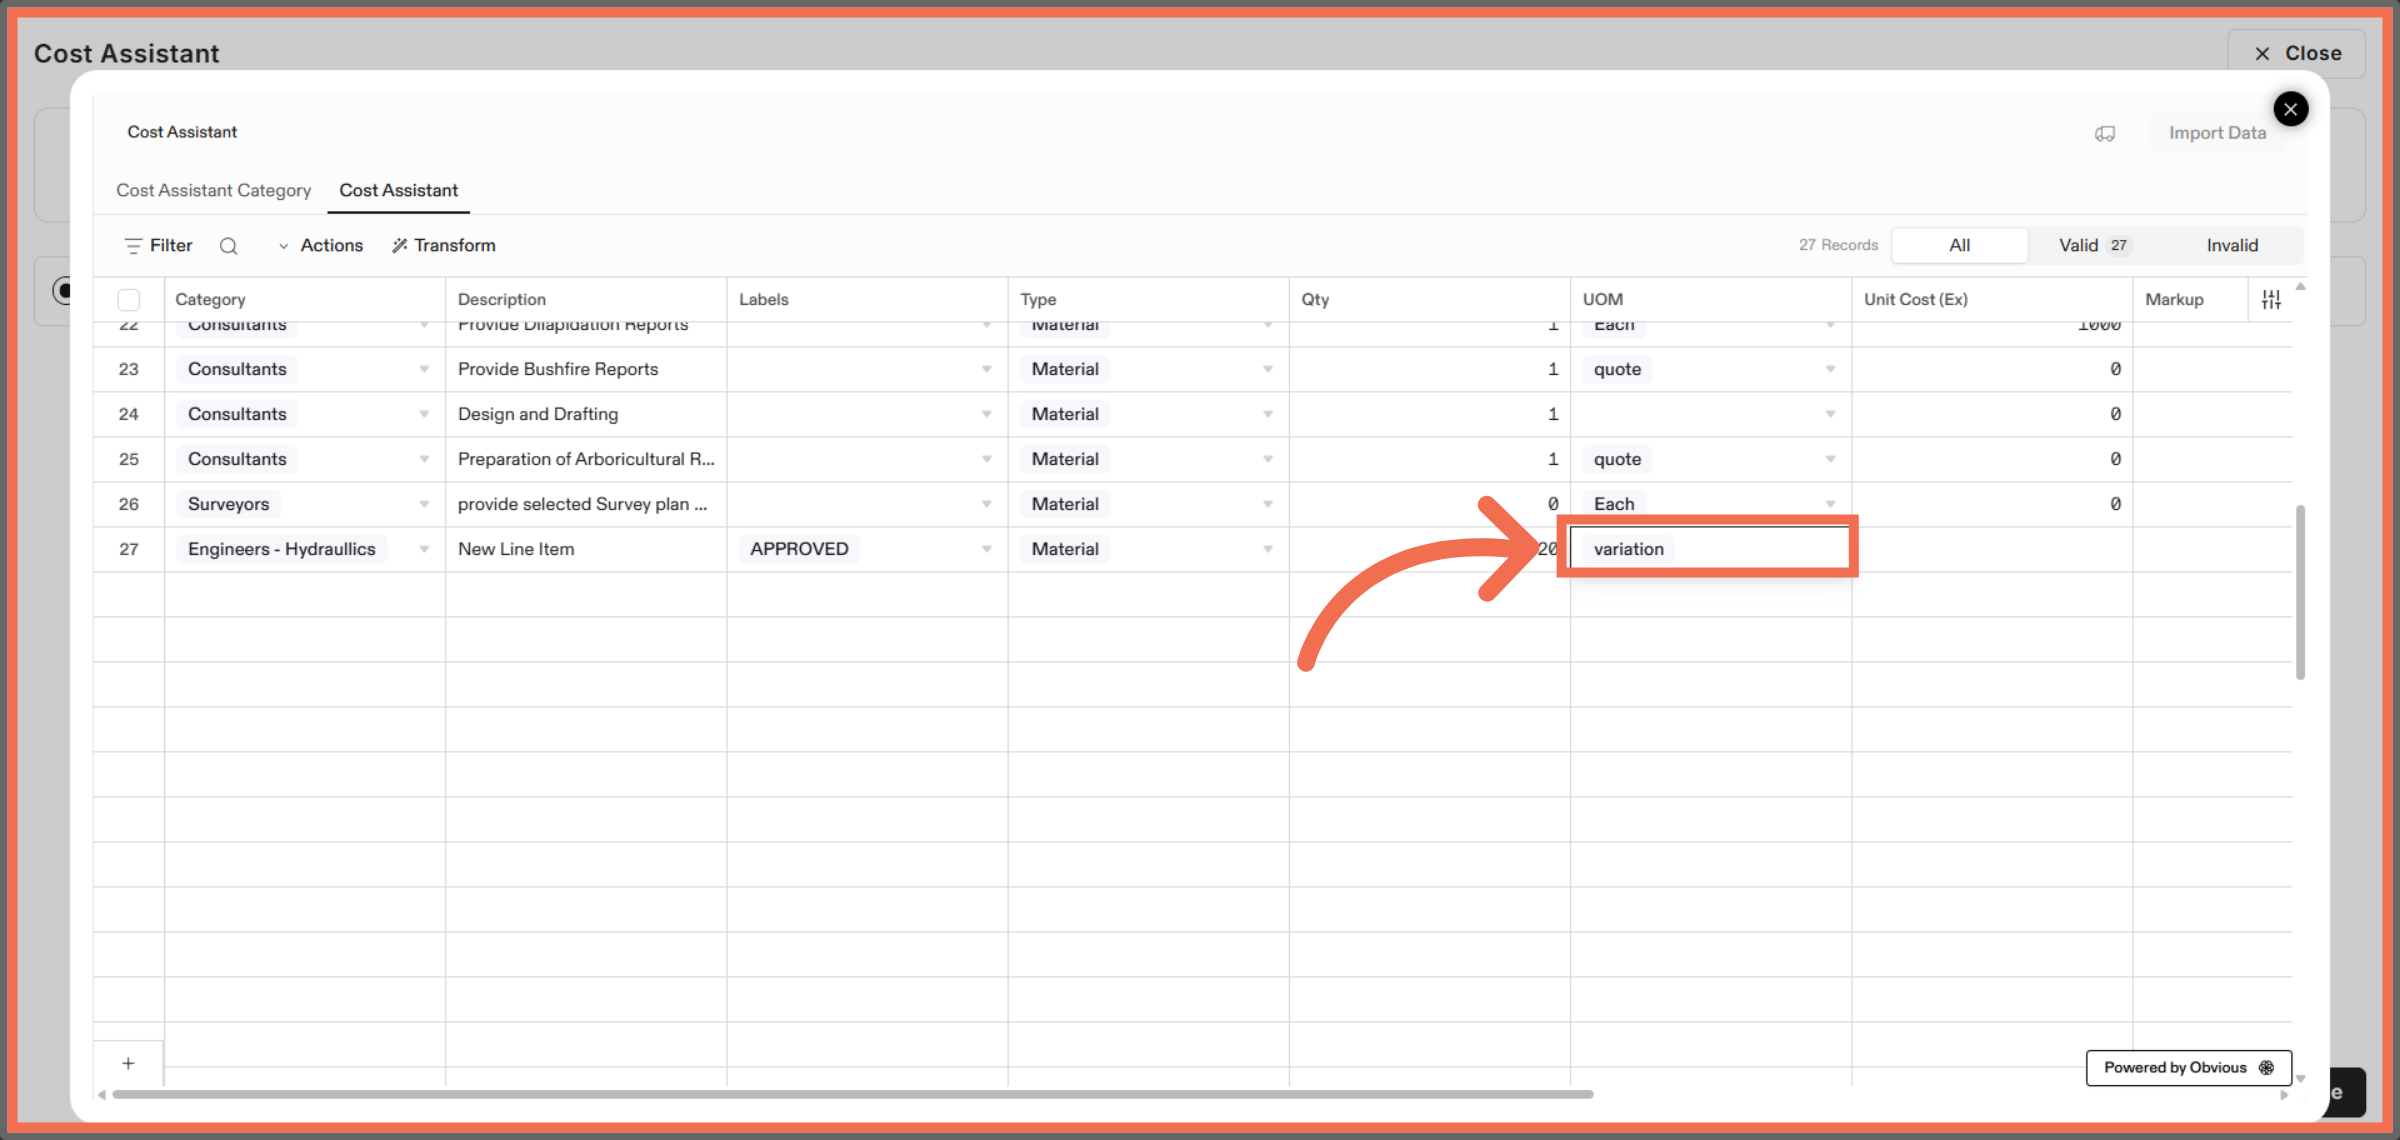
23. Select UOM Field
Click UOM to Select UOM Field details to your data.
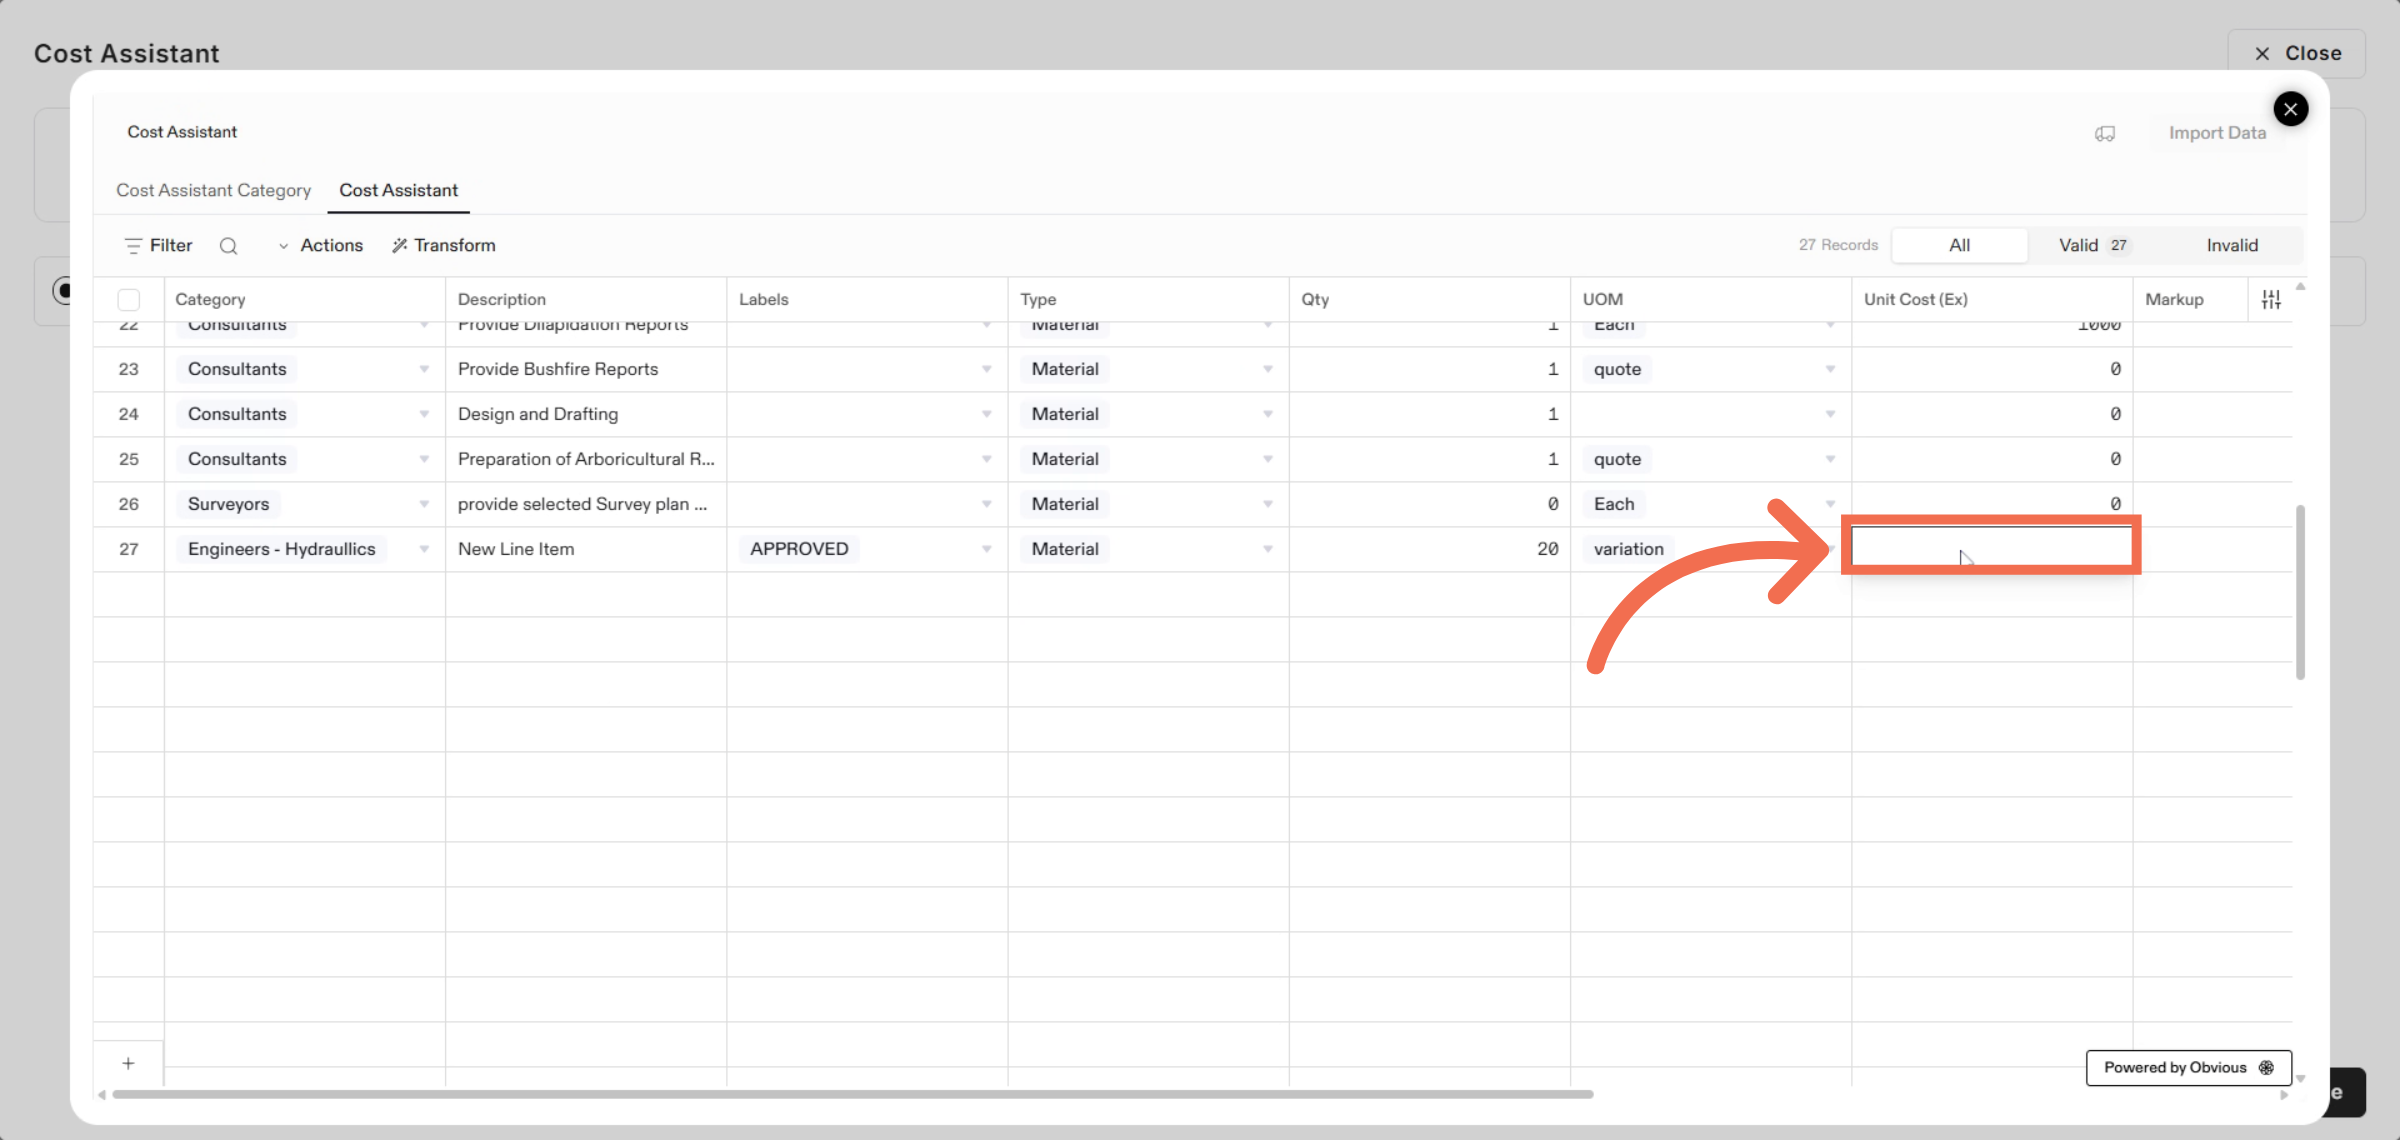
24. Enter Unit Cost(ex) Value
Enter the Unit Cost(ex) value to specify Unit Cost(ex) for the item.
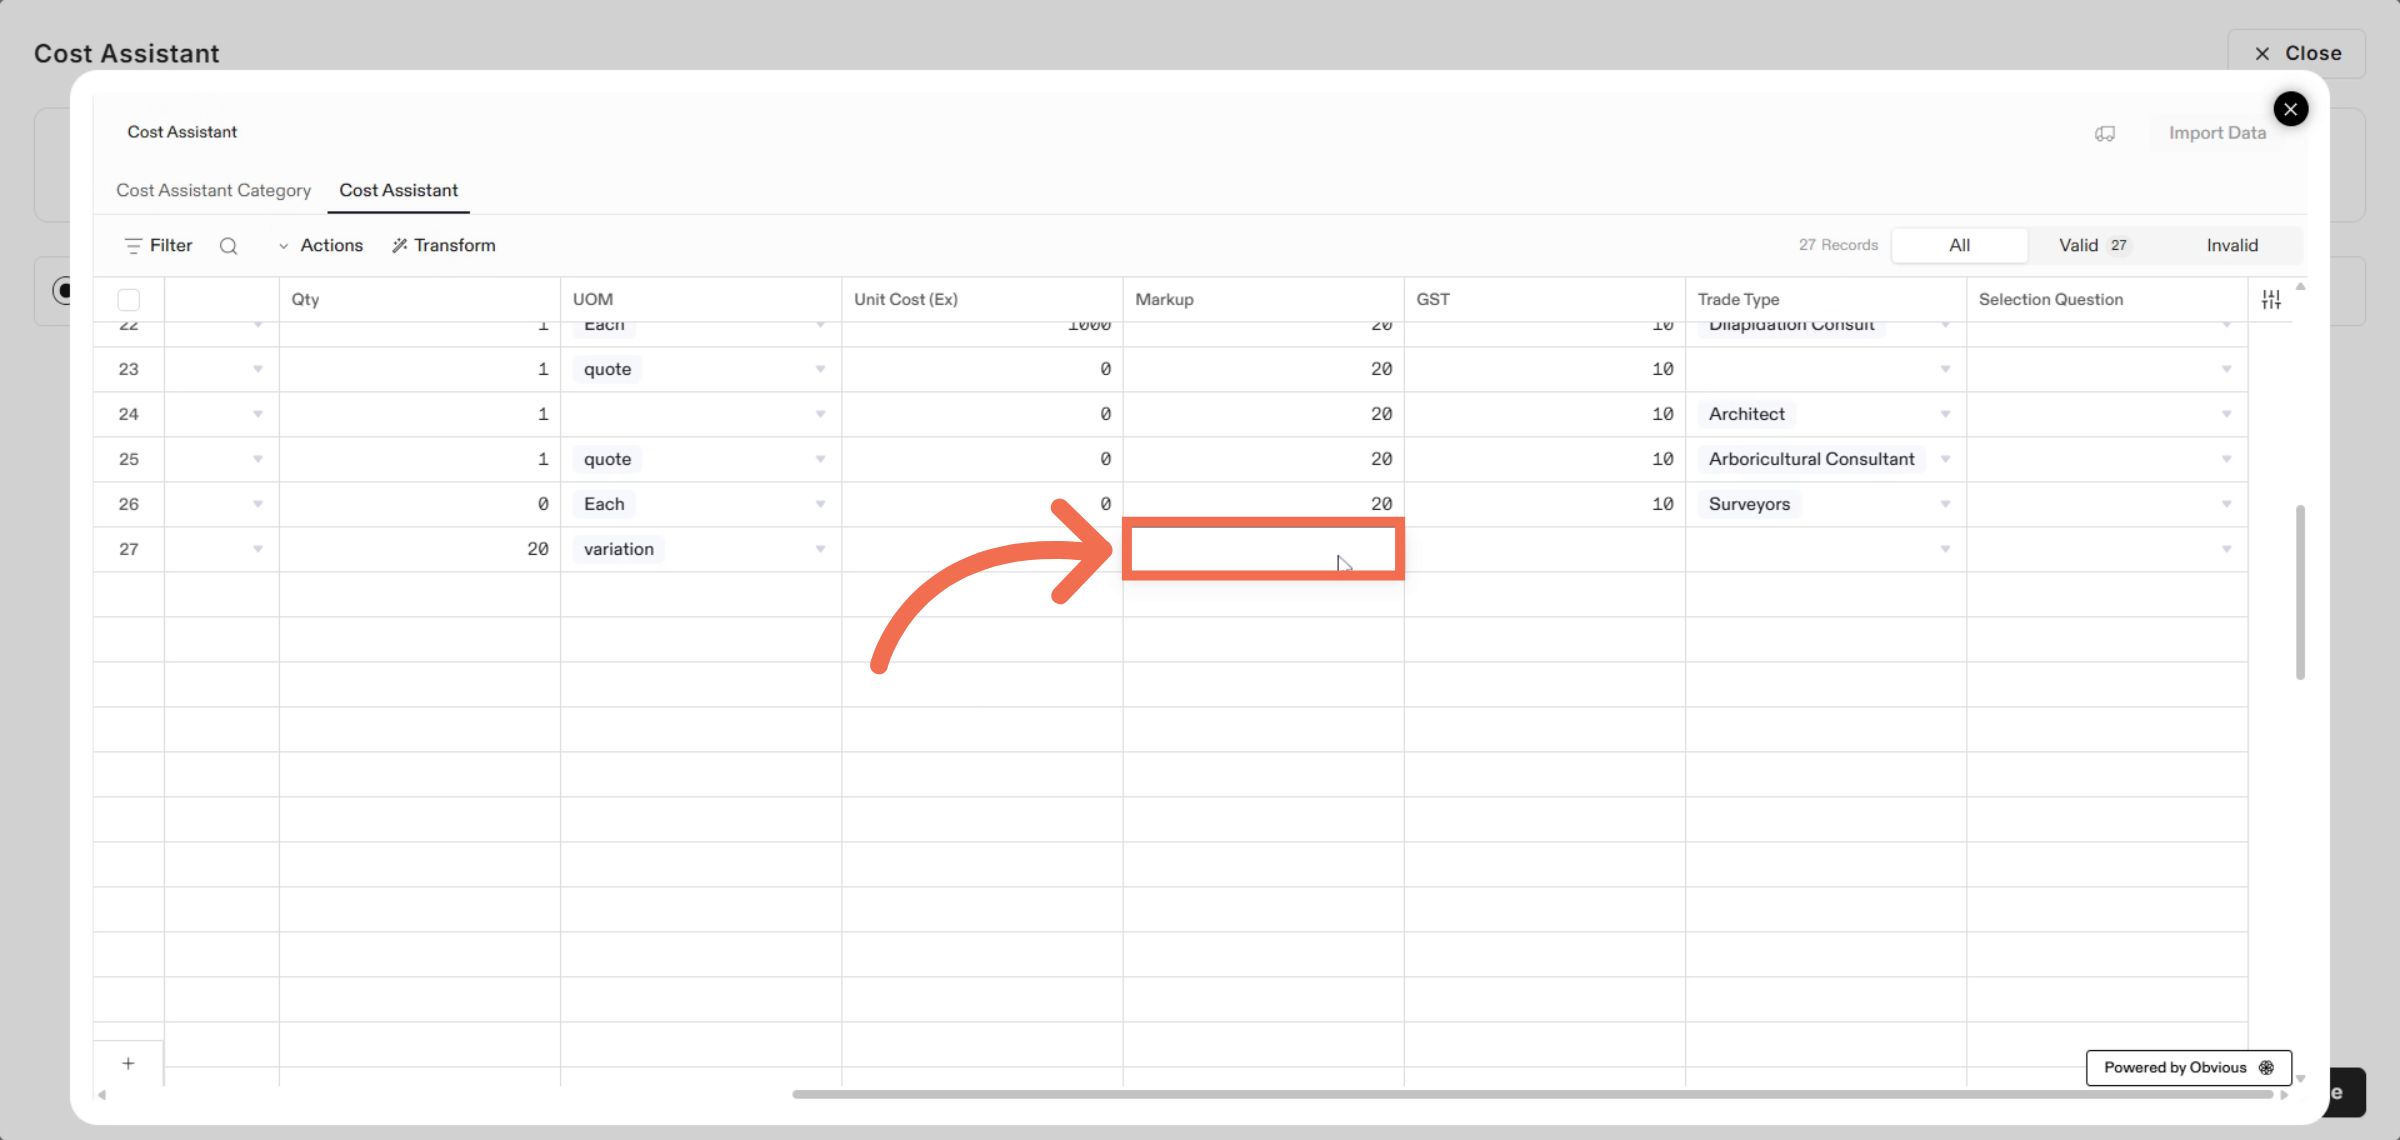
25. Enter Markup
Enter the Markup value to specify the amount for the item.
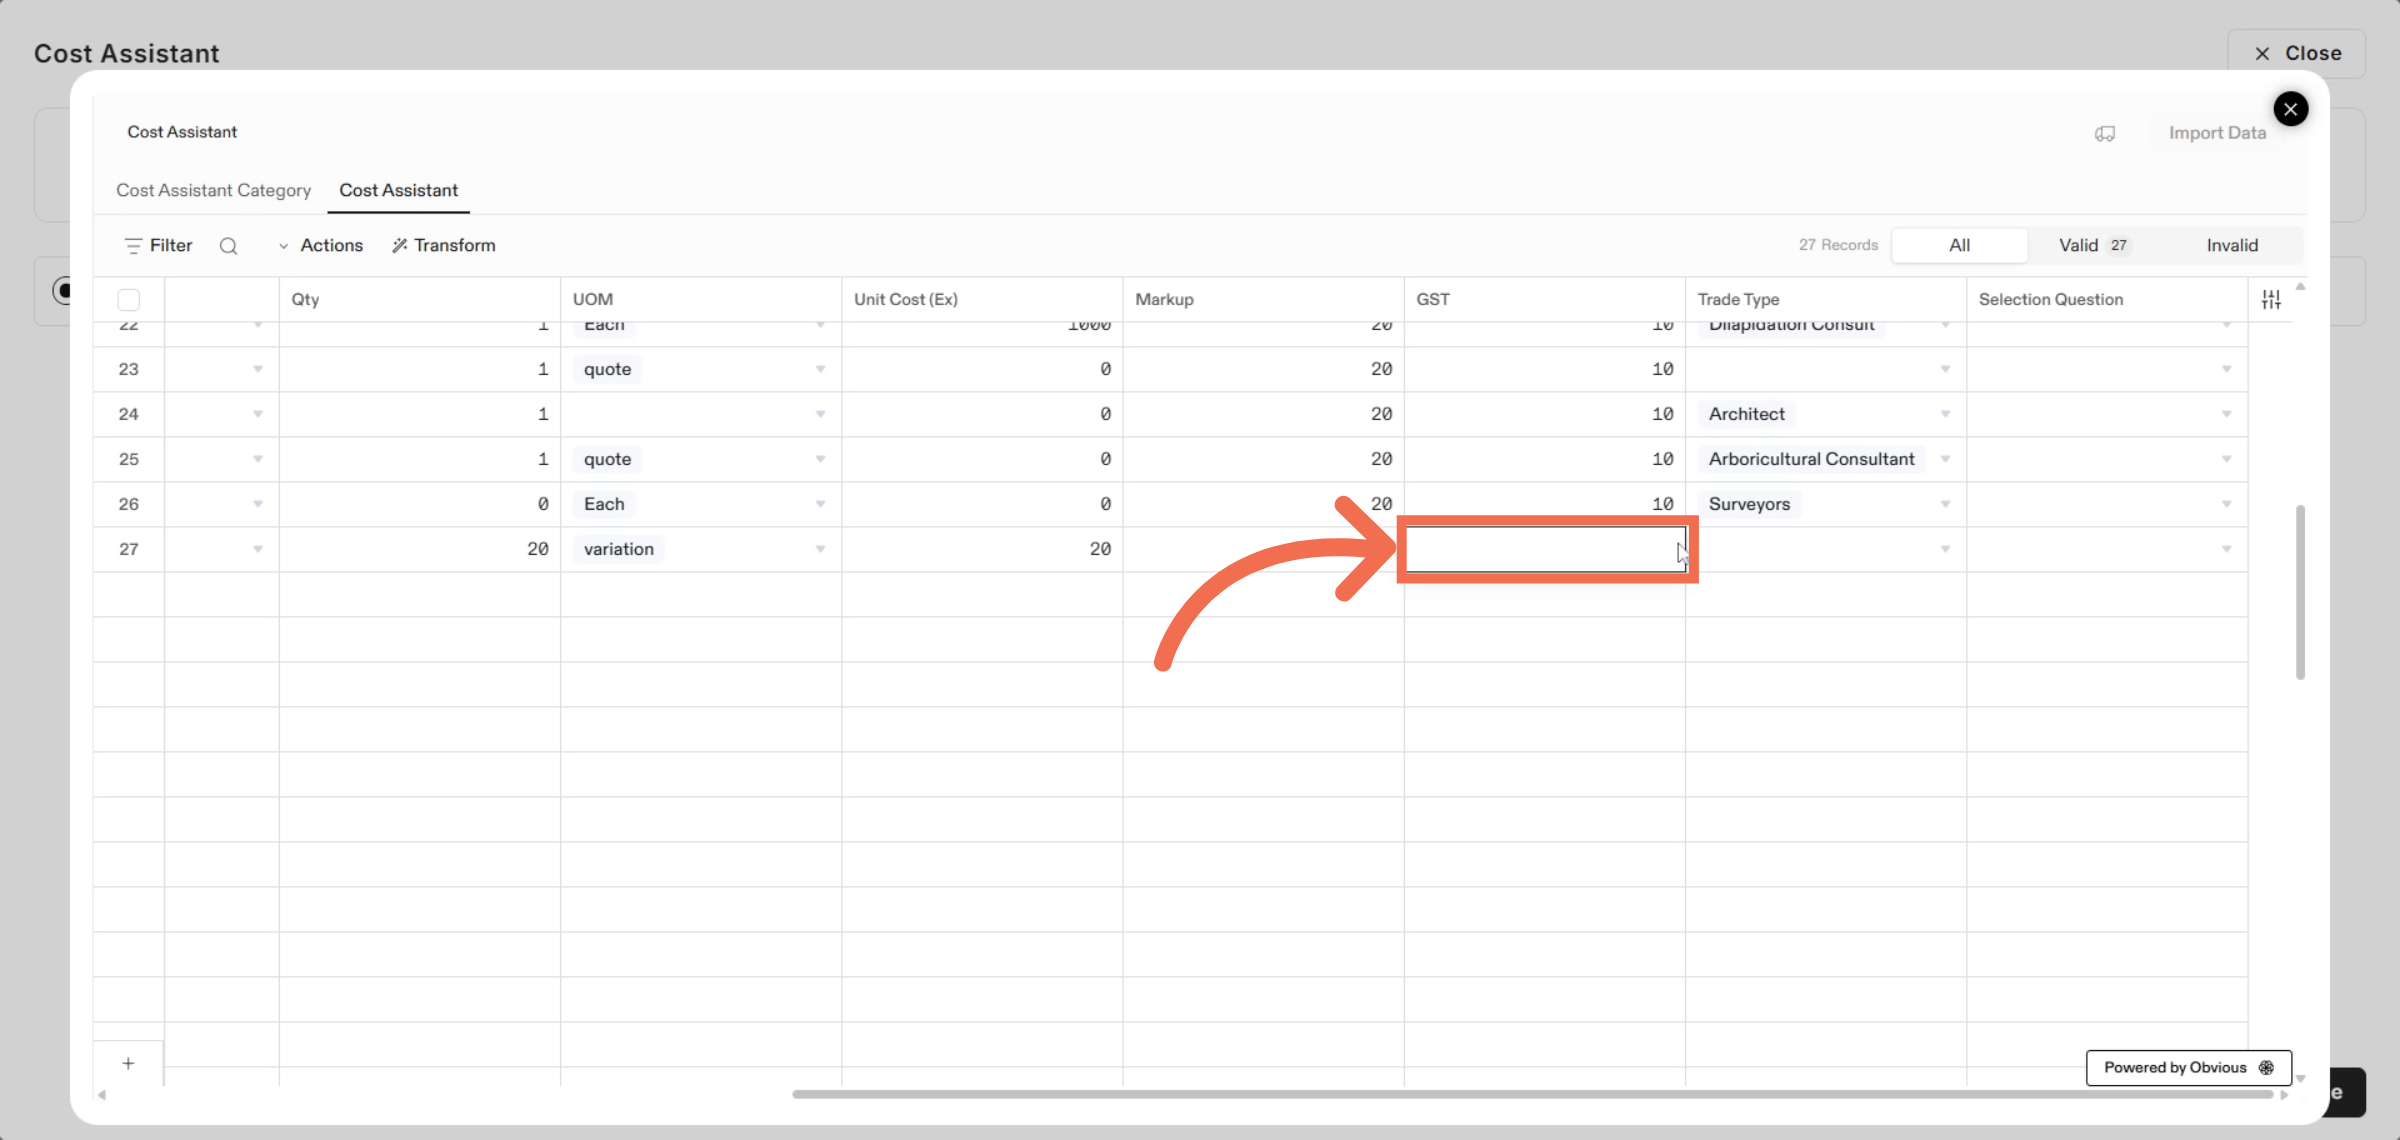
26. Enter GST Value
Enter the GST value to specify the amount for the item.
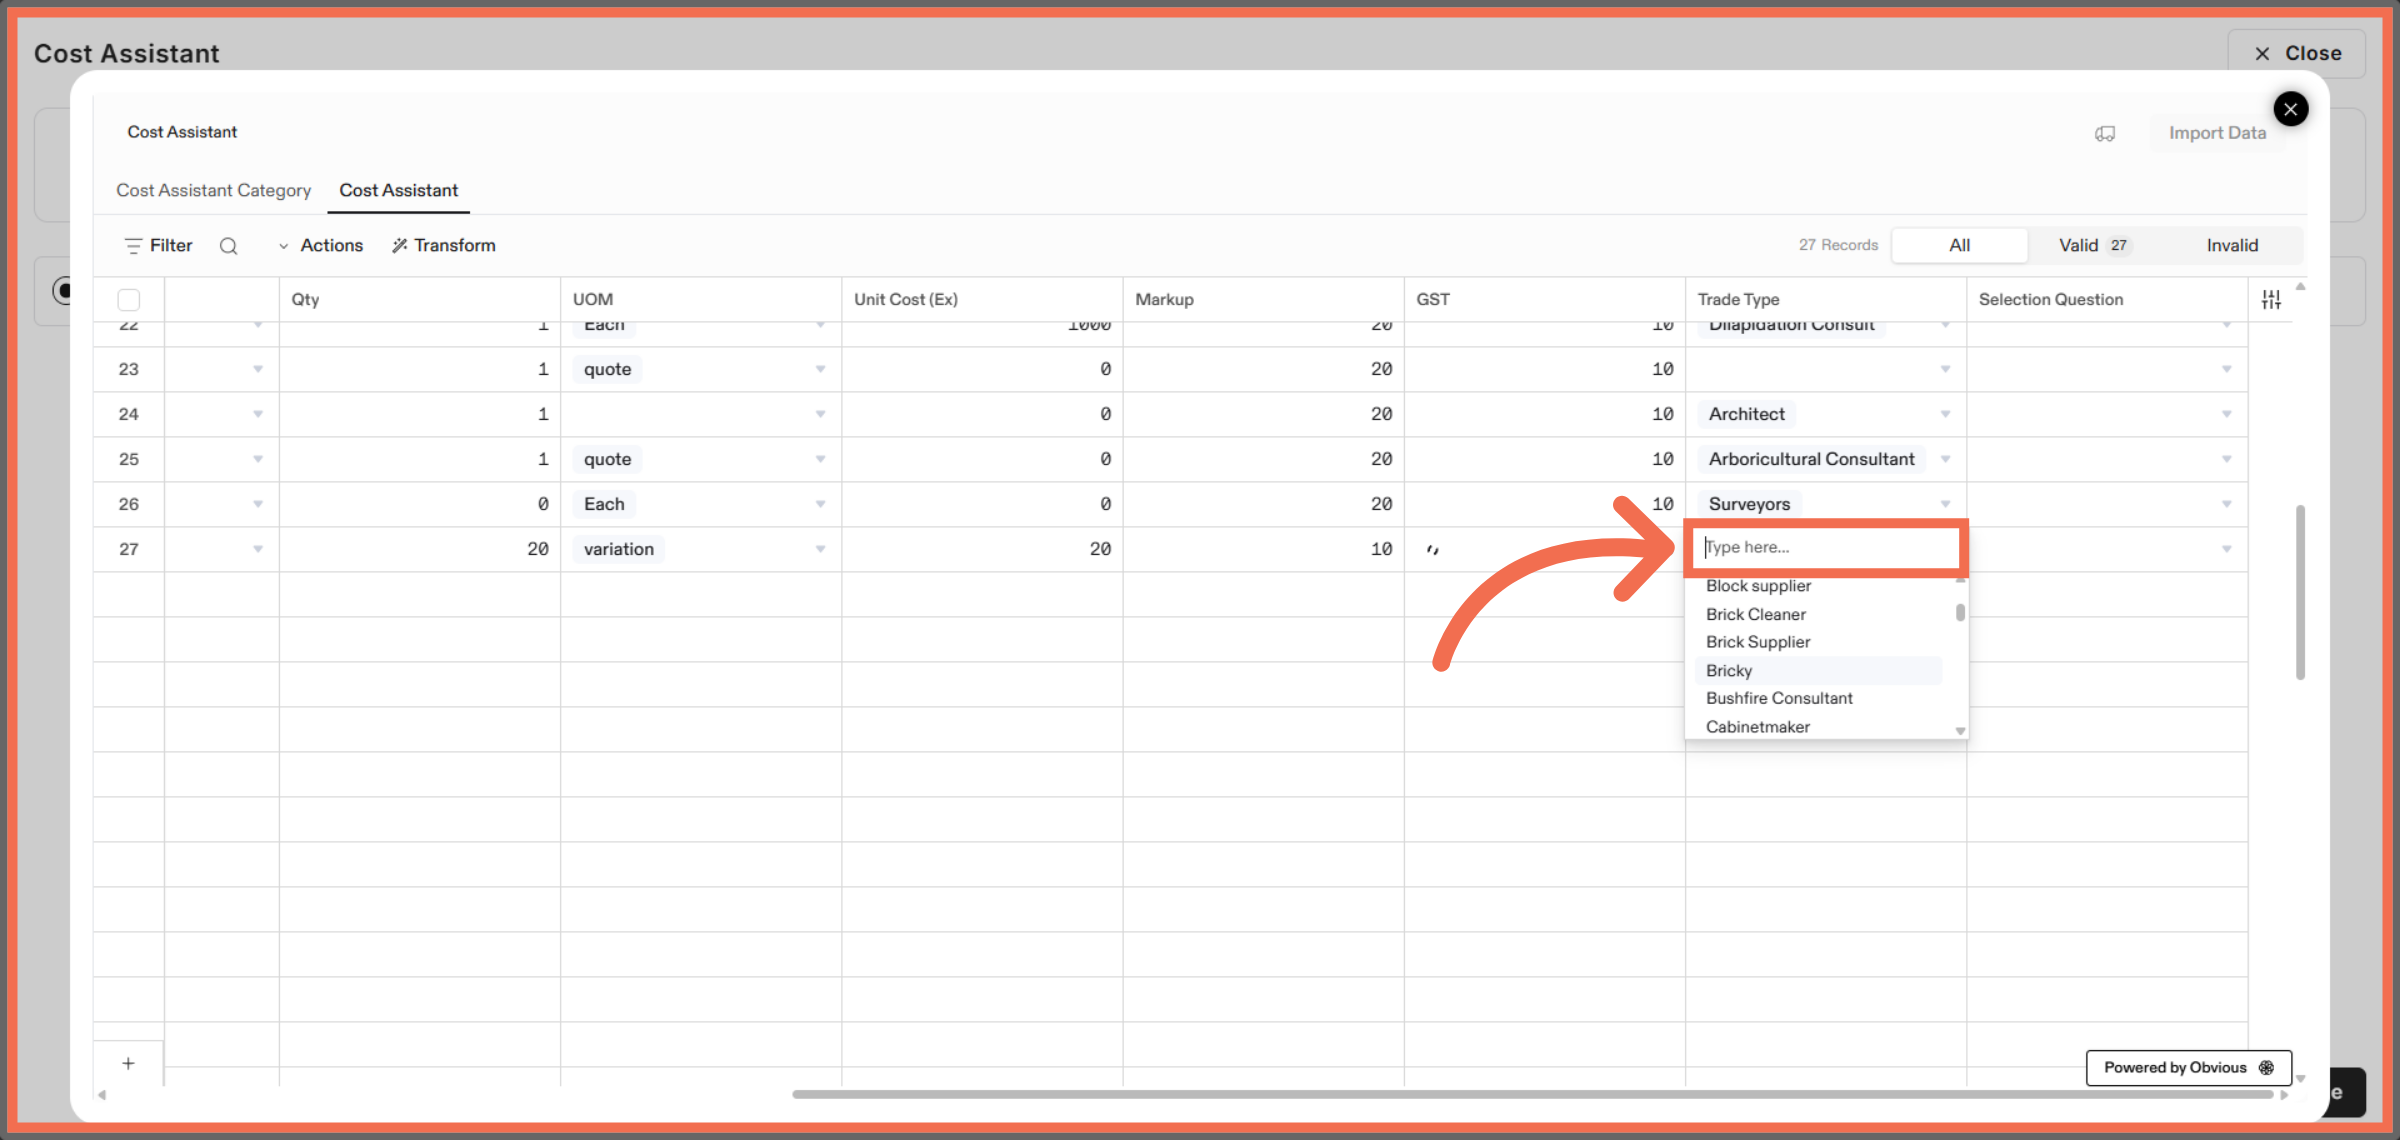
27. Select Trade Type
Click the area to Select Trade Type.
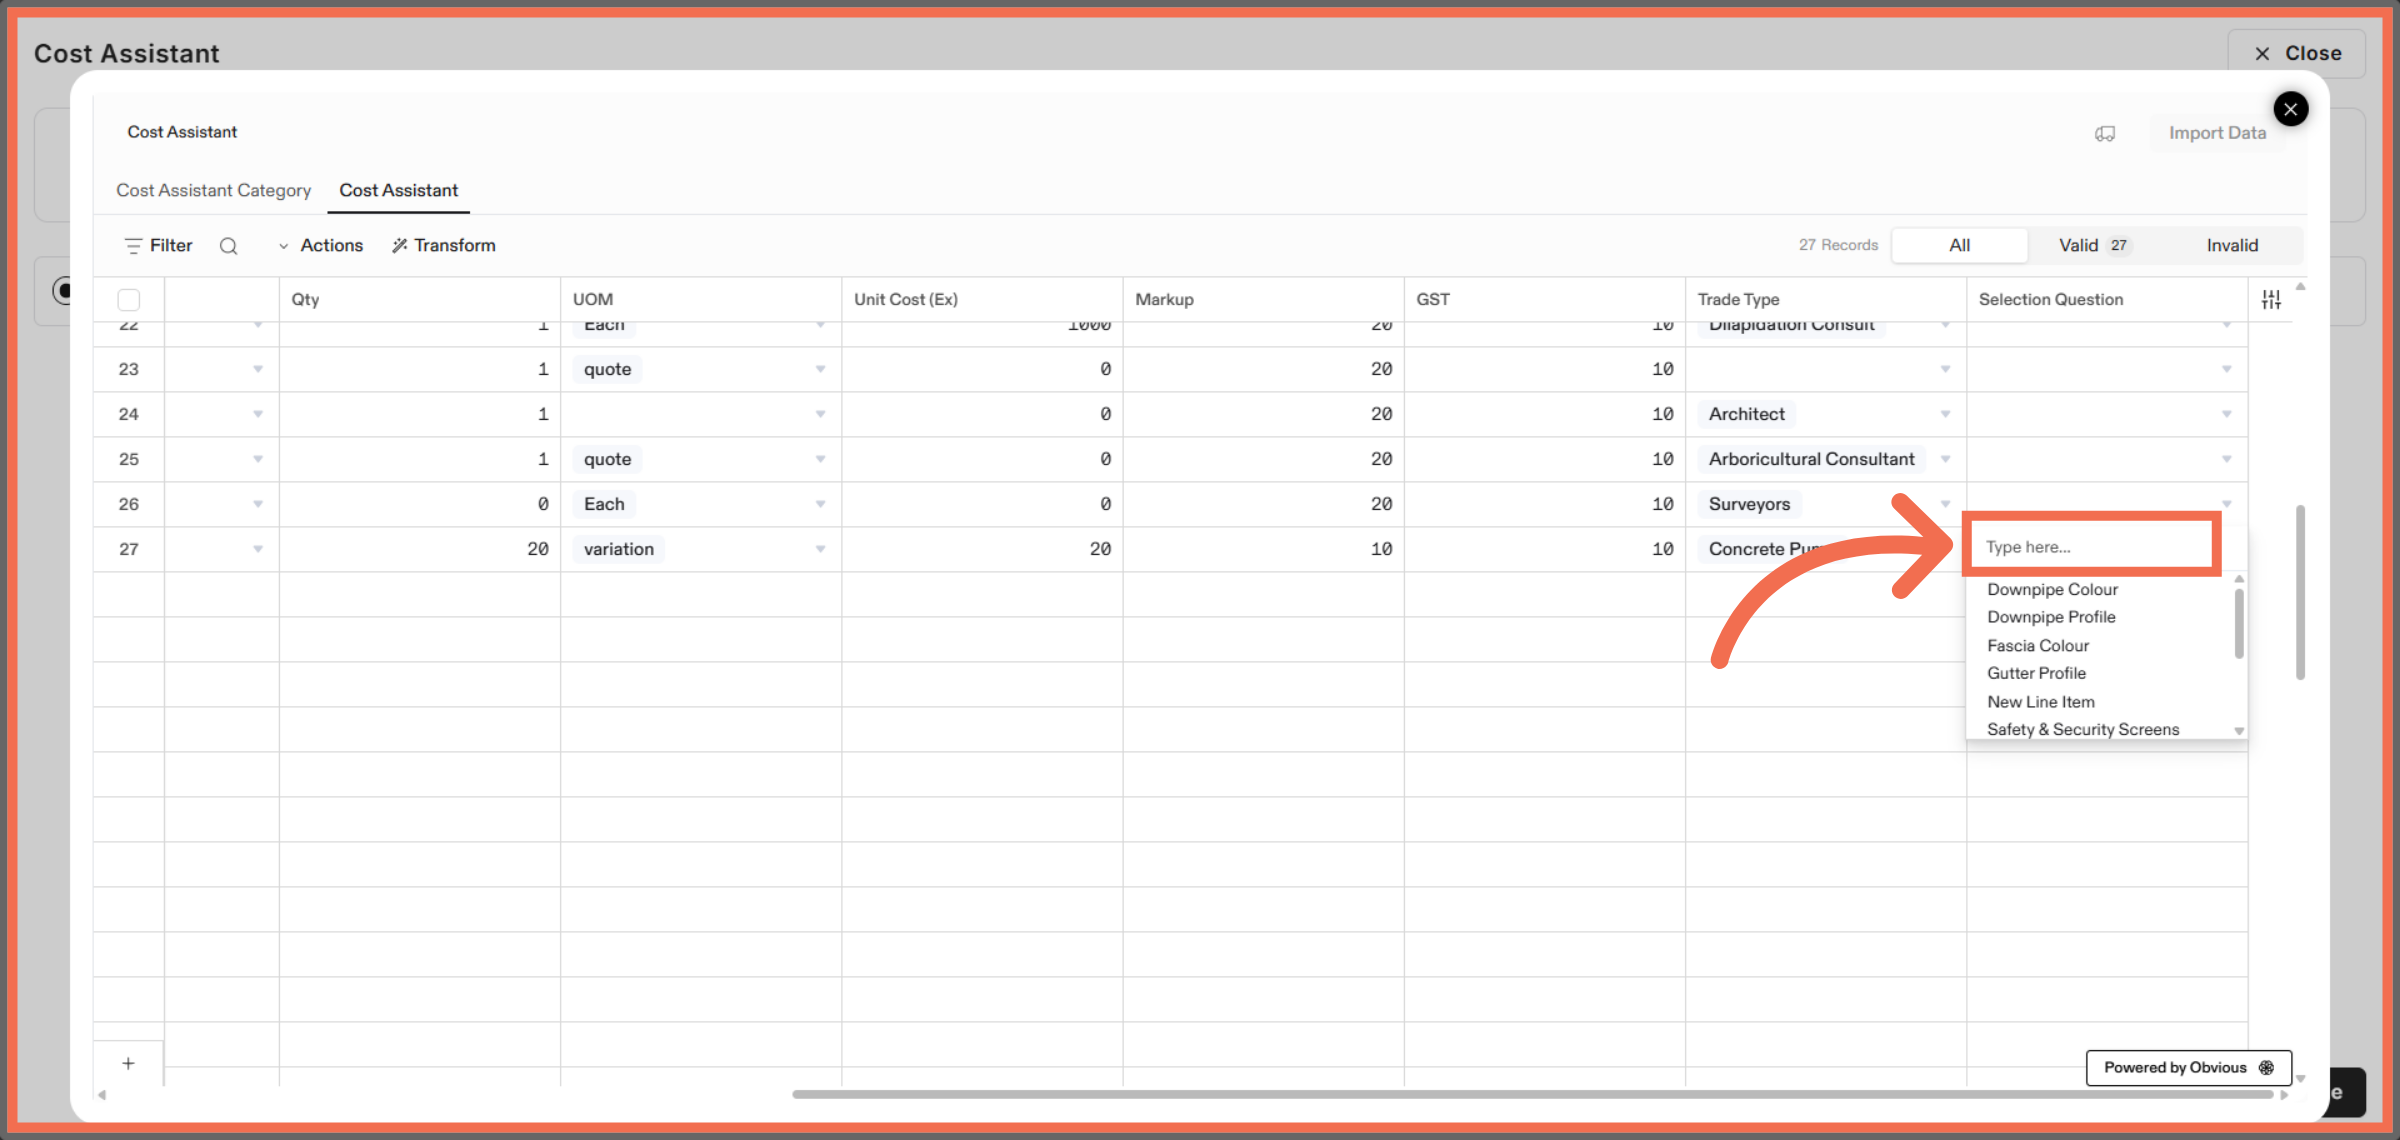
28. Select Selection Question
Click the area to Select Selection Question.
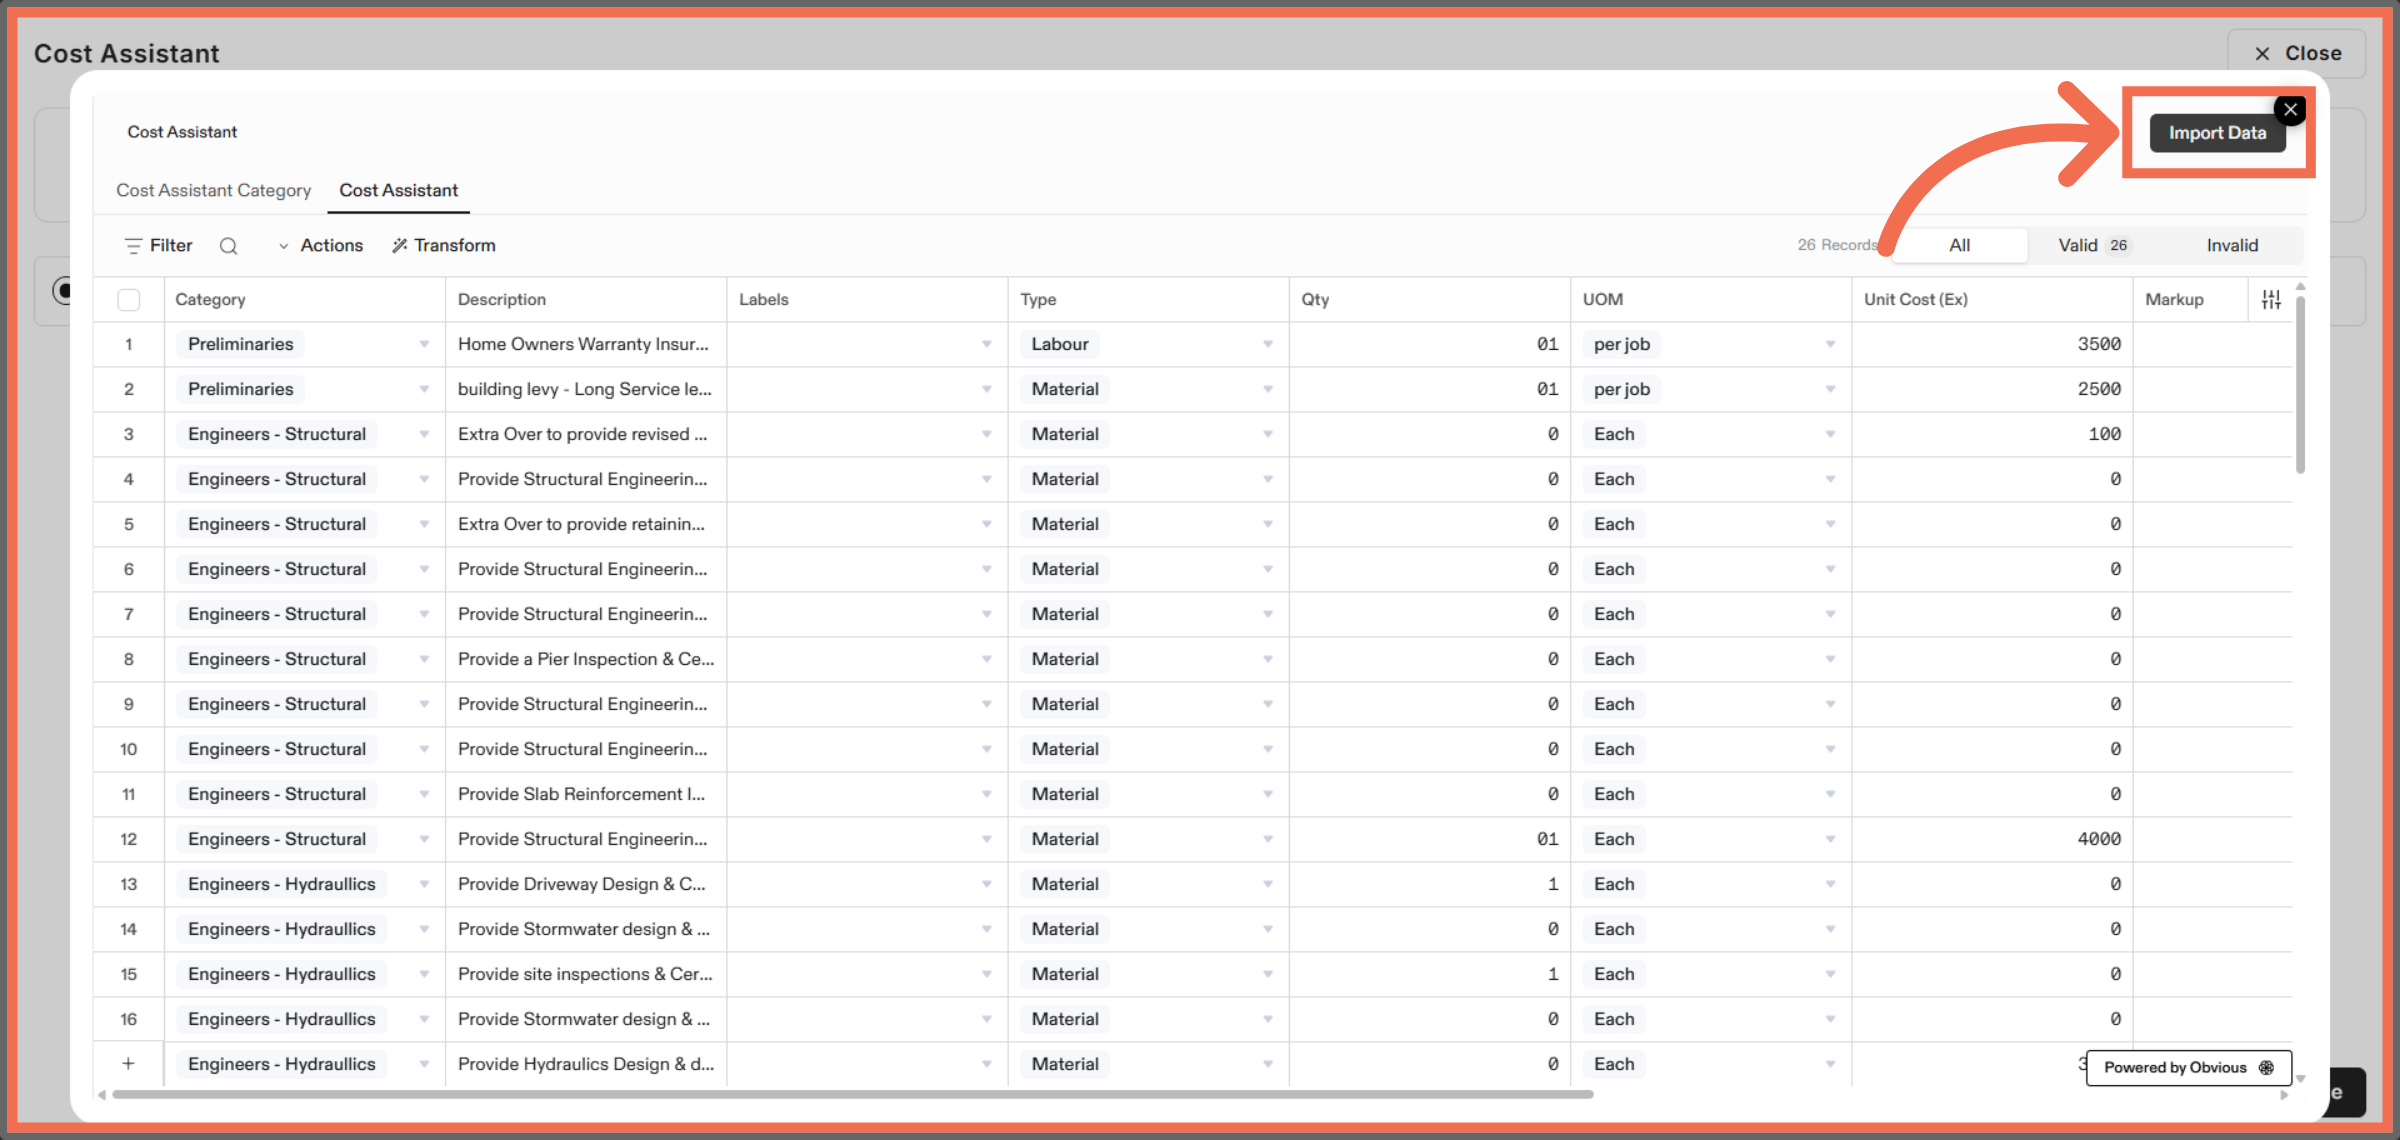
29. Import Data
Click Import Data to complete the cost assistant import process.
This demo highlights how you can efficiently import and map cost data using the Cost Assistant feature. Start streamlining your cost management today by trying the import process yourself.