Pin Columns Efficiently In AG Grid For Better Data Views

AG Grid offers powerful column pinning features to enhance your data analysis experience.
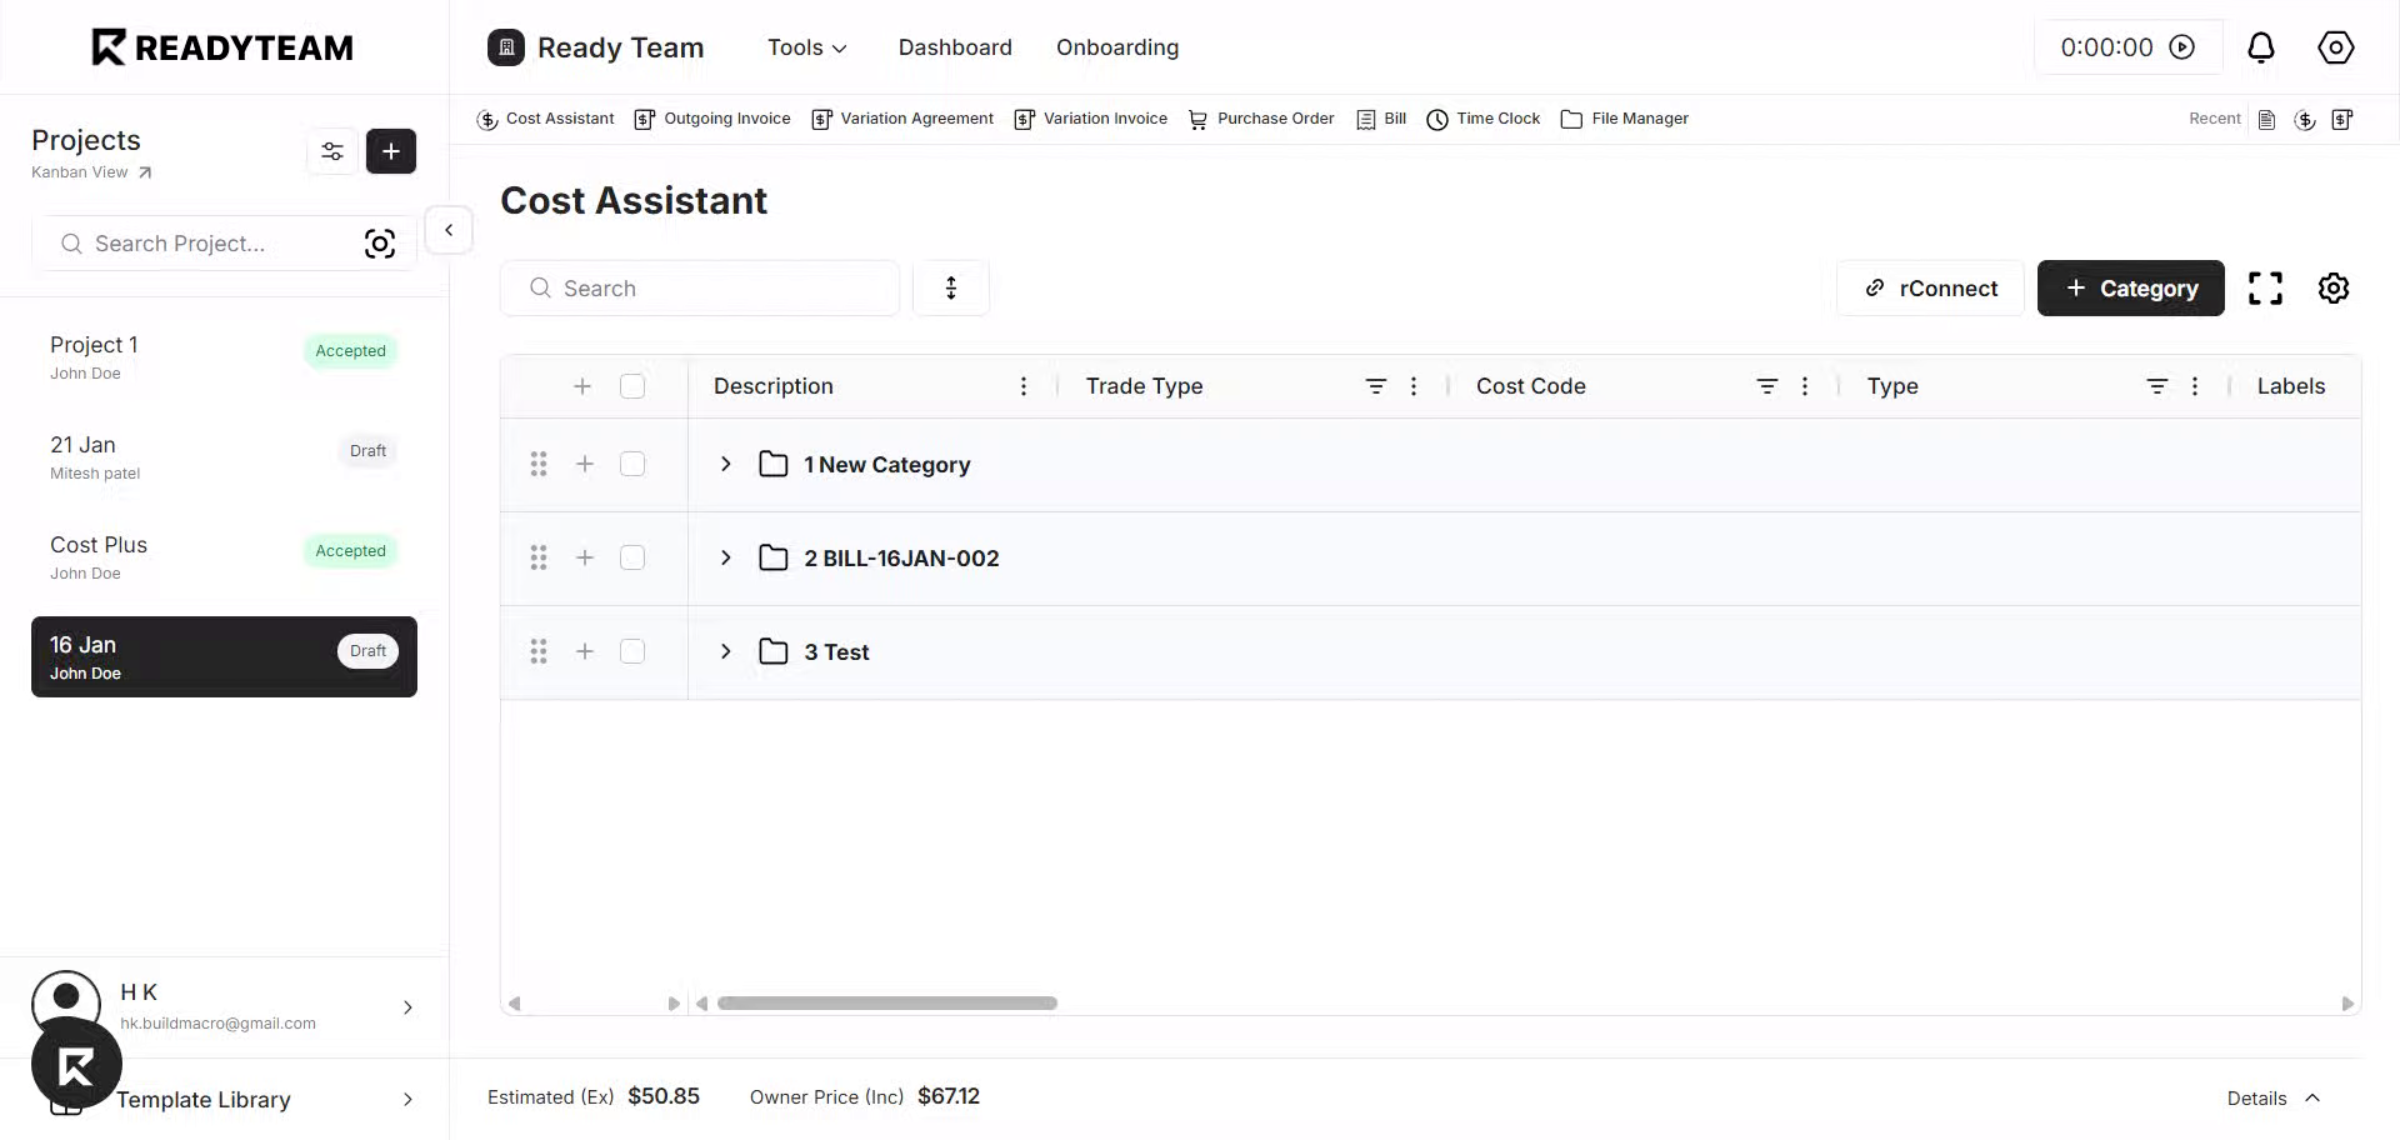
Go to app.readyteam.ai
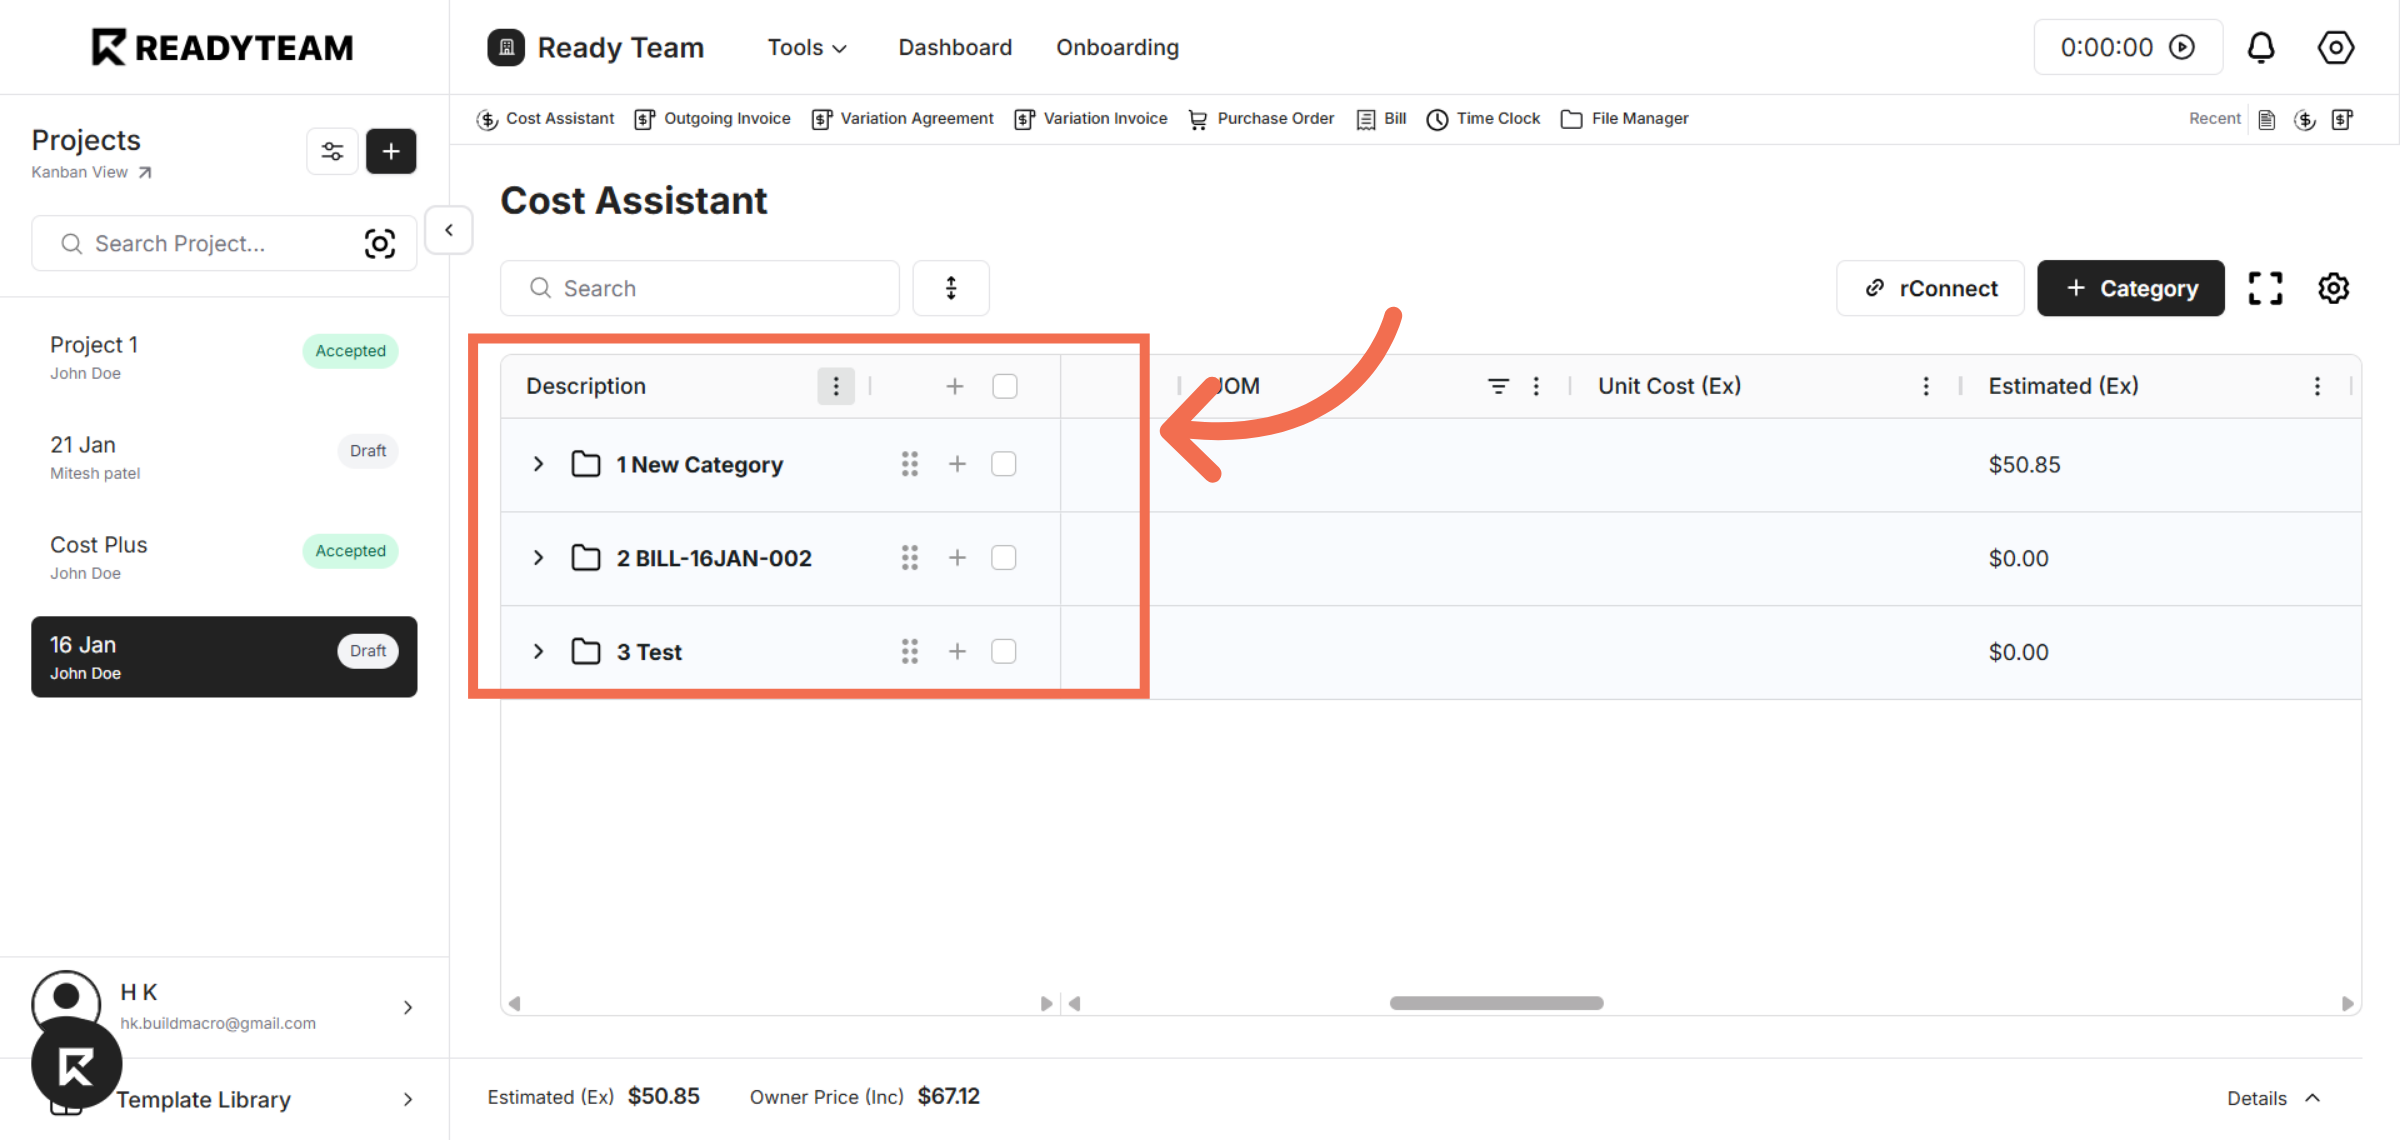
1. Introduction
This guide highlights how you can pin columns to the left or right and remove pins to customize your grid view.
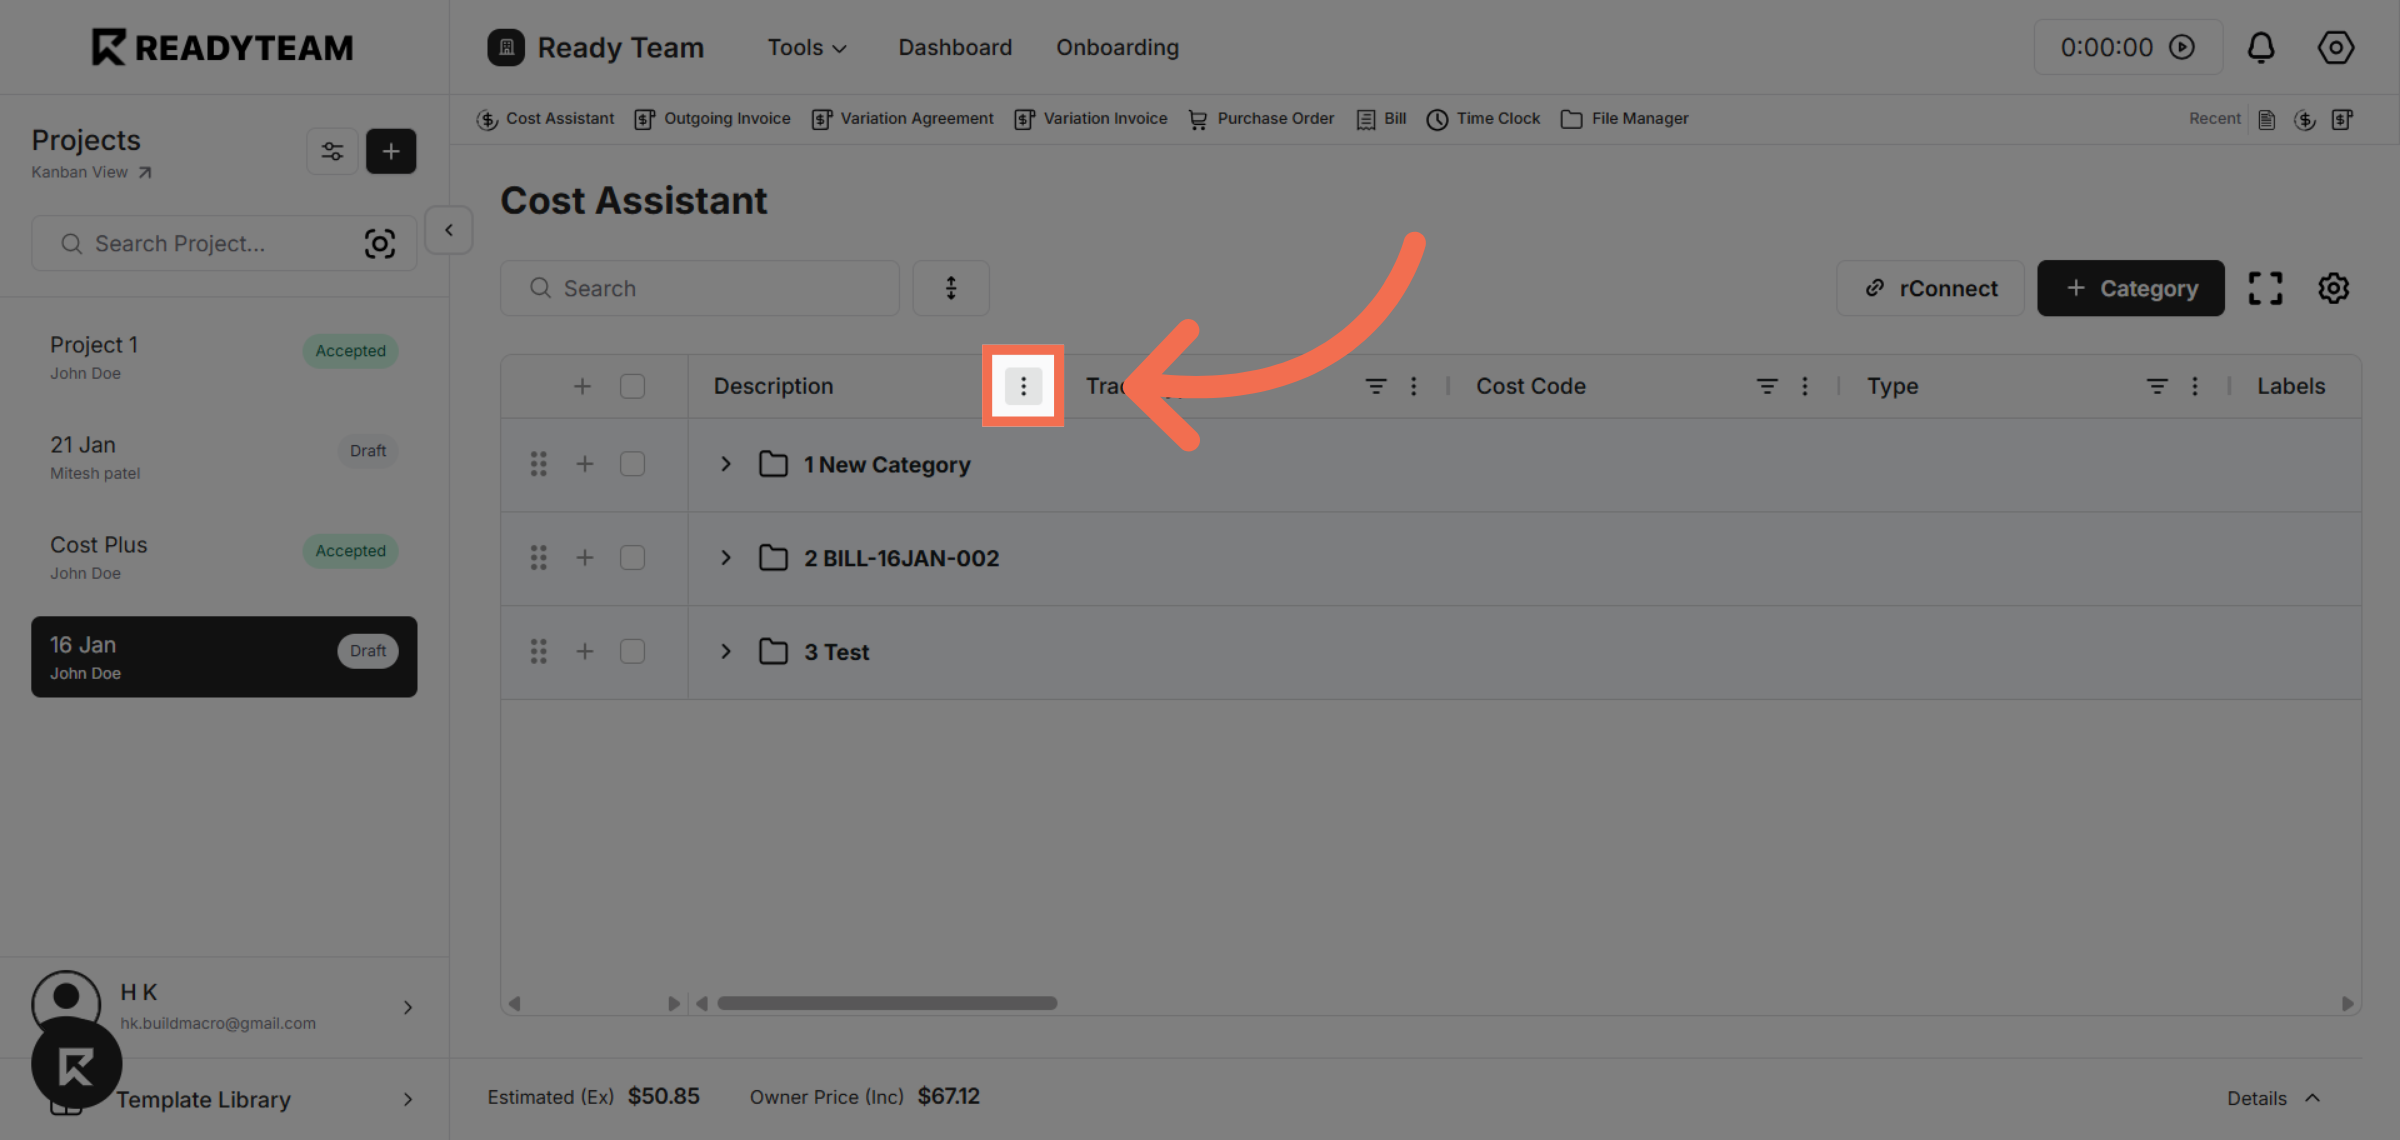
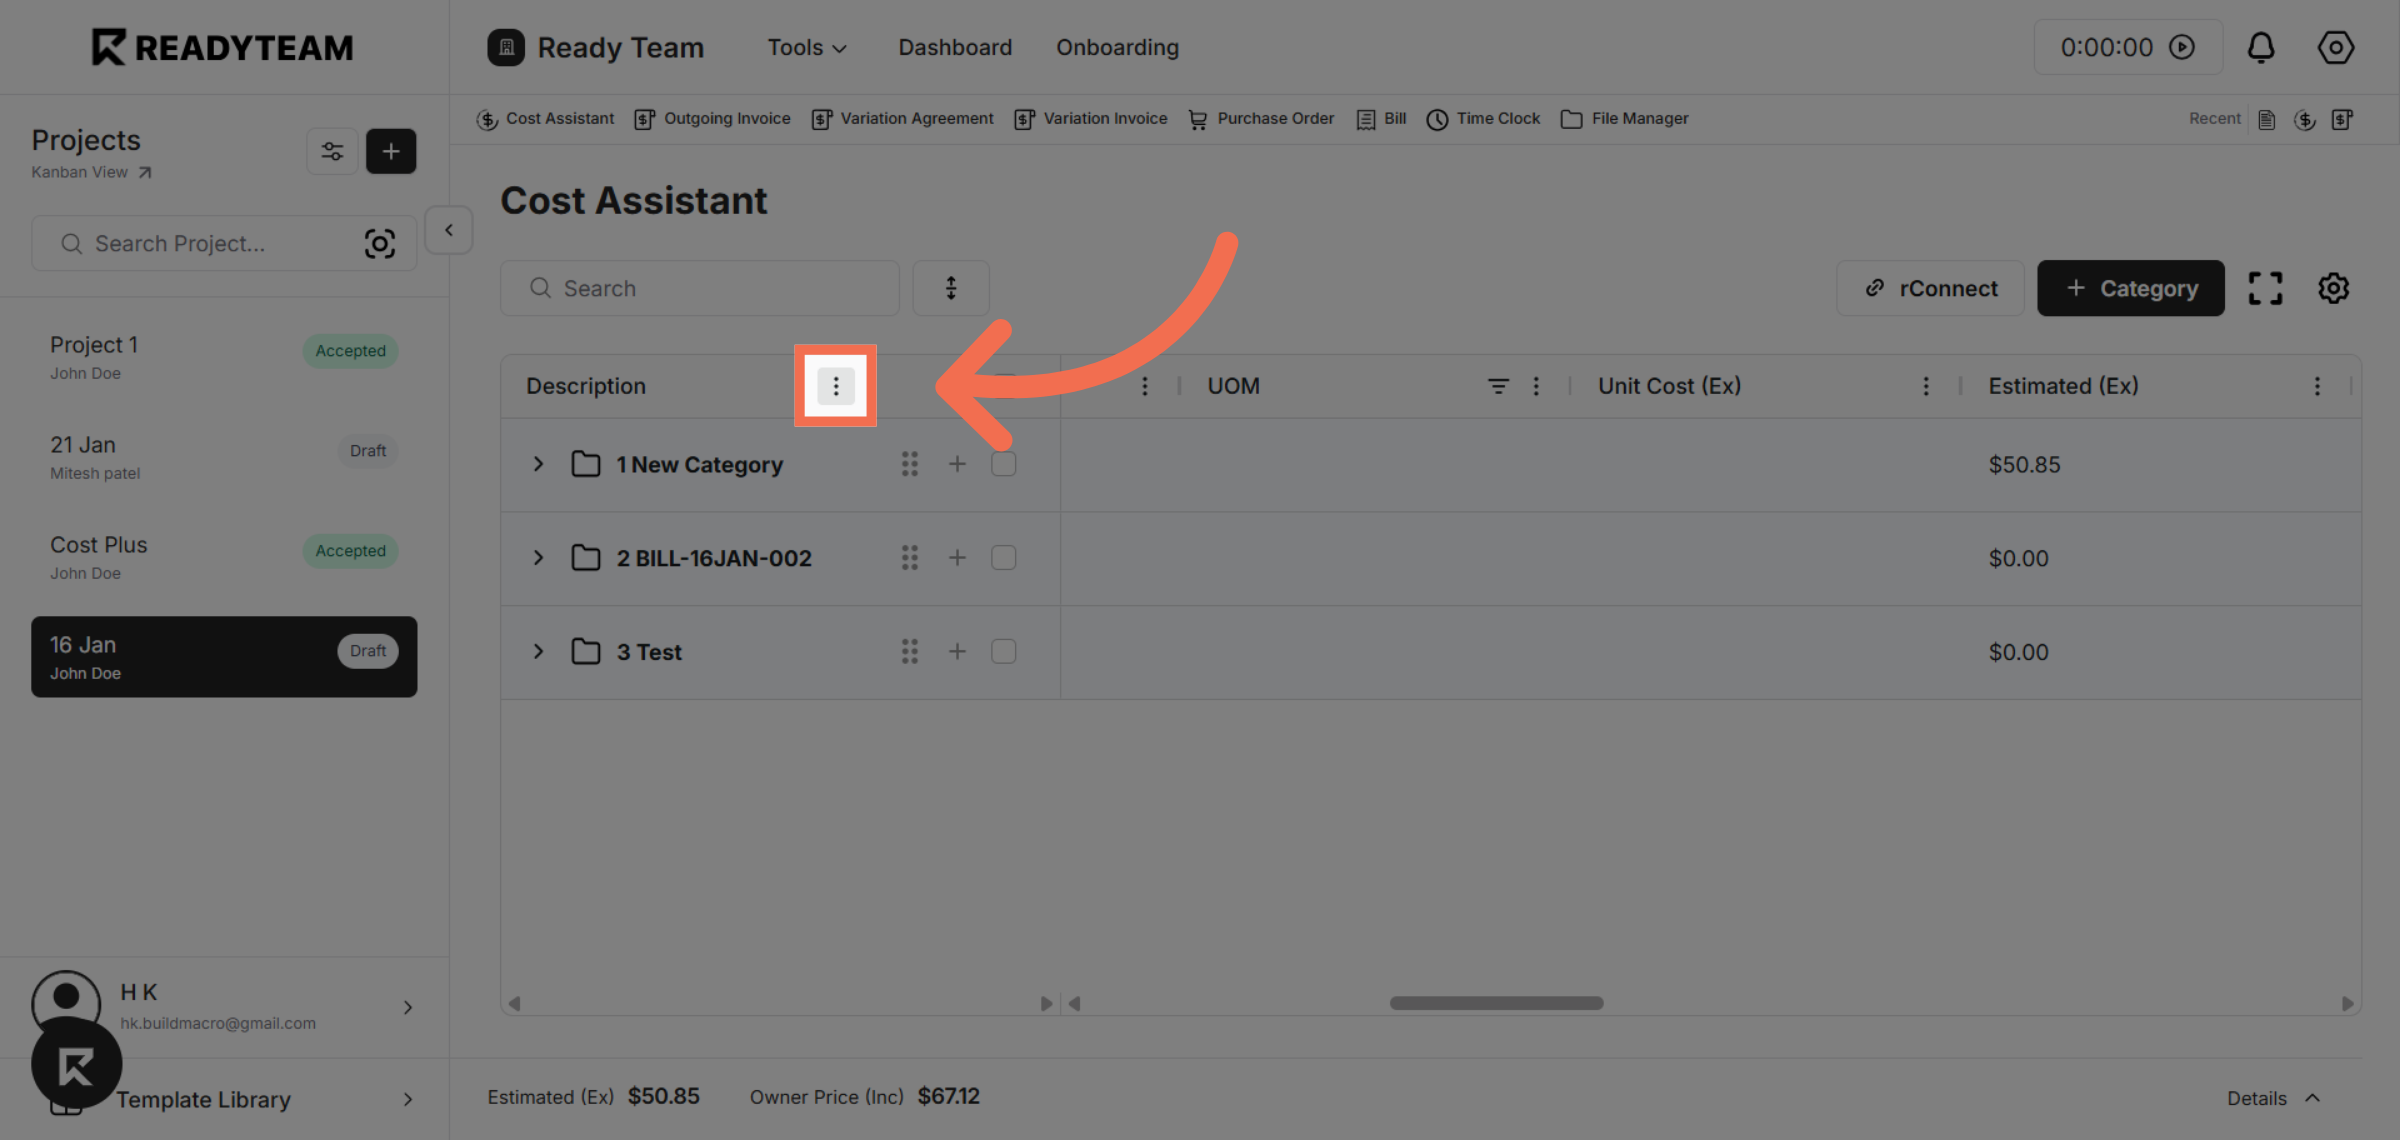
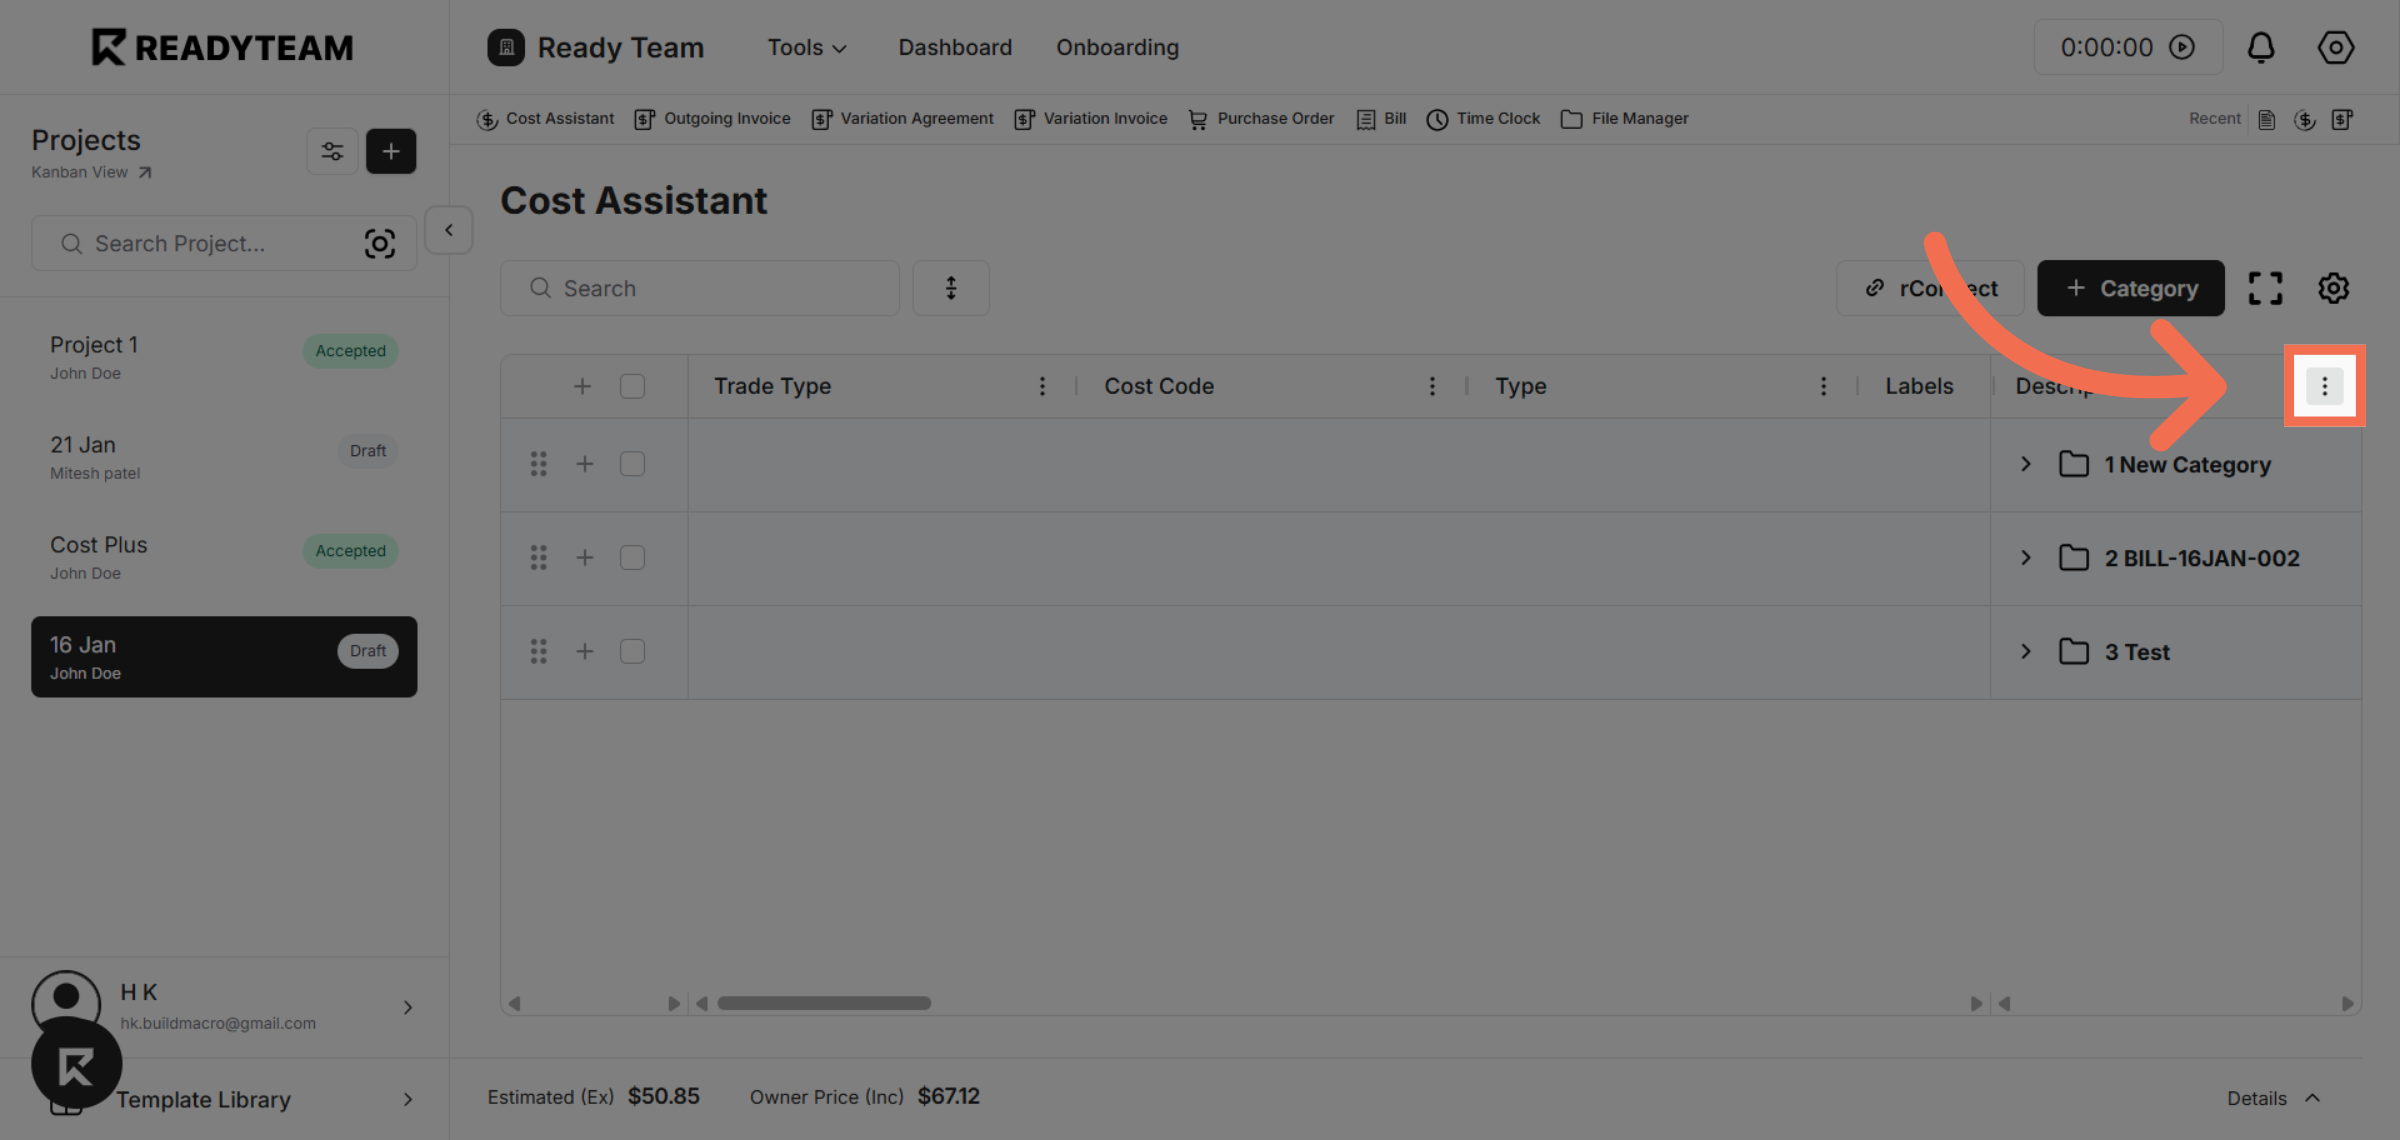
2. Open Column Options
Access the column options menu to begin customizing your grid layout.
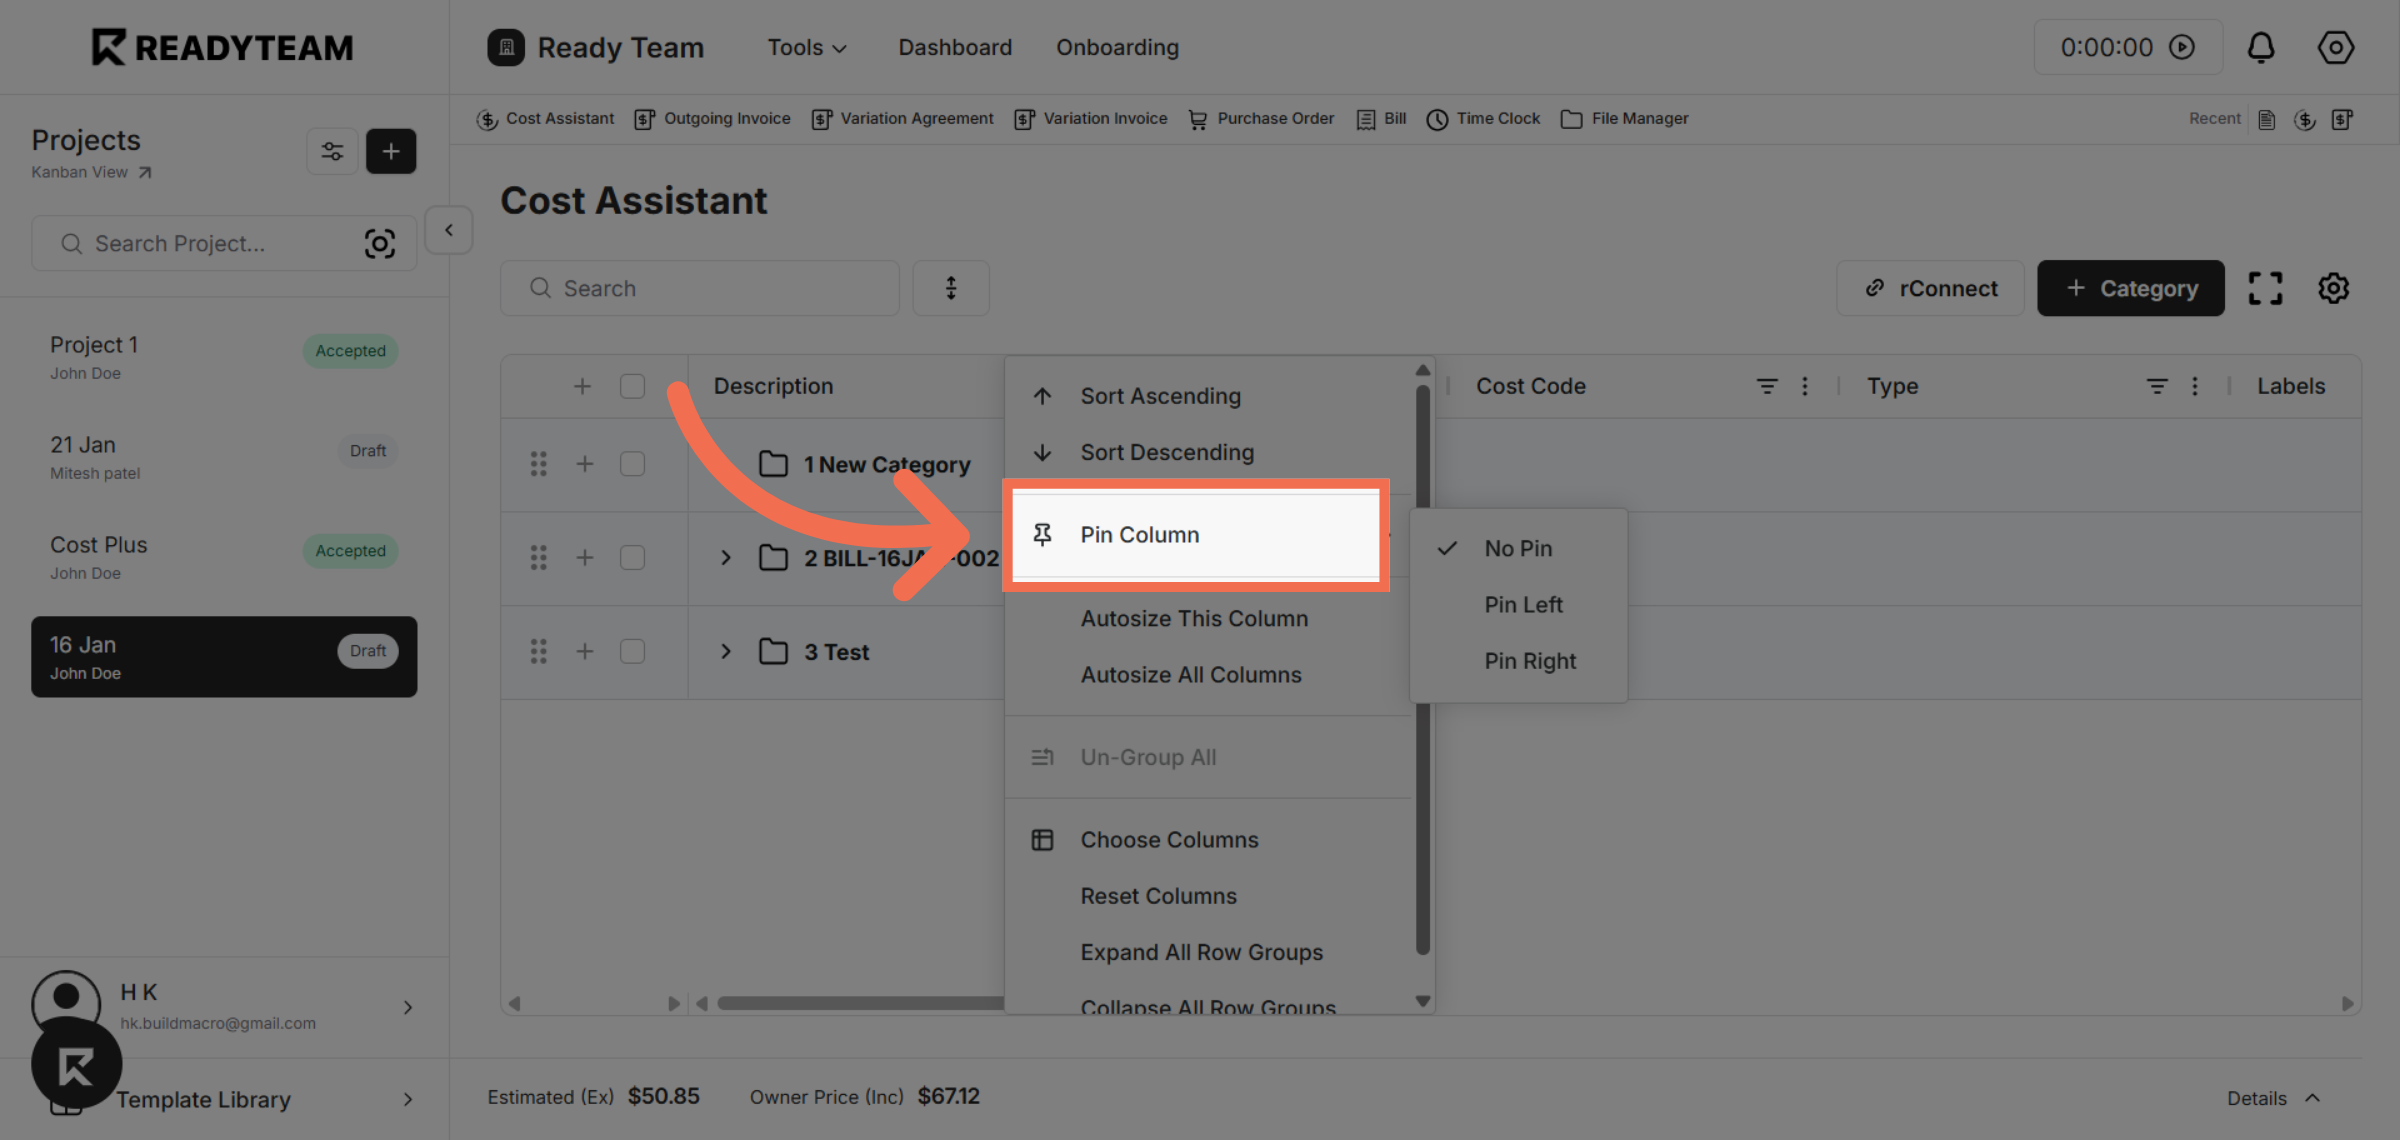
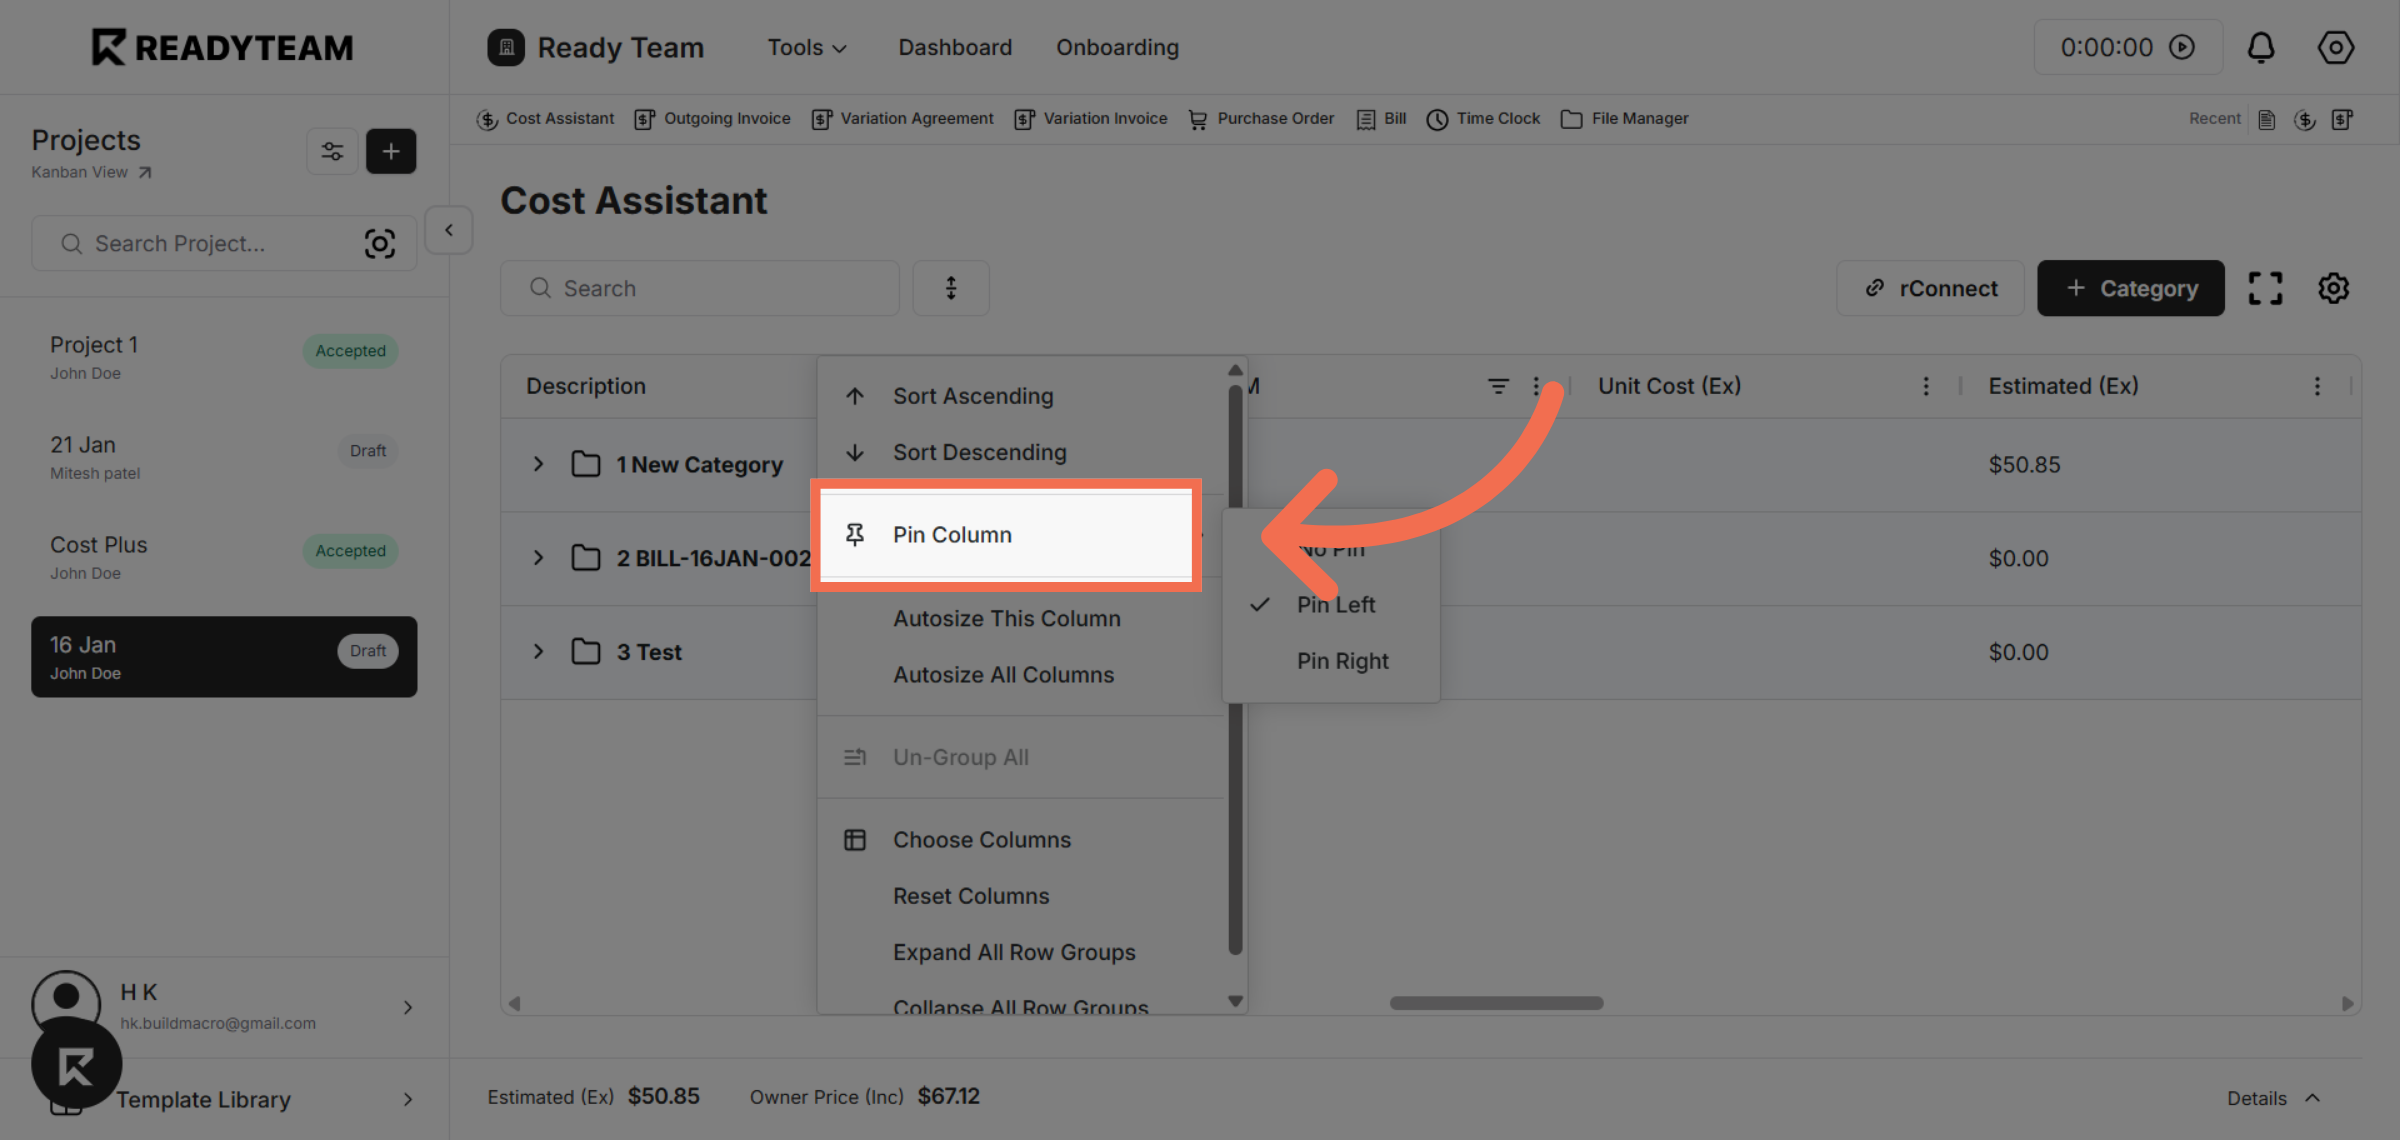
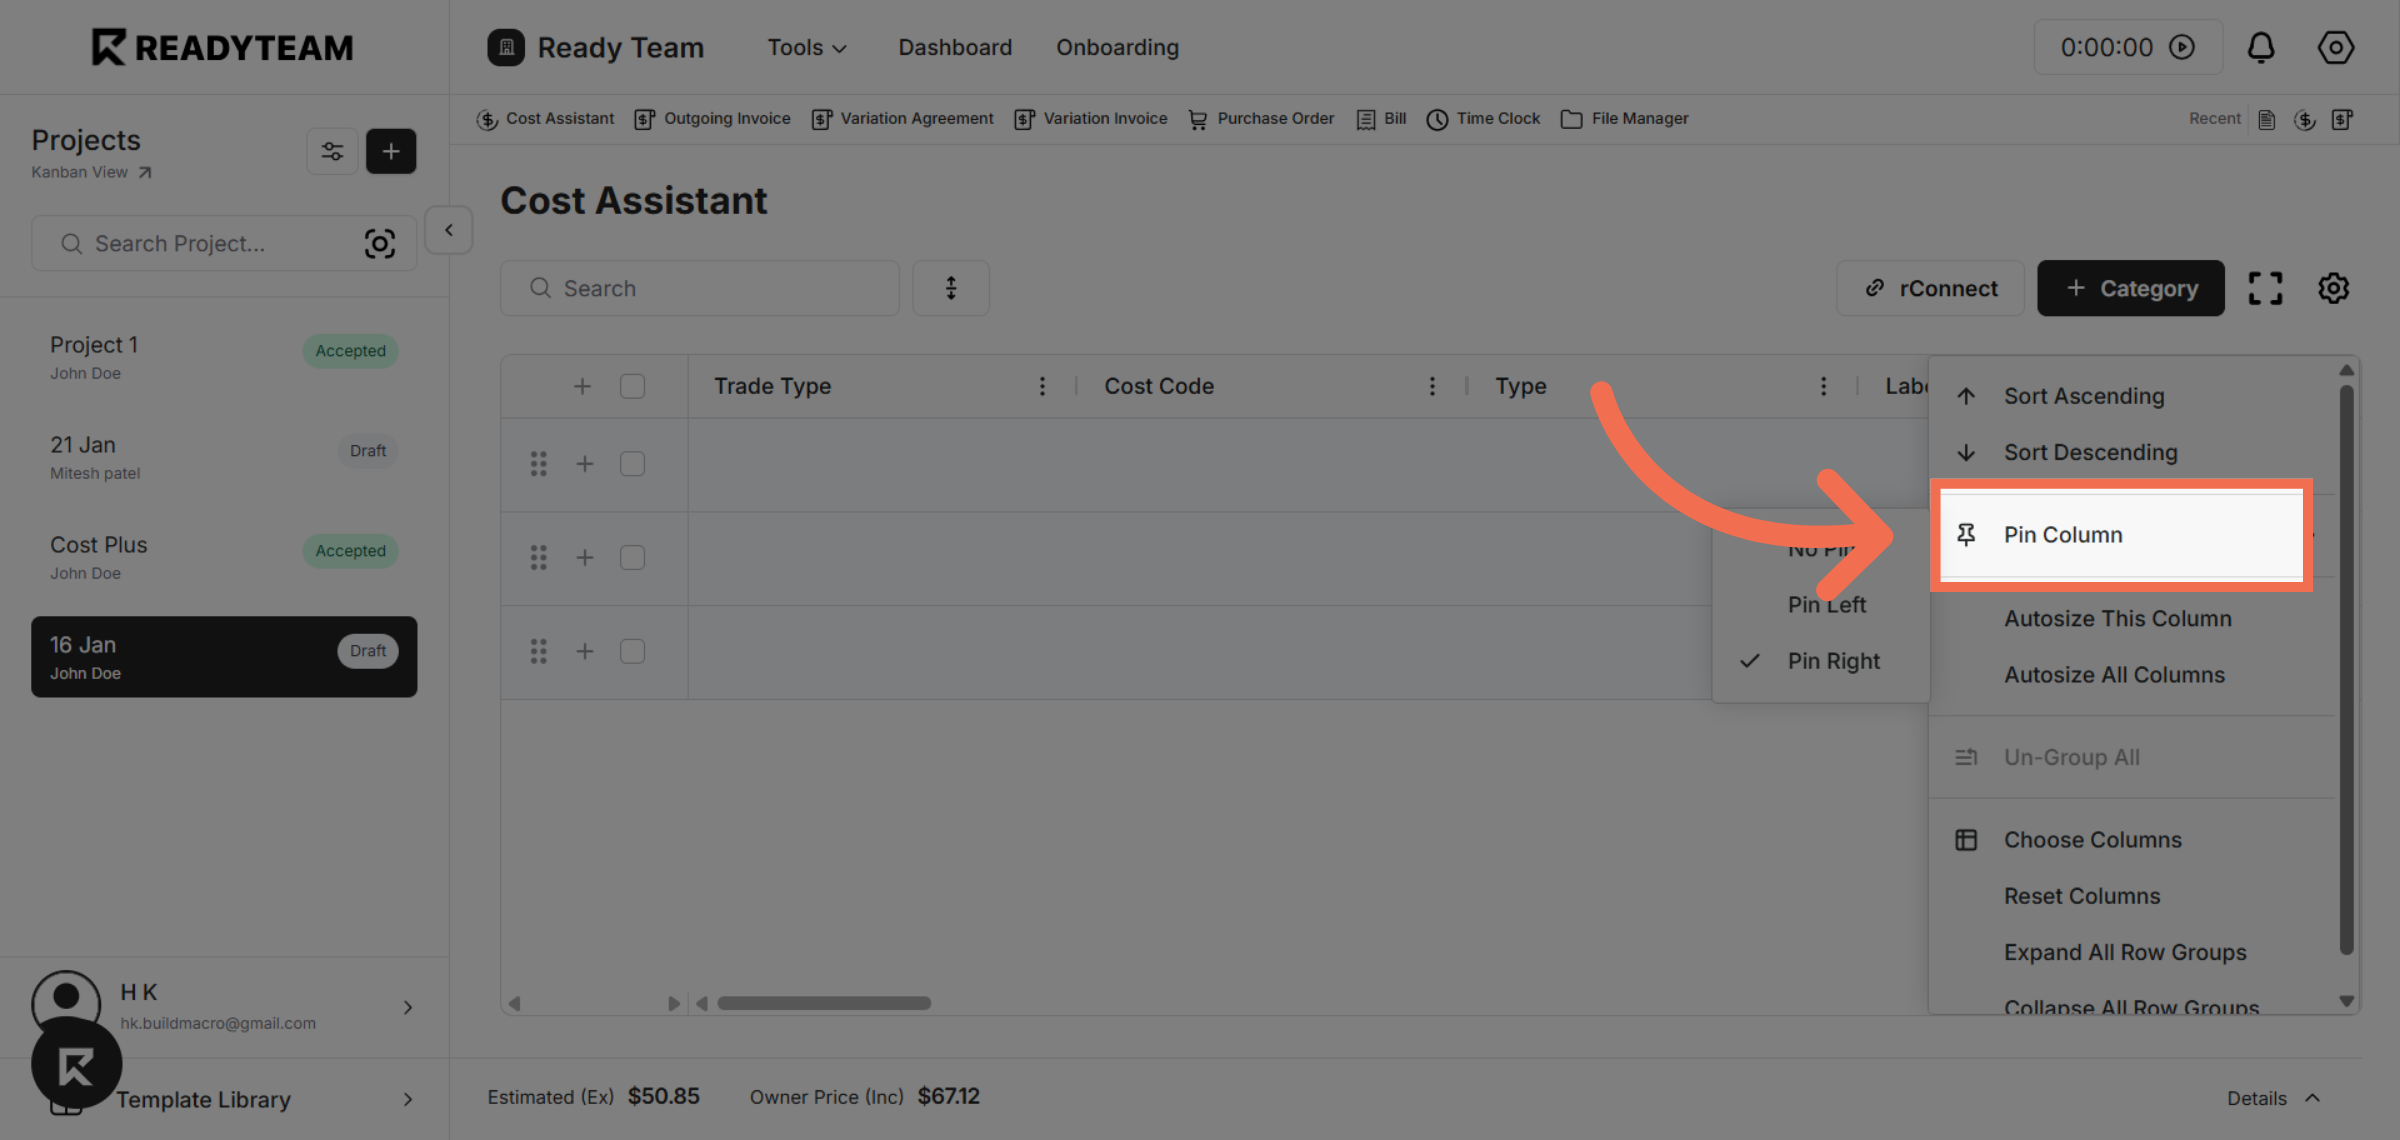
3. Select Pin Column Option
Choose the Pin Column option to start pinning a specific column.
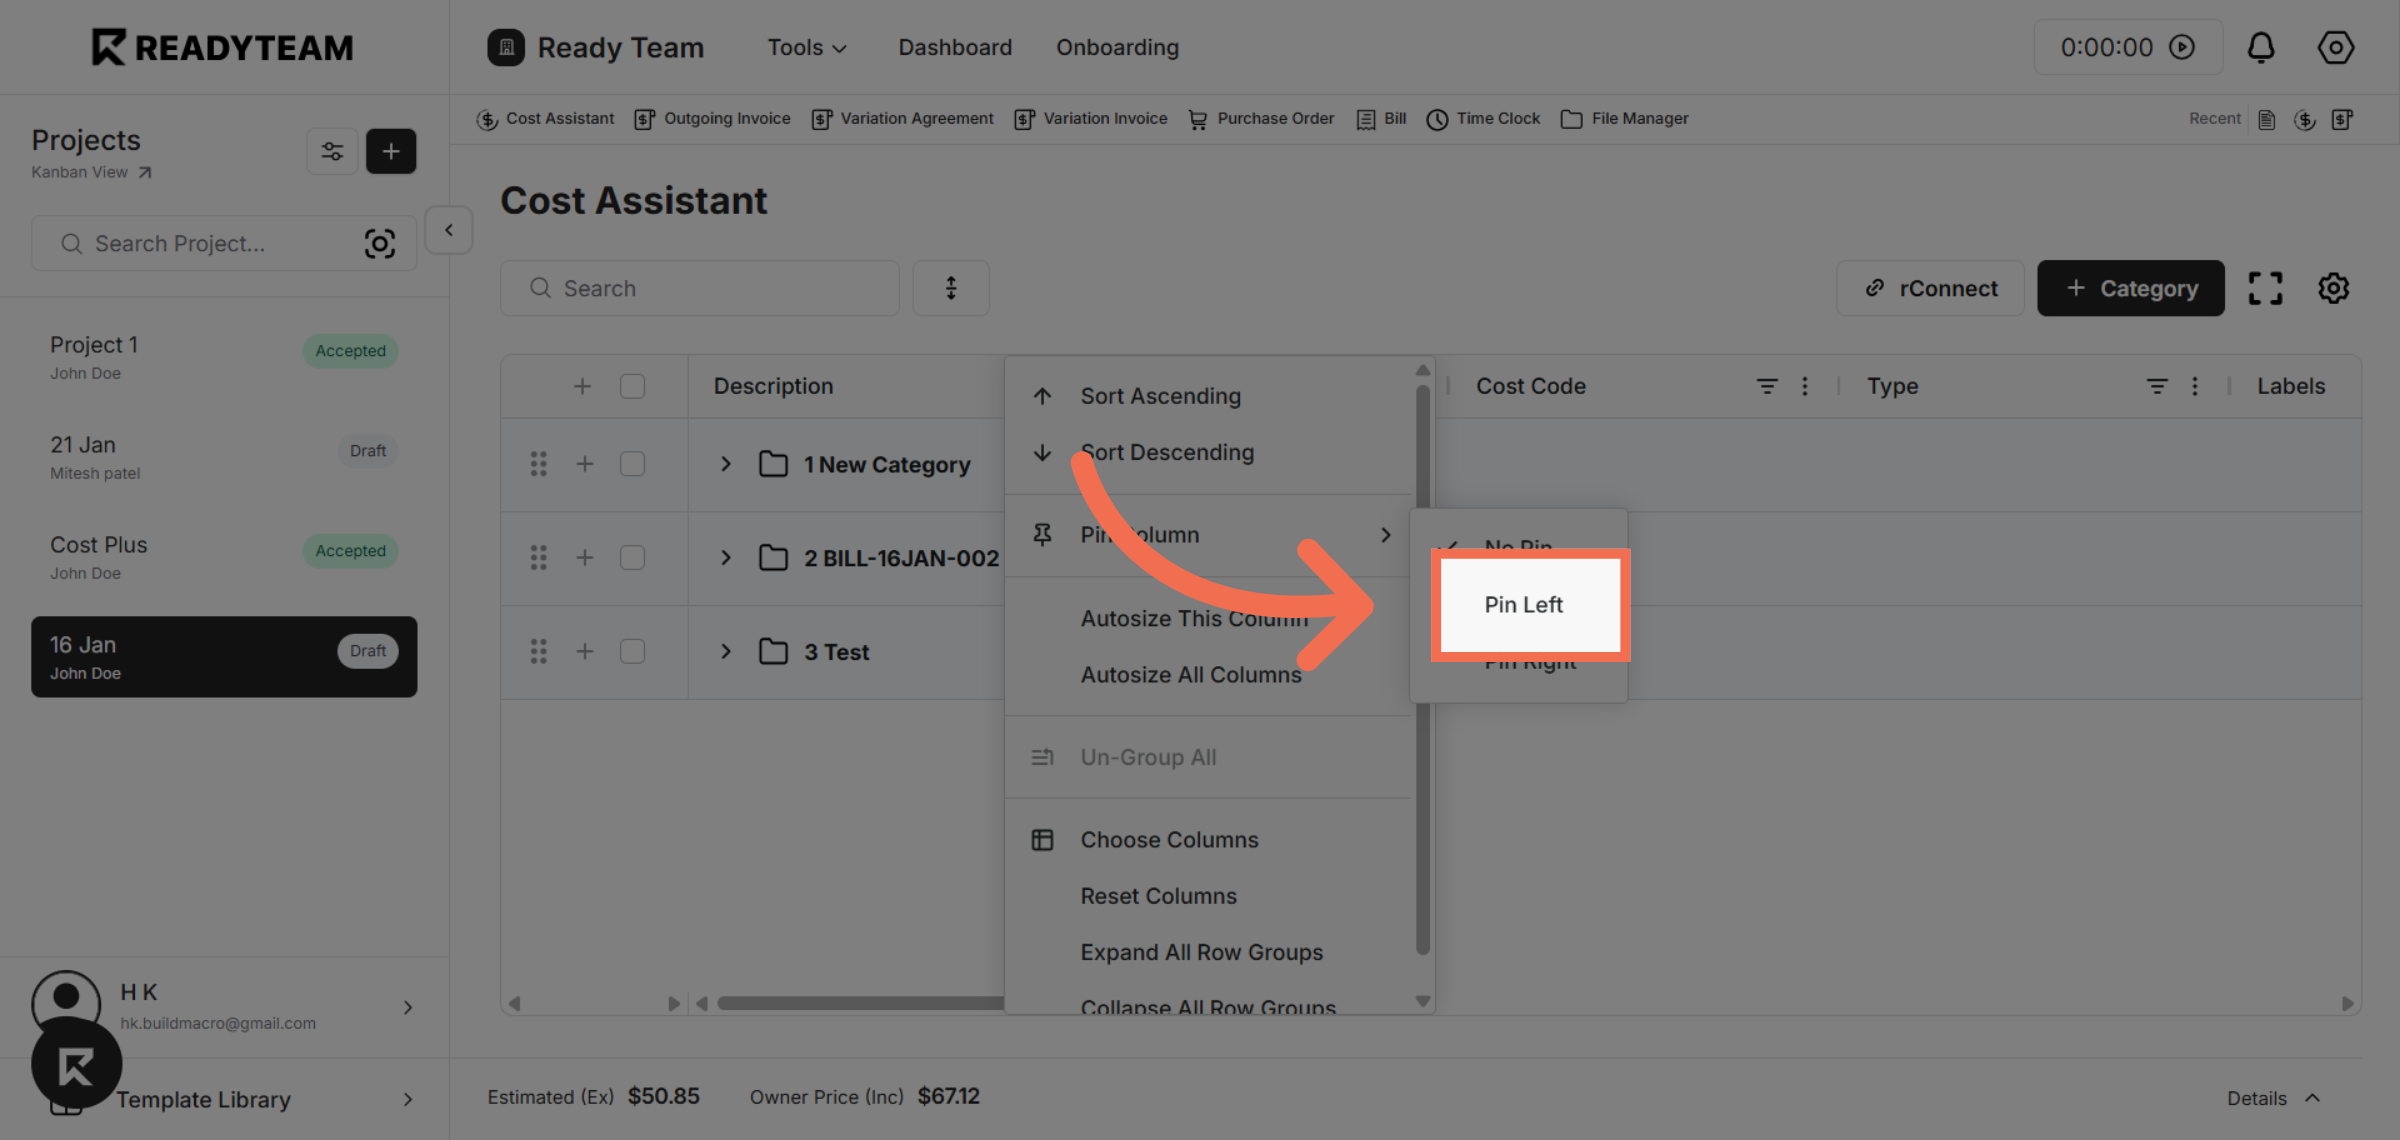
4. Pin Column To Left
Pin the selected column to the left side of the grid for fixed visibility while scrolling.
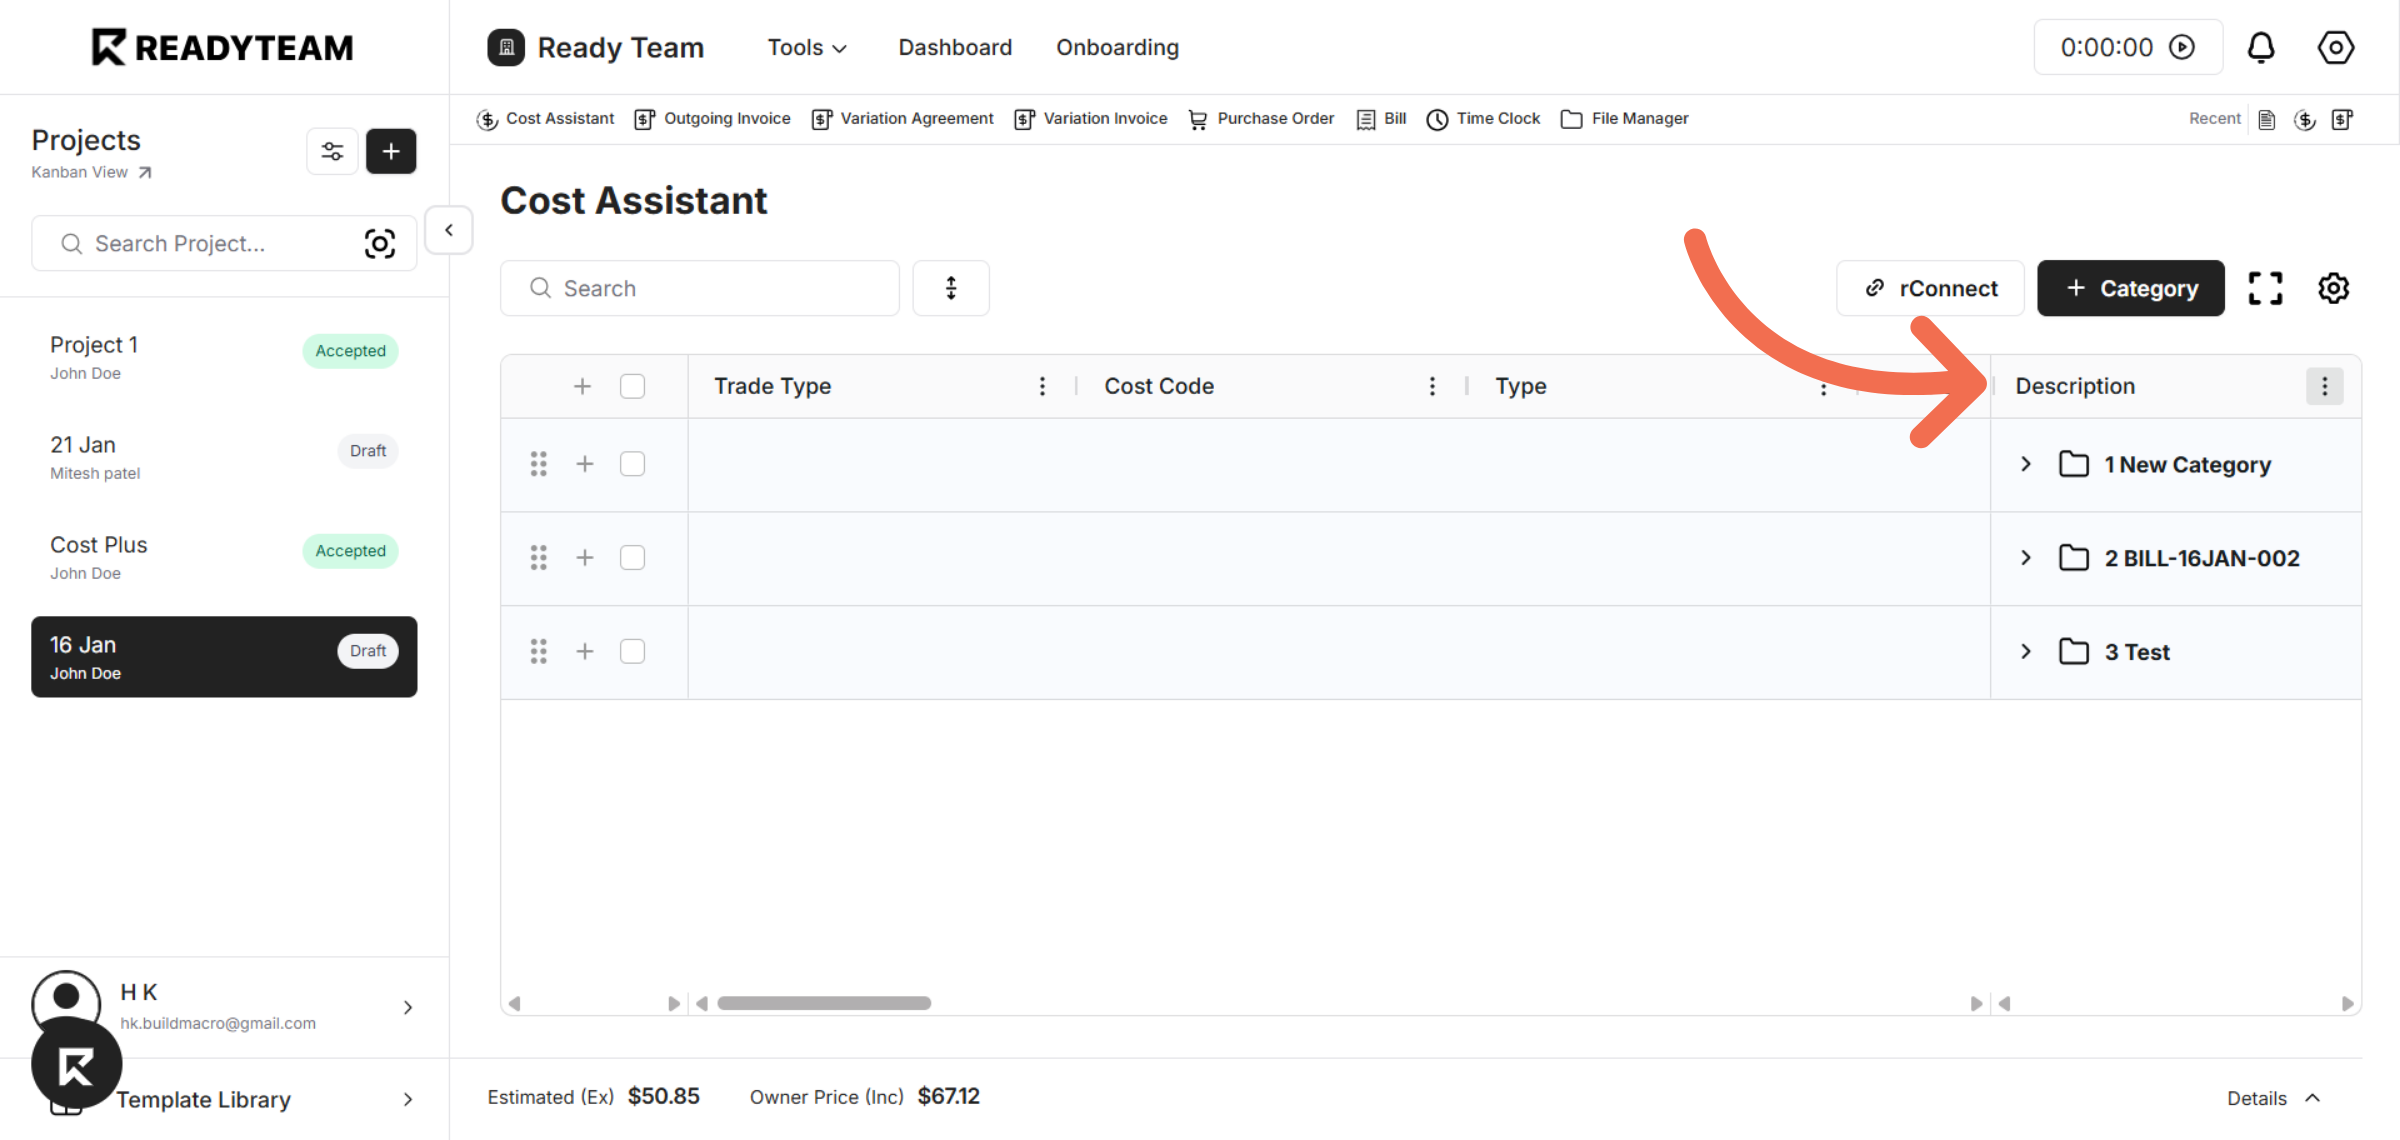
5. Notice that description column pinned to left
The description column is pinned to the left side of the table, so it remains visible while you scroll horizontally across other columns.
6. Open Column Options Again
Reopen the column options menu to adjust pinning settings.
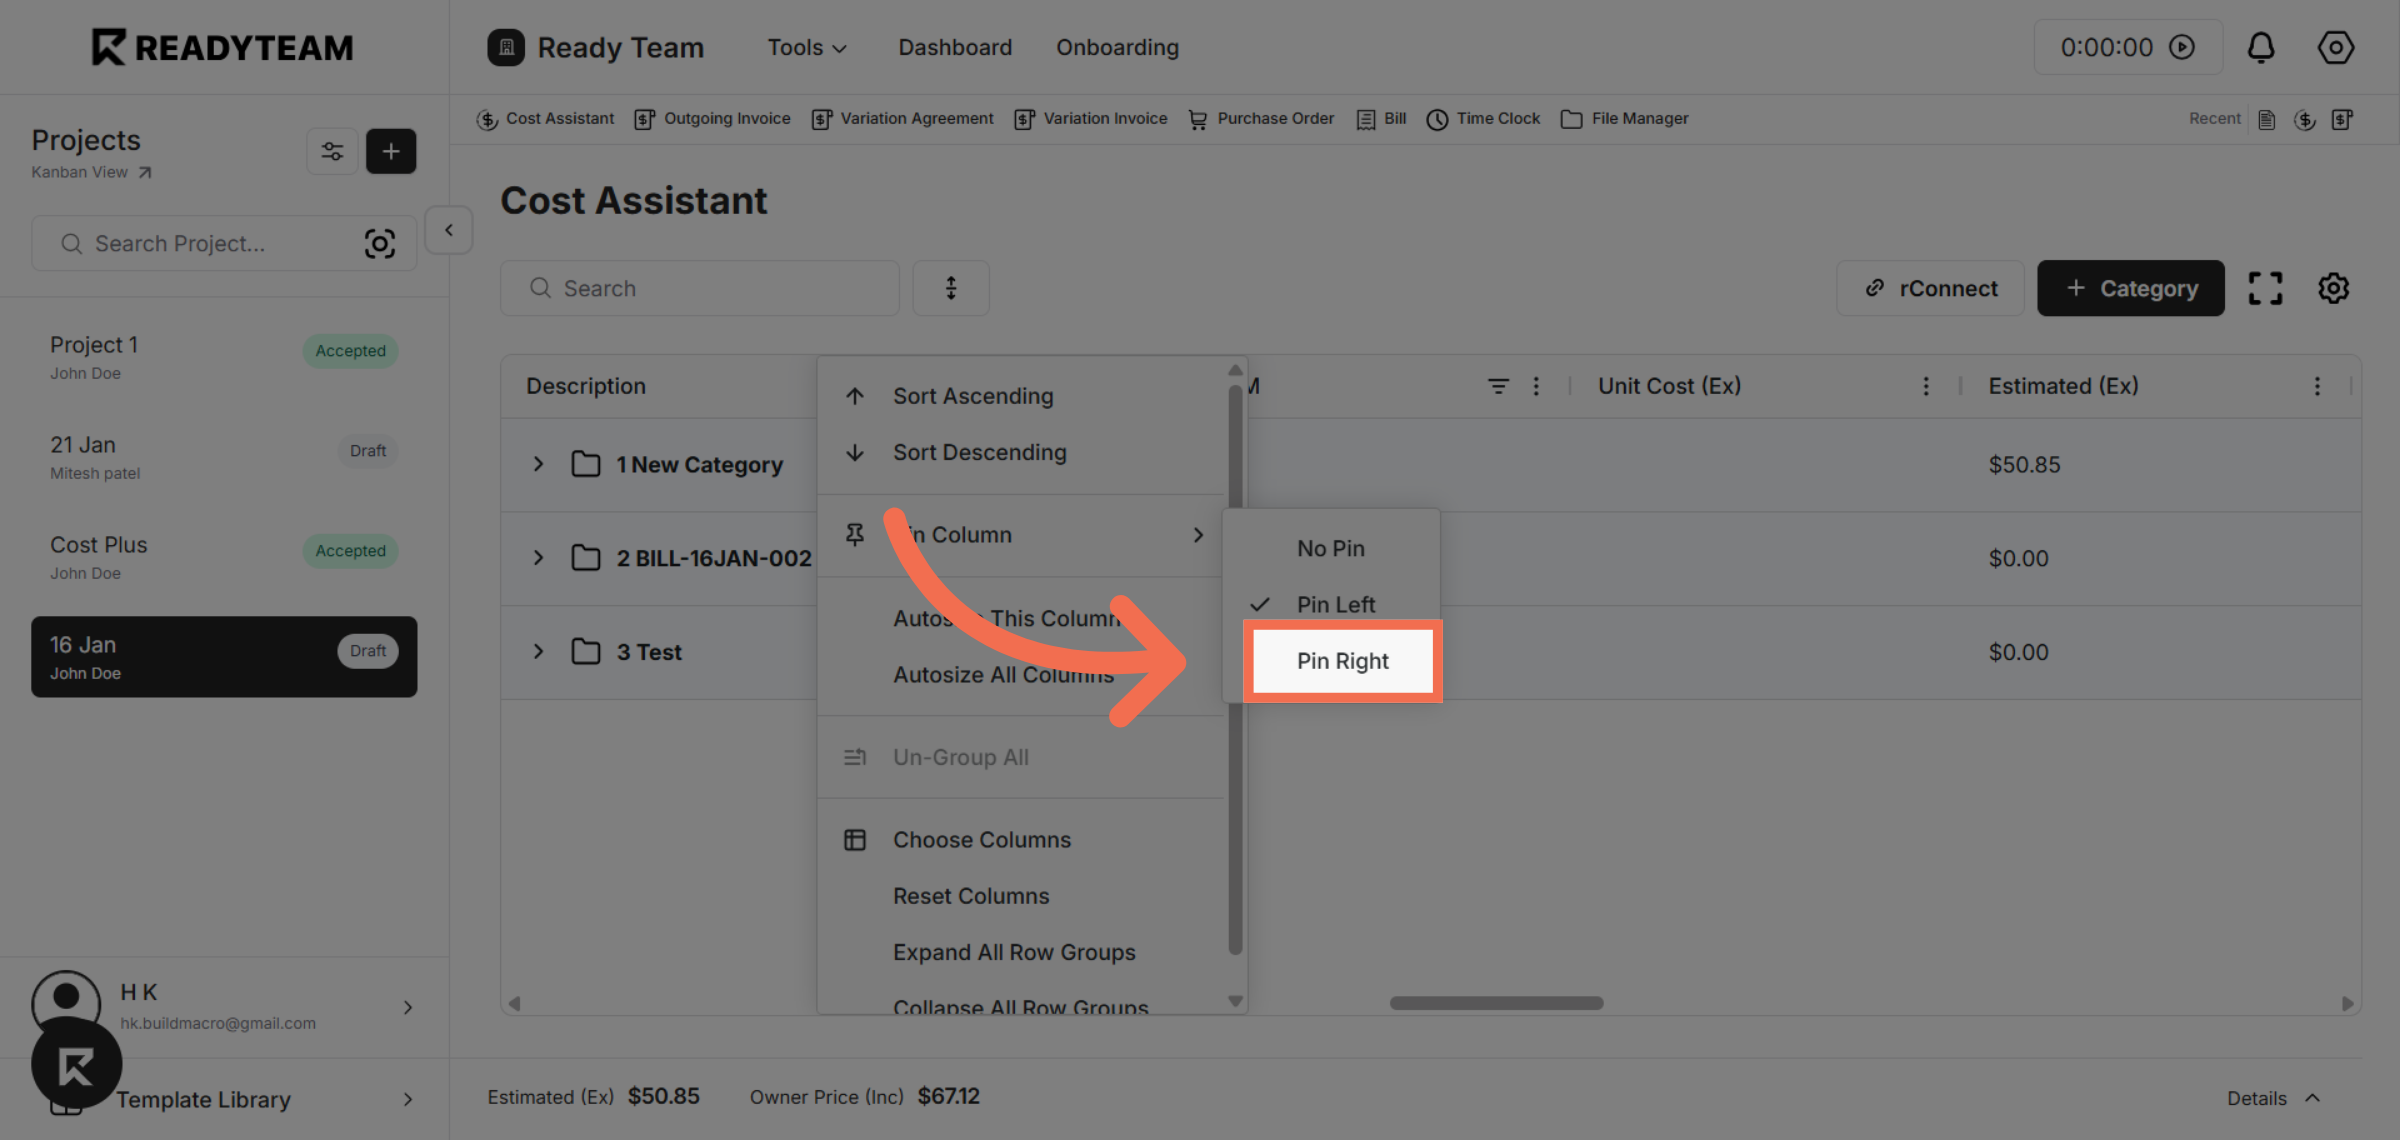
7. Select Pin Column Option
Select the Pin Column option once more to pin a column to different side.
8. Pin Column To Right
Pin the chosen column to the right side of the grid to keep it visible during navigation.
9. Notice that description column pinned to right
The Description column is pinned to the right side of the table, so it remains visible while you scroll horizontally across other columns.
10. Open Column Options Again
Access the column options menu again to modify pinning preferences.
11. Select Pin Column Option
Click the Pin Column option to change the pinning status of a column.
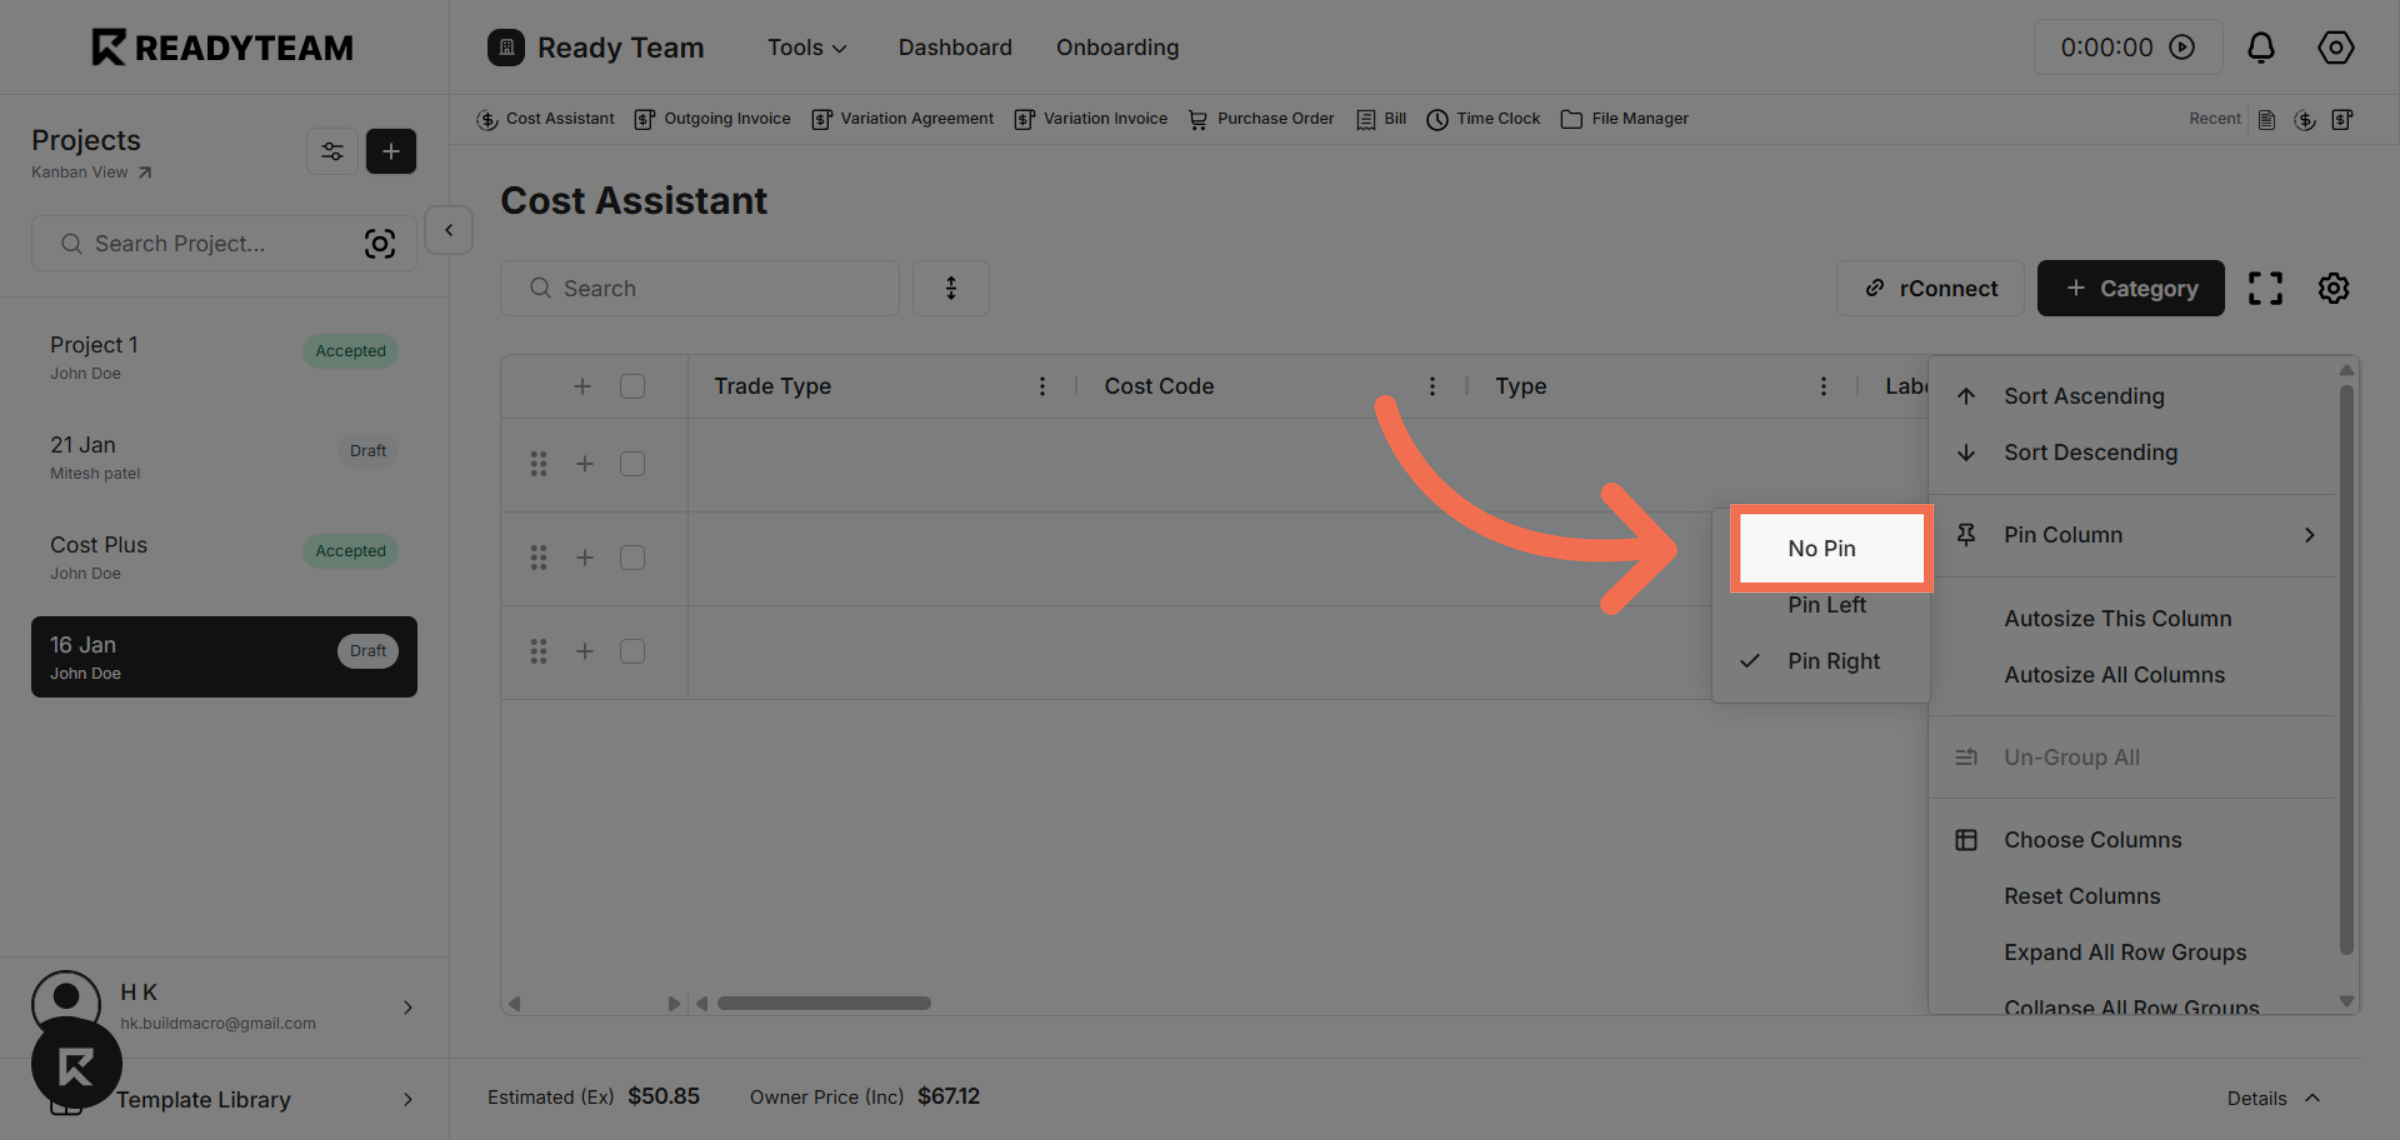
12. Remove Column Pin
Select No Pin to unpin the column and restore its default scrolling behavior.
This demo showcased how to pin columns to the left or right in AG Grid and how to remove pins to customize your data view. Try these features to improve your workflow and keep important data visible as you navigate your grid.